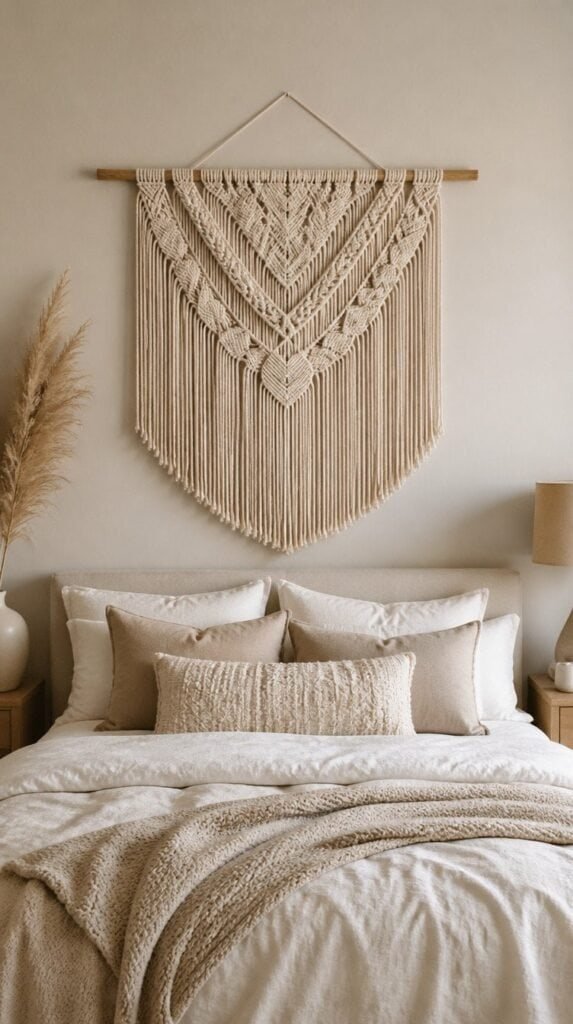
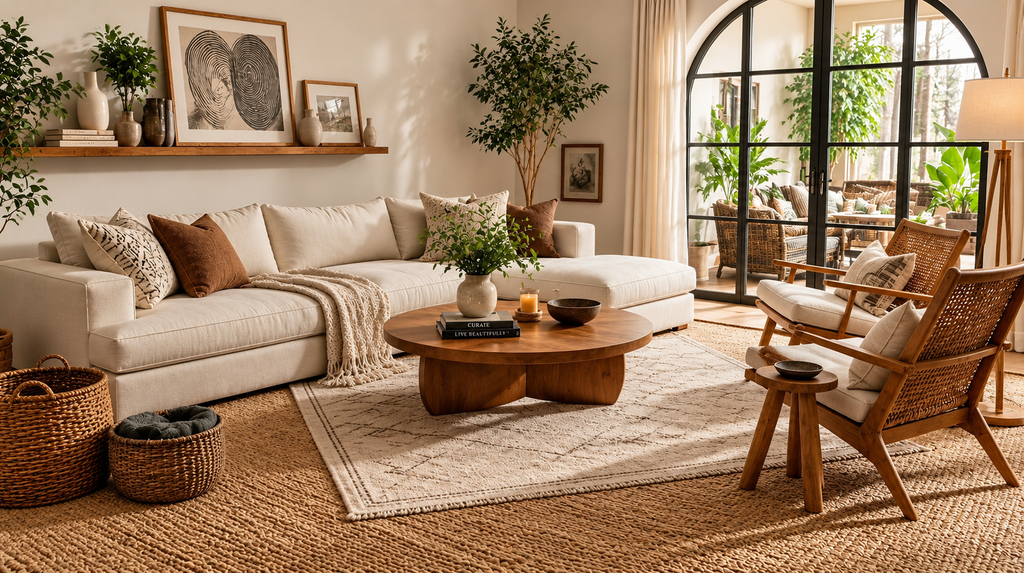
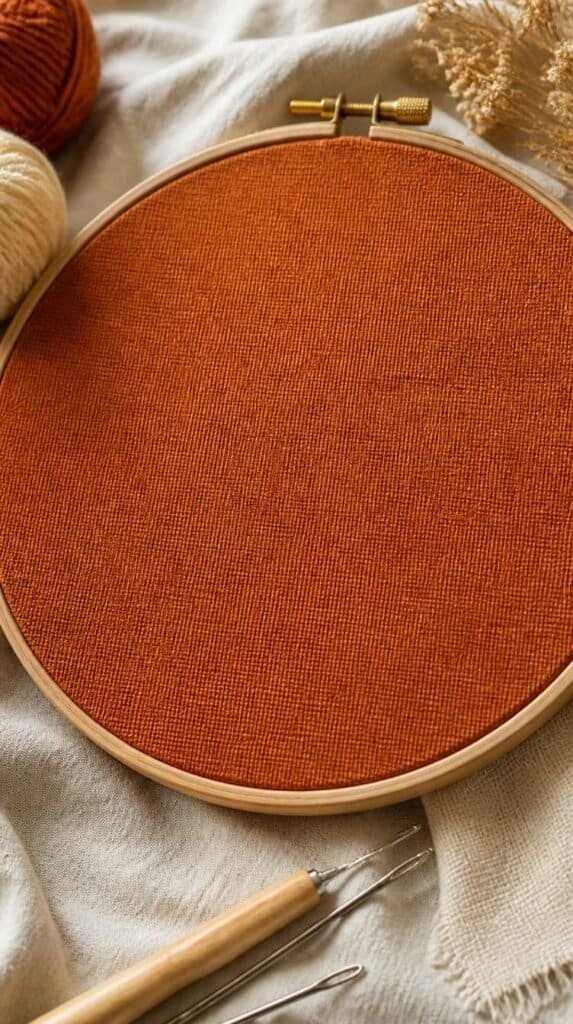
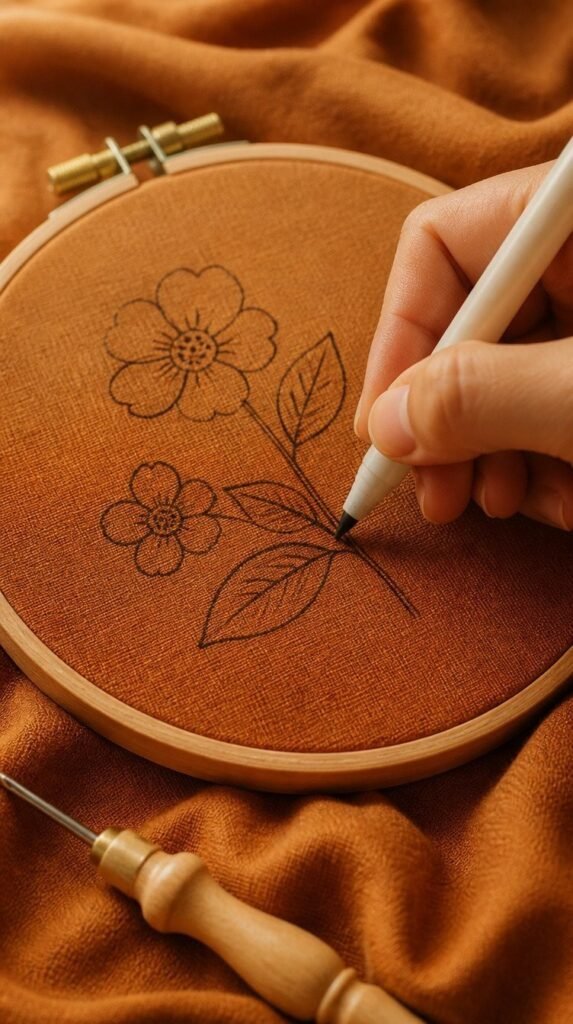
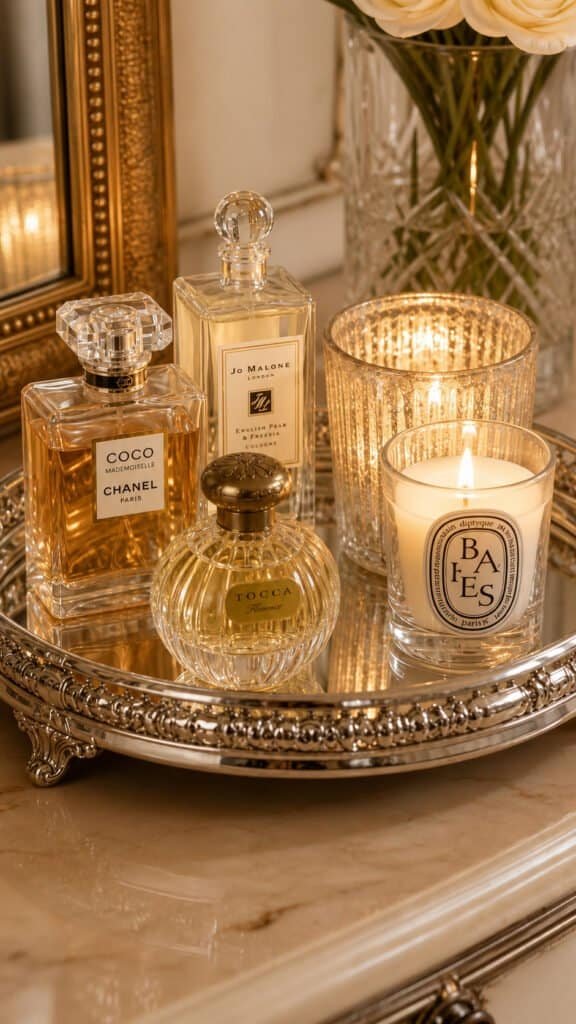
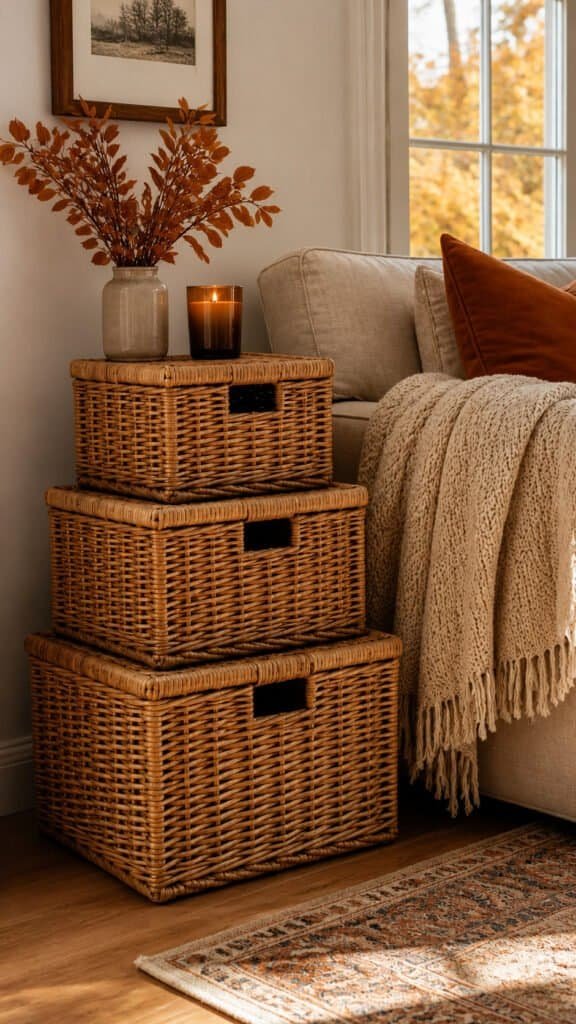
This post contains affiliate links. If you purchase through my links, I may earn a small commission at no extra cost to you. Thank you for supporting Room Revival Studio!

White walls and beige bedding worked for a while, and then one gray Tuesday the room stopped feeling like anywhere at all. Here is the truth nobody tells you: a deep plum wall does more for a bedroom’s mood in one afternoon than a year of neutral throw pillows ever will. Plum noir sits somewhere between eggplant and true black, and it turns an ordinary bedroom into a place that feels like it was designed on purpose.

These fourteen ideas cover paint, lighting, textiles, and small styling details that build the plum noir look layer by layer. Start with one or two and let the room grow moodier over a season.

1. Deep Plum Accent Wall
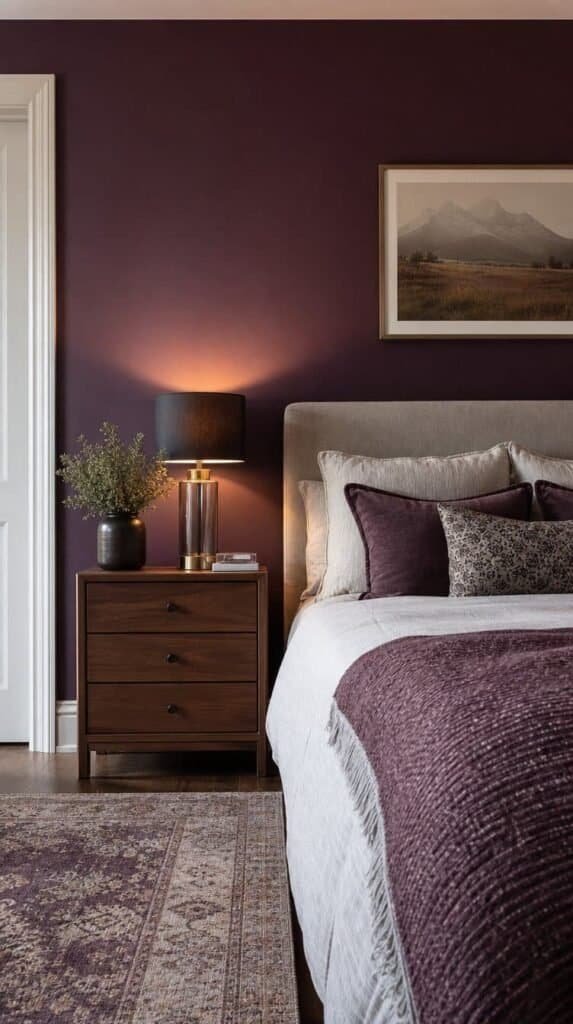
Deep plum accent wall behind a bed with warm lamp light

Paint the wall behind the bed in a deep plum noir shade and leave the rest of the room lighter. The single dark wall anchors the whole space without the commitment of painting all four.

Hot tip: test the color at both morning and evening light before committing, since plum shifts dramatically between the two. A satin finish reads richer than flat on a color this dark.

Shop the Look

2. Velvet Plum Headboard
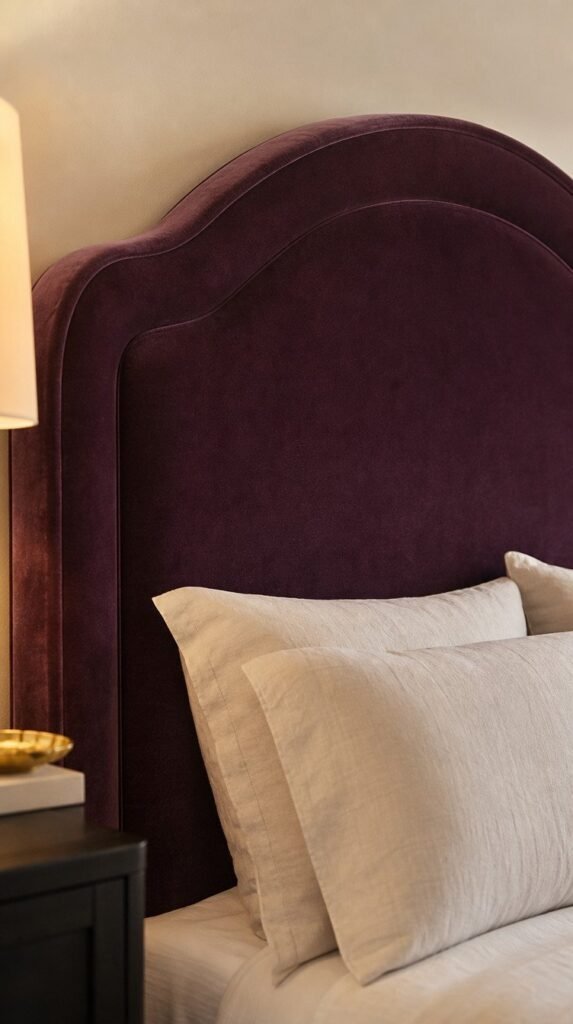
Velvet plum upholstered headboard with cream linen pillows -Plum Noir Bedroom Ideas

A tall upholstered headboard in deep plum velvet reads as the room’s focal point before anything else gets styled. Velvet catches lamp light in a way that flat cotton simply cannot.

An honest note: velvet shows vacuum lines and needs a light brushing every so often to stay looking fresh. Worth the upkeep for how much richer the room feels.

Shop the Look

3. Brass Sconce Lighting
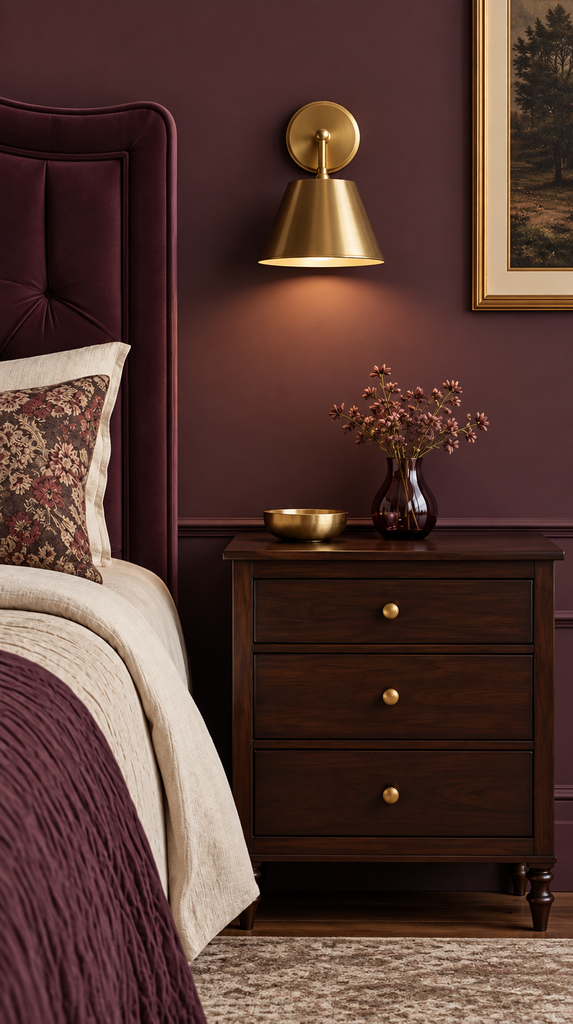
Brass wall sconce mounted above a dark wood nightstand in a moody bedroom

Swap bedside lamps for wall mounted brass sconces flanking the headboard. The warm metal against the dark wall does more to set a moody tone than any overhead fixture.

The trick here: choose a warm bulb temperature, nothing above 2700K, or the whole effect reads cold instead of cozy. Dimmable sconces are worth the extra cost.

Shop the Look

4. Layered Plum and Cream Bedding
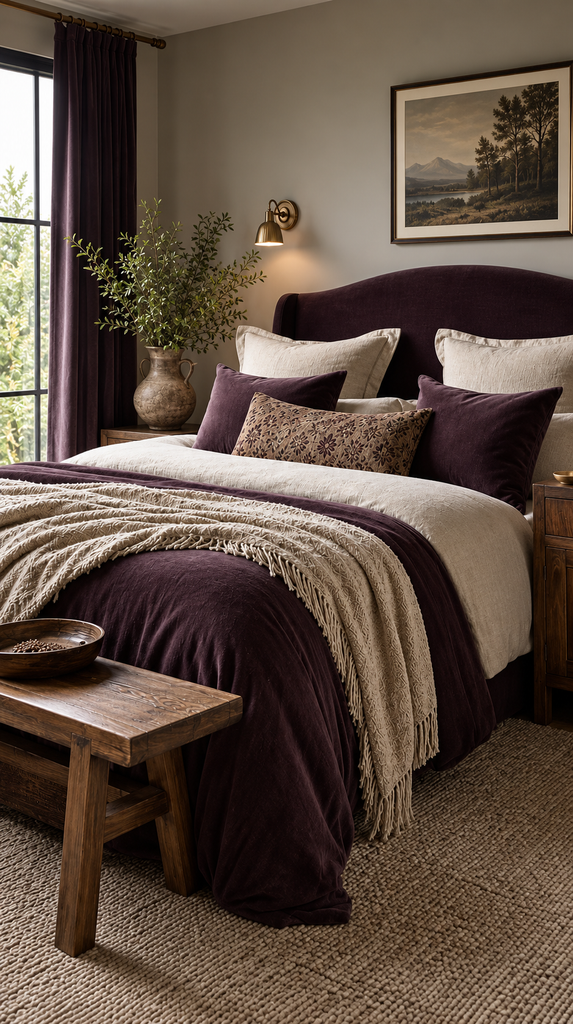
Bed layered with plum velvet and cream linen bedding and textured throw pillows

Layer a plum duvet under a cream or ivory throw blanket so the bed does not disappear into the dark wall behind it. The contrast keeps the room from feeling like one flat block of color.

Add two or three pillows in mixed textures, velvet, linen, and boucle, for depth. (The bed should look inviting, not like a display.)

Shop the Look

5. Dark Wood Nightstand Styling
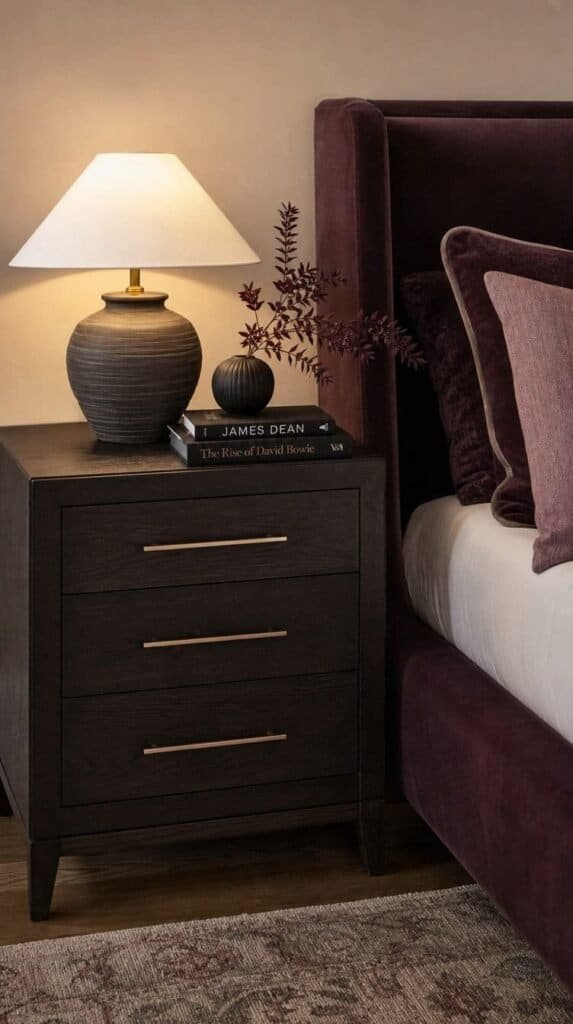
Dark wood nightstand styled with a small lamp and ceramic vase beside a plum velvet bed

A dark walnut or espresso nightstand disappears into a plum wall in the best way, letting a small lamp or stack of books stand out instead. Keep the top styled with only two or three objects.

Skip the matching nightstand pair. Two different dark wood pieces at slightly different heights feel more collected than a bedroom set bought all at once.

Shop the Look

6. Moody Gallery Wall
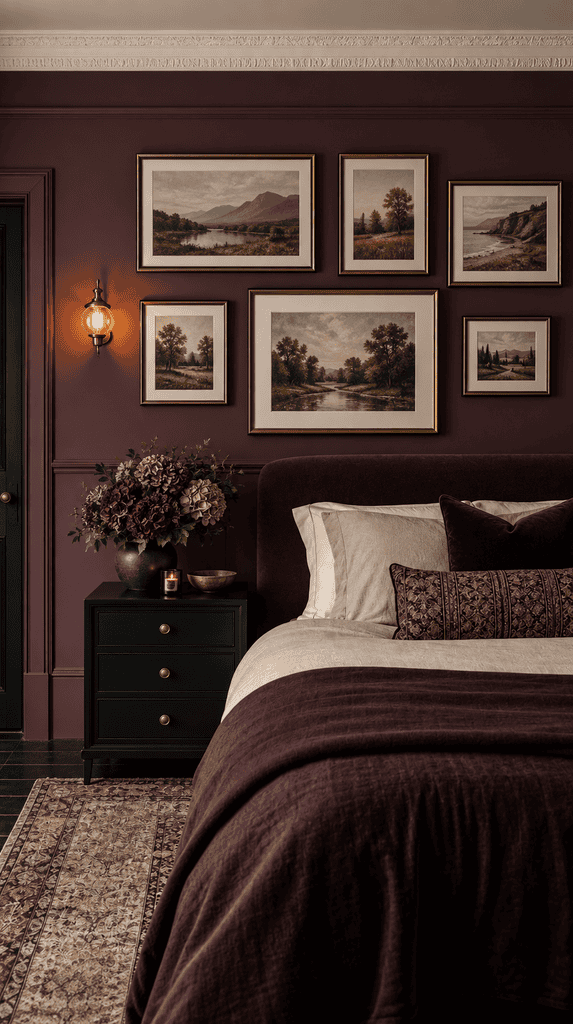
Moody gallery wall with dark framed art in a plum bedroom

Group framed botanical prints or dark toned art in black and gold frames on the wall opposite the bed. The gallery keeps the eye moving instead of staring at one flat expanse of plum.

Hot tip: lay the frames out on the floor first in the exact spacing before hanging a single nail. This saves the wall from extra holes.

Shop the Look

7. Sheer Black Curtains

Sheer black curtains filtering soft daylight in a moody plum bedroom

Sheer black curtains filter light without blacking out the room completely, adding softness to the moody palette. Hang them from ceiling height instead of just above the window frame for extra drama.

Layer a blackout panel behind the sheer for nights that need full dark. This combination gives control over the mood at any hour.

Shop the Look

8. Plum Velvet Accent Chair
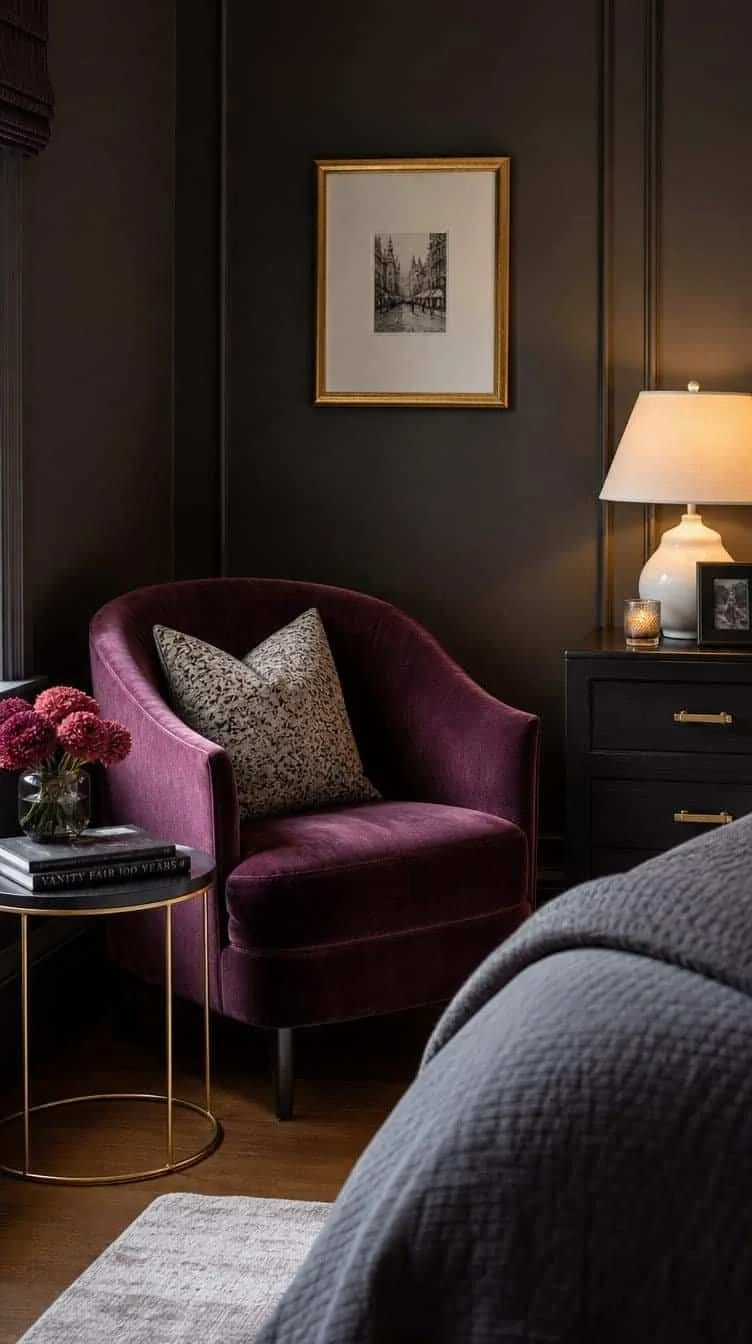
Plum velvet accent chair styled in the corner of a moody bedroom

A small velvet accent chair in a corner gives the bedroom a place to sit that is not the bed. Pick a lighter plum shade than the wall so the chair reads as an accent instead of blending in.

Drape a throw over the arm and set a small side table next to it for a corner that feels finished rather than empty. This is the detail that photographs best in the whole room.

Shop the Look

9. Textured Throw Pillow Mix

Hands fluffing a textured mix of plum velvet cream and charcoal throw pillows on a bed

Mix velvet, linen, and knit pillows in plum, cream, and charcoal across the bed for a layered look that costs far less than a full furniture swap. Four to six pillows in varied sizes reads intentional, not cluttered.

An honest note: too many matching pillows flattens the whole effect. Mixed textures and slightly different shades of plum do more work than a perfectly coordinated set.

Shop the Look

10. Matte Black Metal Bed Frame
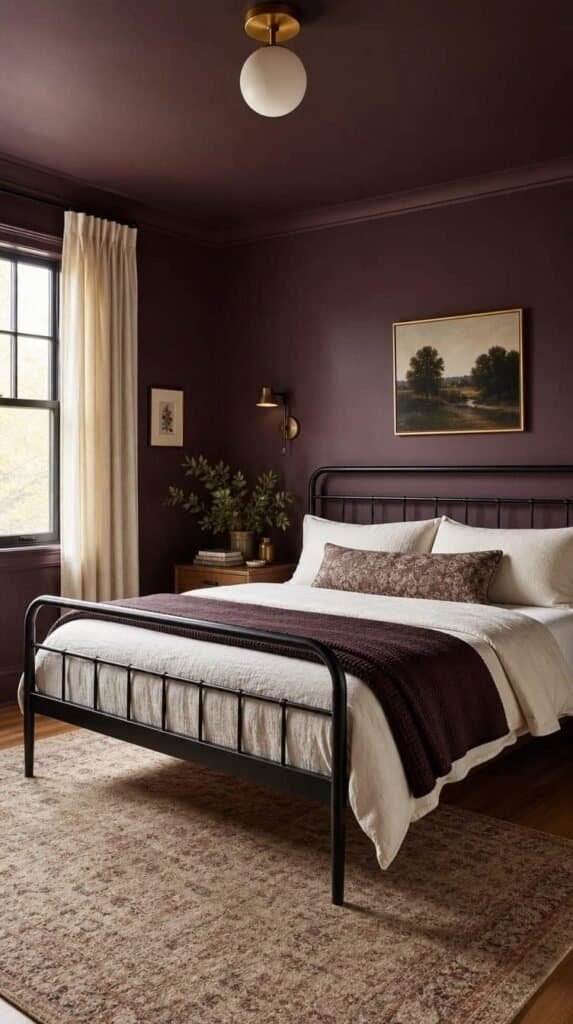
Matte black metal bed frame with thin silhouette in a plum toned bedroom

A matte black metal frame with thin lines keeps the bed from feeling heavy against a dark wall the way a bulky wood frame can. The thin silhouette lets the bedding and headboard do the visual work.

This swap works well as a rental friendly upgrade since most metal frames disassemble easily for a move. Pair with the plum headboard for the fullest version of the look.

Shop the Look

11. Antique Brass Mirror
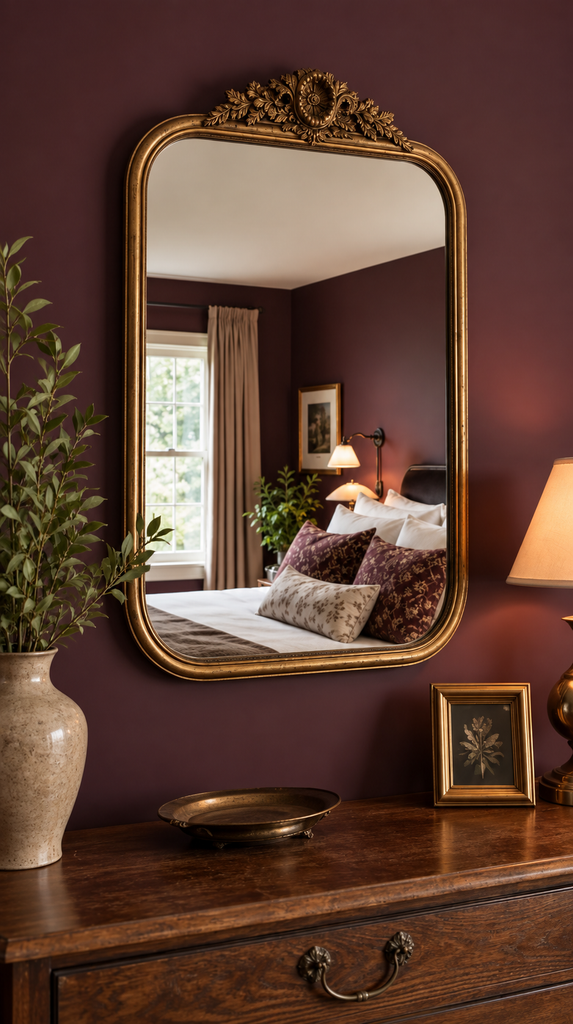
Antique brass framed mirror hanging on a deep plum wall above a dresser

An antique brass mirror leaned against the wall or hung above a dresser bounces lamp light back into the room, which a dark palette needs to avoid feeling closed in. The warm metal frame also echoes the sconces and hardware elsewhere in the room.

Position it to reflect a window or lamp rather than a blank wall for the biggest visual payoff. (It’s always the mirror placement people get wrong first.)

Shop the Look

12. Deep Plum Area Rug
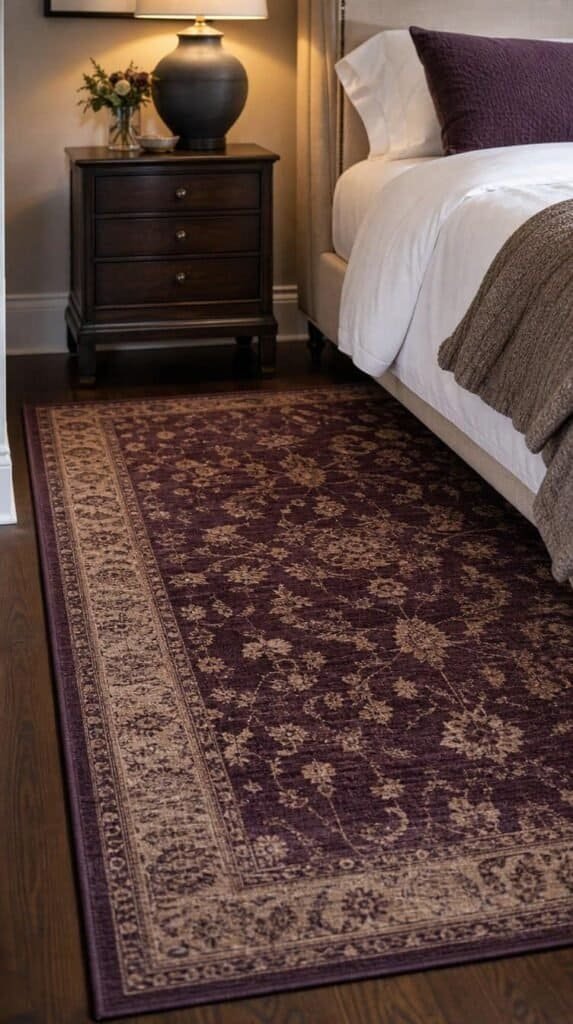
Deep plum patterned area rug on a dark wood floor beside a bed

A plush area rug in a slightly lighter plum than the wall grounds the room and adds warmth underfoot on cold mornings. Choose a rug large enough that the bed and nightstands sit on it, not just a small strip at the foot of the bed.

The trick here: measure the rug against the bed frame width before ordering, since an undersized rug is the most common styling mistake in moody bedrooms. Go one size up if unsure.

Shop the Look

13. Candlelit Vanity Styling
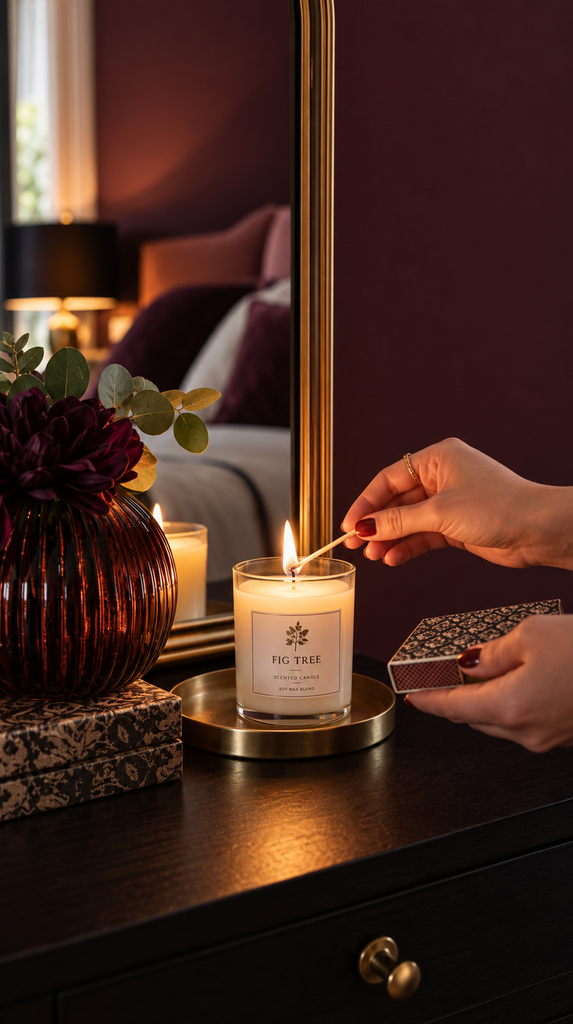
Hands lighting a candle on a styled vanity table in a moody plum bedroom

A small vanity styled with a cluster of candles, a dark framed mirror, and a few perfume bottles turns an unused corner into a moody focal point. Real or flameless candles both work, though flameless is safer for a bedroom left unattended.

Keep the surface edited to five or six objects at most. A crowded vanity fights the calm, moody feeling the rest of the room is working toward.

Shop the Look

14. Dried Floral Arrangement
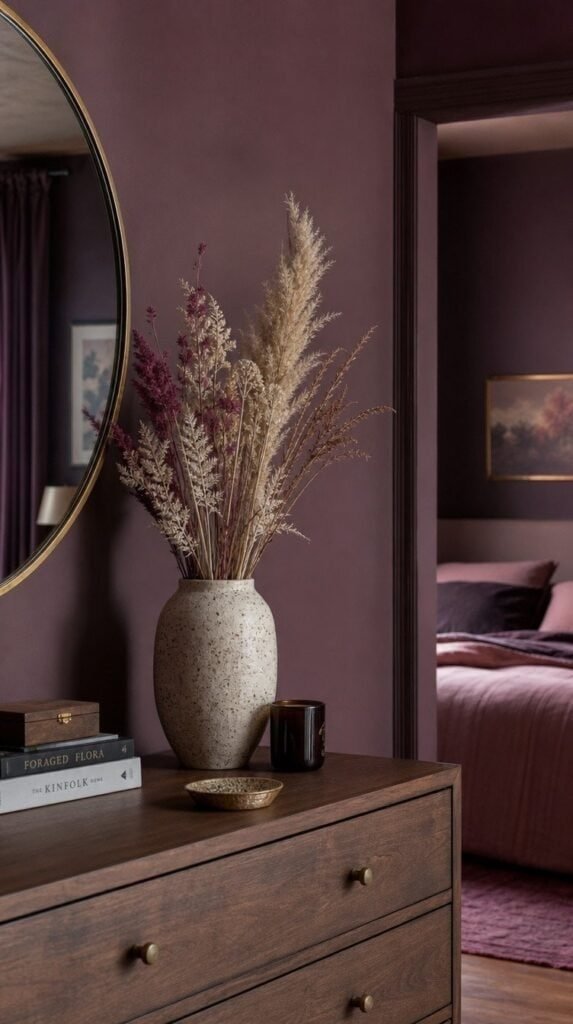
Dried floral arrangement in a ceramic vase styled on a dresser in a moody plum bedroom

A single dried floral arrangement in dark burgundy and plum tones on the dresser softens the moody palette without adding another maintenance task. Dried stems hold their color for months and never need water.

Choose a slim ceramic or glass vase so the arrangement stays the focus rather than the container. This is the easiest and cheapest item on the whole list to add today.

Shop the Look

Your Room Is Ready for This

Fall is the season to trade flat neutral walls for a bedroom with actual mood, and plum noir does that in a way few other palettes can match. This list covers paint, lighting, textiles, and small styling details, from the accent wall to the dried florals on the dresser. Start with the plum wall, add brass sconces, and layer in textured pillows before touching anything else. If you are ready for even more moody bedroom ideas, be sure to check out 14 Dark Moody Bedroom Ideas to Copy for even more ways to build the look.
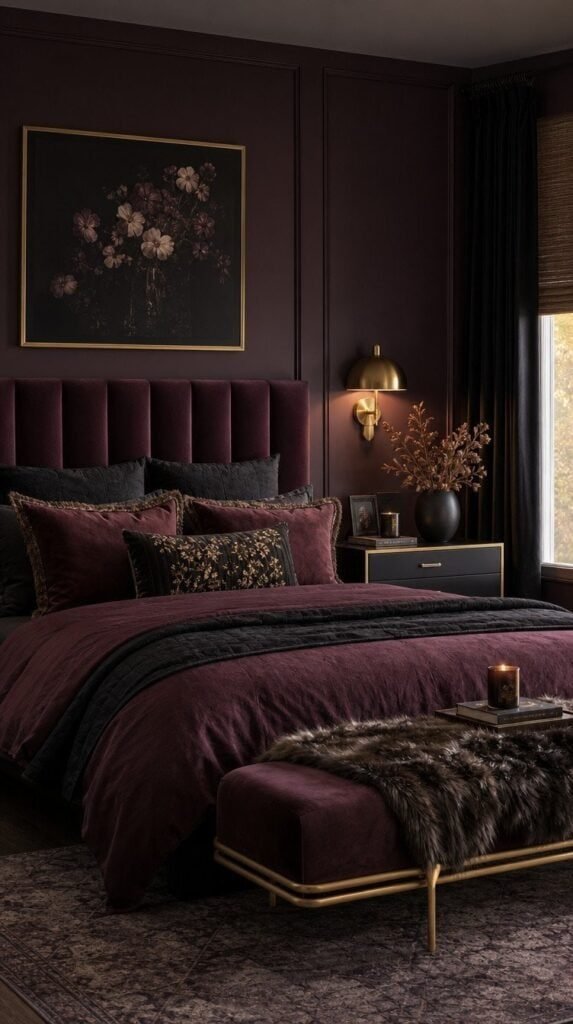

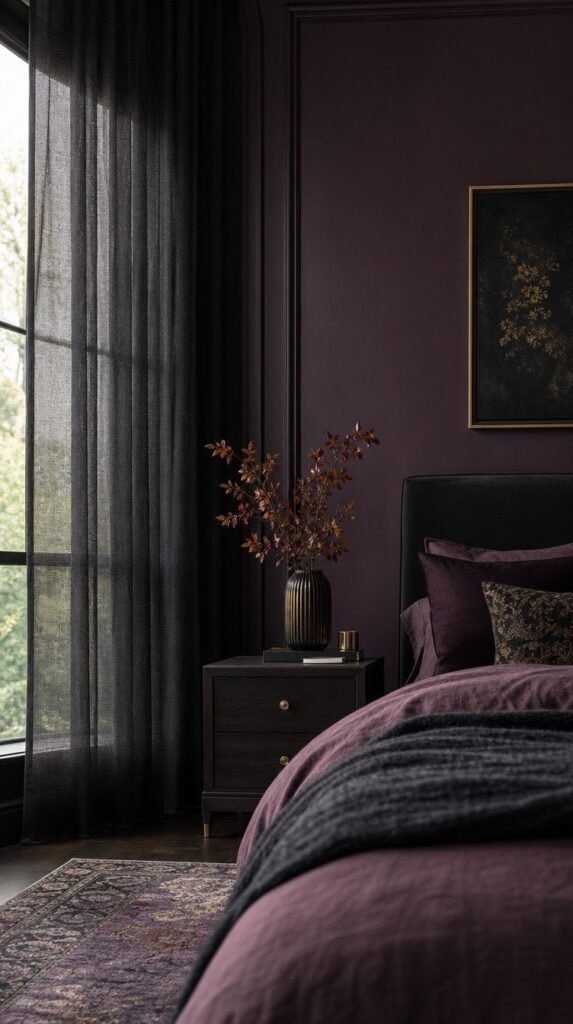
Fully styled moody plum noir bedroom with velvet headboard and dried florals

This post contains affiliate links. If you purchase through my links, I may earn a small commission at no extra cost to you. Thank you for supporting Room Revival Studio!

Your kitchen table is covered in yarn scraps, three unfinished tote bags, and a growing pile of orders from friends who keep asking where to buy one. You did not plan to start a business today. You planned to make one pillow cover for your sister’s birthday, and somehow, it turned into a waitlist. The idea sat there for months, quiet and a little nervous, until it stopped being quiet.

Turning a hobby into real income takes more than good photos and a nice logo, so this guide walks through every piece: registering your business, pricing your work, and finding customers who pay full price without blinking. Set aside a weekend, gather a few basics, and expect two to three hours to get the foundation in place. Beginner friendly, budget conscious, and built for anyone selling handmade goods from their kitchen table.

What You’ll Need to Get Started

You do not need a studio or a business degree. You need a dedicated workspace, a way to track money coming in and going out, and a handful of supplies to make your products look finished instead of homemade in the wrong way.

Hot tip: buy your packaging supplies before you need them. Running out mid-order is how a fun Saturday turns into a scramble.

Shop the Look

Step 1: Pick A Product And Prove People Want It

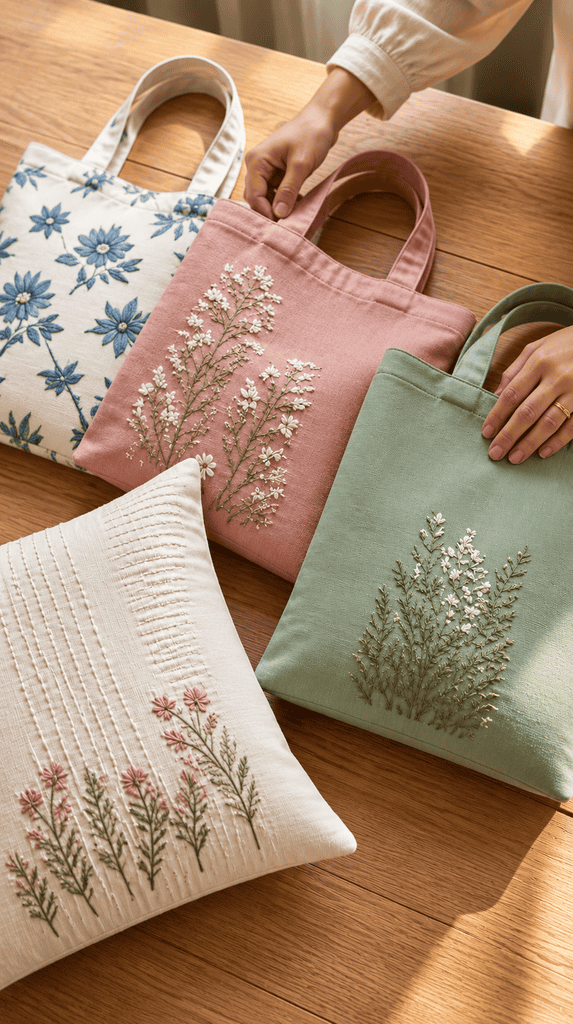
Hands arranging handmade tote bags and a pillow cover on a wood table

Pick the one item you make fastest and love most, then make five of it before you build anything else. Post it in a local buy-and-sell group or hand it to three people who will give you honest feedback.

The room felt full of ideas but empty of proof. Five sales beats fifty likes every time. (It’s always the friend who says “I’d buy one” who never does.)

Shop the Look

Step 2: Register Your Business The Simple Way

Cozy home office desk with laptop and small business paperwork for registering a craft business

Most home sellers start as a sole proprietorship, which needs zero paperwork to exist. If you want liability protection or plan to grow past a few thousand dollars a year, an LLC through your state’s website usually costs under $150.

Honest caveat: an LLC will not protect you from a bad year. It protects your house and savings if a customer ever sues the business, which is rare but worth the peace of mind.

Shop the Look

Step 3: Price Your Products So You Profit

Hands using a calculator next to a notebook filled with pricing notes for a handmade shop

Add up materials, packaging, and the platform fee, then pay yourself for every hour spent making the item, not a flat number picked because it feels nice. Double this total for your retail price, because wholesale and sale pricing will eat into it later.

The trick here: track your hours for one full week. Most new sellers underprice by half once they see the real math.

Shop the Look

Step 4: Set Up Your Shop (Etsy, Website, Or Both)

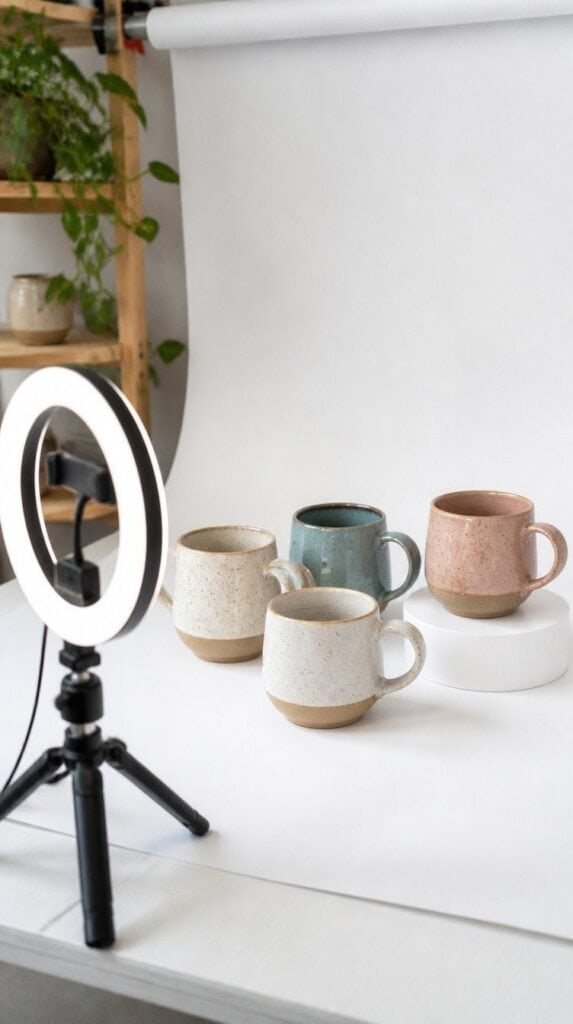
Styled product photography setup with ring light for photographing handmade ceramic mugs

Etsy gives you built-in shoppers searching for handmade goods, which makes it the easiest first stop. A simple website comes later, once you have repeat buyers who want to skip the platform fees.

Write product titles the way a buyer would search, not the way you would describe it to a friend. Five clear photos beat one perfect one.

Shop the Look

Step 5: Package And Ship Like A Pro

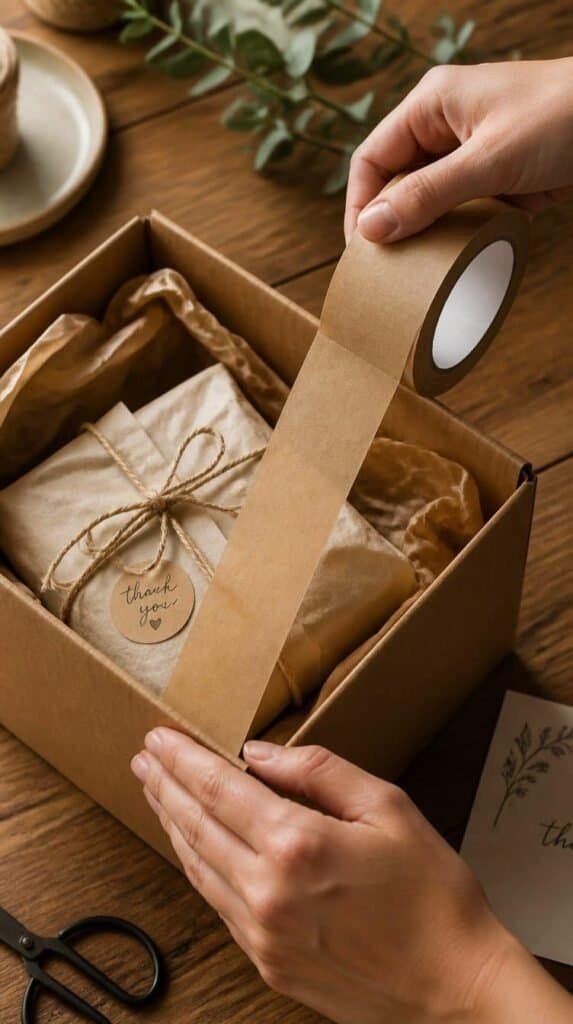
Hands taping a kraft shipping box filled with tissue paper and a wrapped handmade item

Weigh a finished, packaged item before you list it so your shipping price is not a guess. A short thank-you card inside the box turns a one-time buyer into someone who tells their sister about you.

The box finally looked like it came from a real shop, not a garage sale. This difference is worth the extra two dollars in packaging.

Shop the Look

Step 6: Market Your Shop Without Feeling Salesy

Hands adjusting a phone on a tripod filming a candle being poured for social media marketing

Post your process, not only the finished product. People buy from makers they feel they know, so a thirty-second video of your hands working sells more than a polished flat lay ever will.

Pick two platforms and show up on them weekly. Consistency beats going viral once and disappearing for a month.

Shop the Look

Start Today. You Already Have Enough.

Fall and the holiday season ahead are the busiest buying months for handmade goods, which makes now the moment to get your foundation set. This guide covered registering your business, pricing with real math, and building a shop with professional-feeling photos and shipping. Start with your best-selling item, price it using the hour-by-hour math from step three, and list five pieces this week to see what sells. If you are ready for even more ways to turn your hobby into income, be sure to check out How To Make Money Selling Crafts at Fall Markets for even more ideas on where to sell what you make.

Finished handmade products packaged and ready to ship for a home craft business - starting a craft business

This post contains affiliate links. If you purchase through my links, I may earn a small commission at no extra cost to you. Thank you for supporting Room Revival Studio!

The blank wall above your couch has been staring back at you since spring. You have moved a mirror there twice, hung a print you never loved, and taken both down within a month. Fall asks for something warmer, something with texture you feel from across the room.

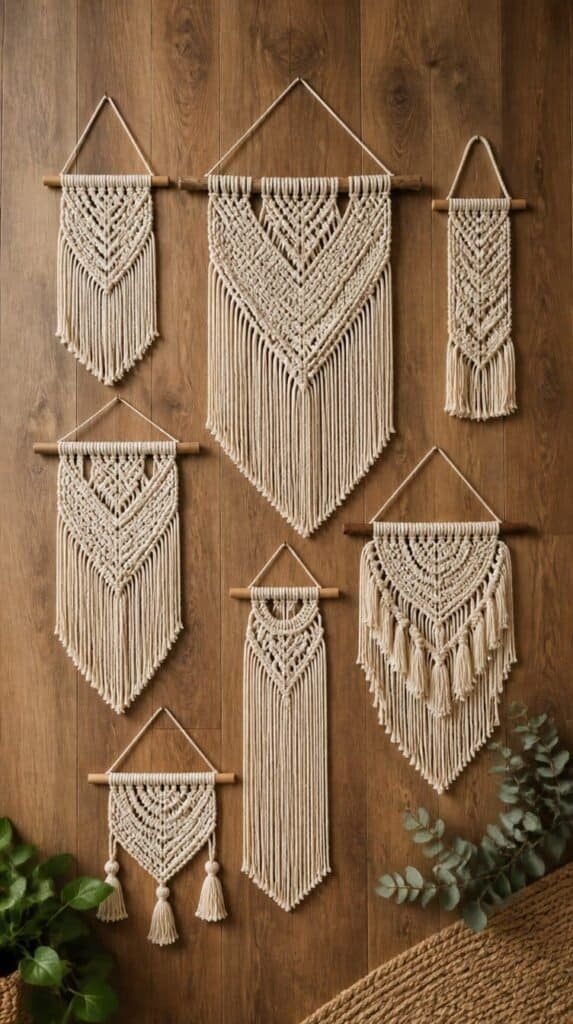
Macrame gives a wall instant depth without a single nail hole beyond the one it already needs, and these twelve ideas cover every style from tiny and simple to bold enough to anchor an entire room. Pick the one matching your space and your patience level, then watch it become the piece guests ask about.

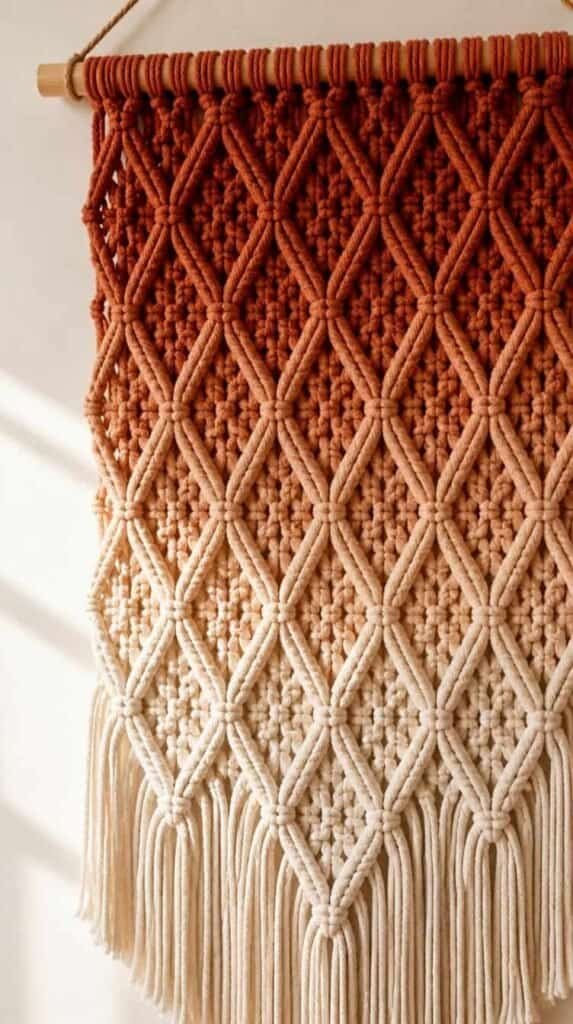
1. Rust Ombre Diamond Hanging

Rust to cream ombre diamond pattern macrame wall hanging on a wood dowel

A diamond lattice pattern dyed in a gradient from cream to deep rust brings fall color without a single pumpkin in sight. Hang it centered above a bed or sofa where the ombre has room to breathe.

Hot tip: dye the cord before knotting, not after. Knotted fibers absorb color unevenly and the pattern gets muddy.

Shop the Look

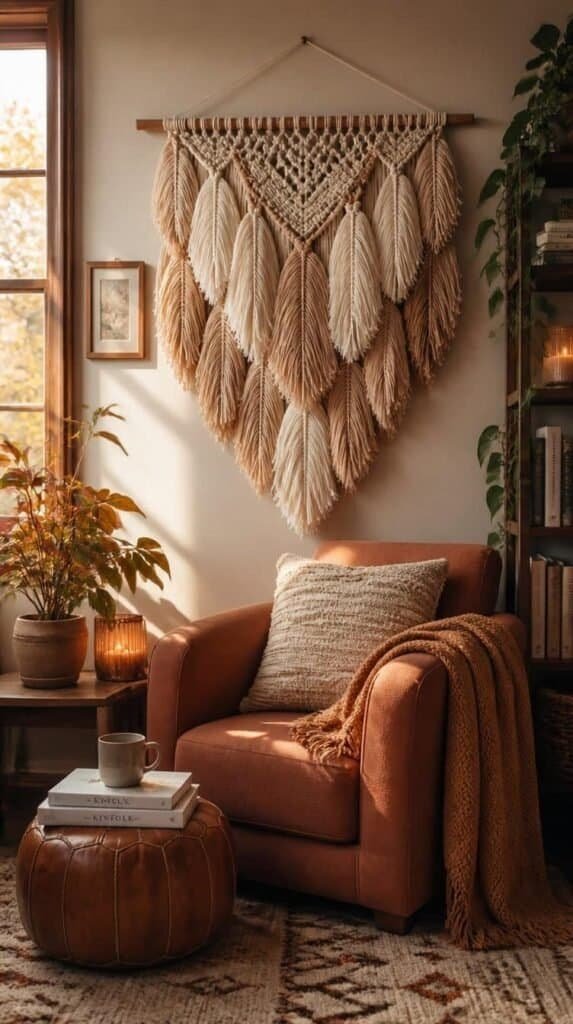
2. Layered Feather Fringe Wall Hanging

Long layered feather-like fringe macrame wall hanging above a cozy armchair

Long, feathery fringe cascading in layers reads soft and a little wild, like something you would find in a well-loved reading nook. It works best on a narrow wall where the length stretches toward the floor.

Honest caveat: fringe this long sheds fiber for the first week. A quick comb-through after hanging solves it.

Shop the Look

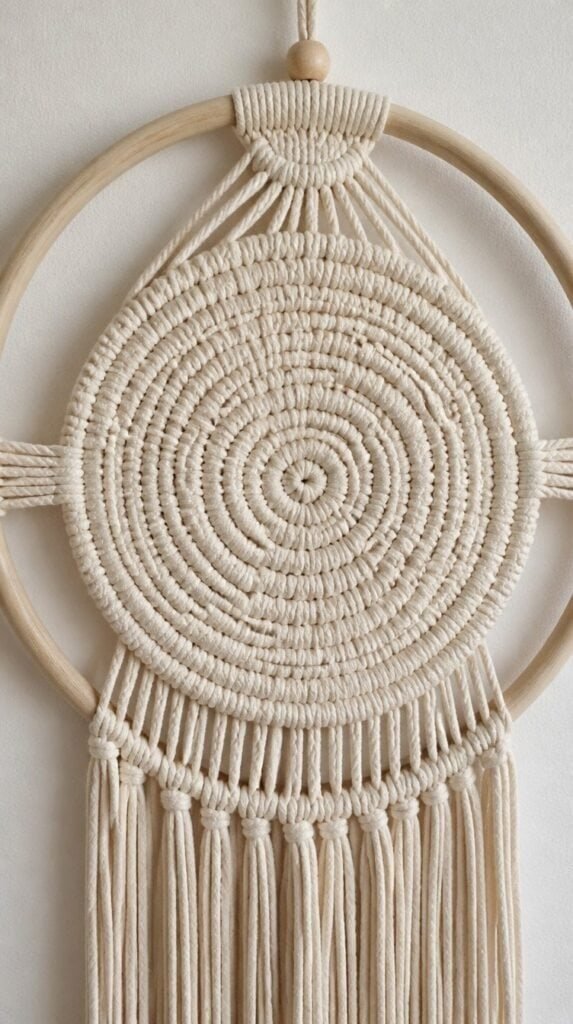
3. Woven Circle Hoop Hanging

Modern woven circle hoop macrame wall hanging with a simple woven center

A wooden hoop wrapped in cord with a simple woven center feels more modern than traditional macrame, closer to a piece of wall art than a plant hanger cousin. It suits small spaces wanting texture without bulk.

The wall finally had a focal point instead of an empty gap. (Round shapes soften a room full of straight furniture lines every time.)

Shop the Look

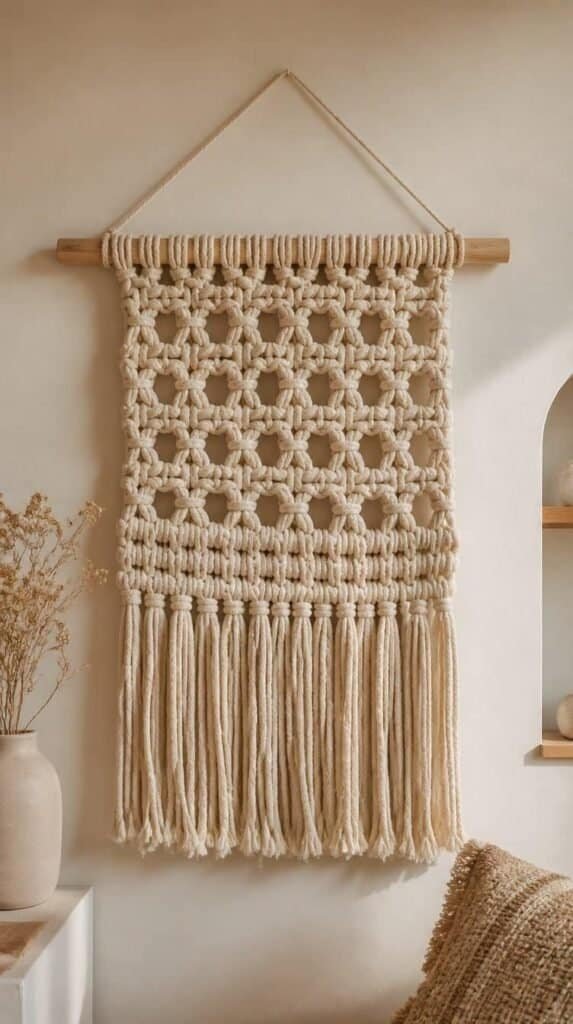
4. Chunky Cotton Rope Tapestry

Bold chunky cotton rope macrame wall tapestry with a loose weave pattern

Thick, chunky rope in a loose weave makes a bold statement fast, since fewer knots cover more wall. This is the pick for anyone who wants a dramatic piece without the hours a fine-cord design demands.

The trick here: chunky rope forgives uneven tension better than thin cord, which makes it a forgiving first big project.

Shop the Look

5. Mini Macrame Cluster Gallery Wall

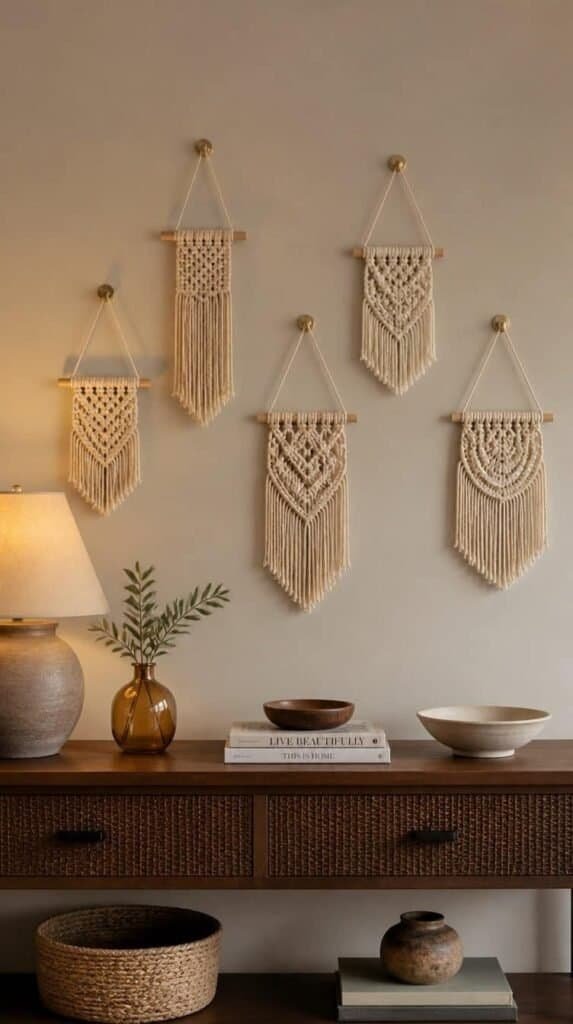
Gallery wall of five small mini macrame wall hangings at varying heights

Instead of one large piece, group five or six small hangings at different heights for a gallery wall with real dimension. It fits awkward corners and short walls unable to hold a full-size design.

Vary the widths and knot patterns slightly across each piece. Identical minis read like a set from a store, not a curated collection.

Shop the Look

6. Driftwood Branch Macrame

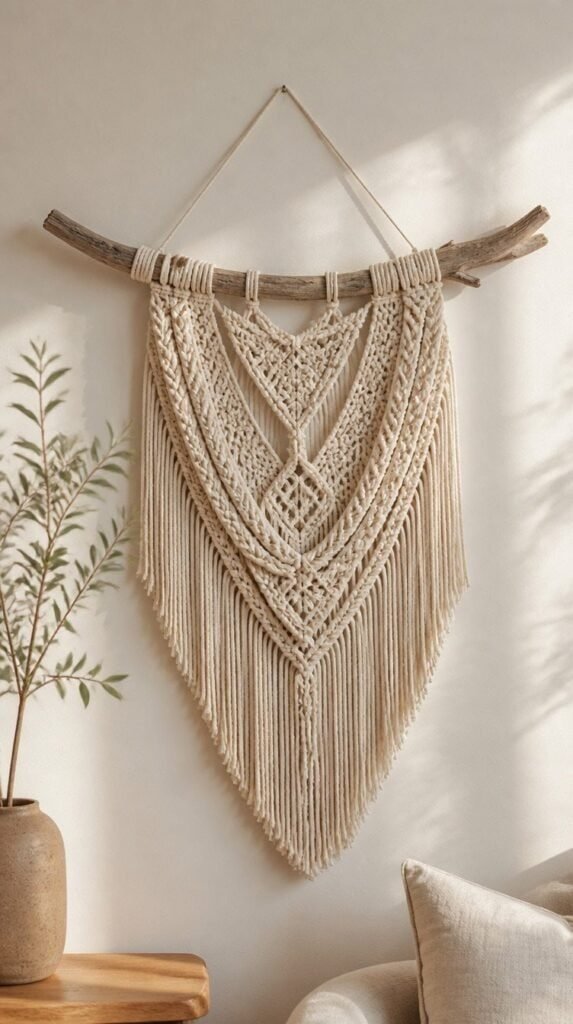
Macrame wall hanging woven onto a natural driftwood branch instead of a dowel

Swap the standard dowel for a real driftwood branch and the whole piece leans organic modern instead of craft-fair traditional. No two branches look alike, so every hanging turns out one of a kind.

Honest caveat: branches vary in weight and balance, so test-hang before committing to your final knot pattern.

Shop the Look

7. Pampas Grass And Macrame Combo

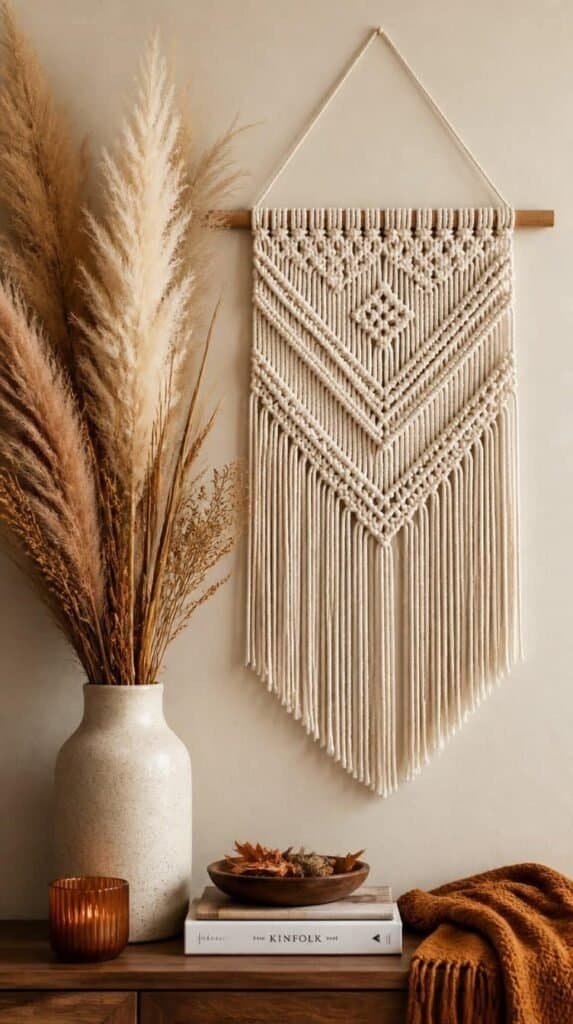
Simple macrame wall panel paired with dried pampas grass stems in a ceramic vase

Tuck dried pampas grass stems behind a simple knotted panel and the two textures play off each other in a way neither achieves alone. This pairing has become a fall staple for a reason.

Keep the macrame pattern simple here. The pampas plumes are doing most of the visual work already.

Shop the Look

8. Terracotta Bead Macrame Hanging

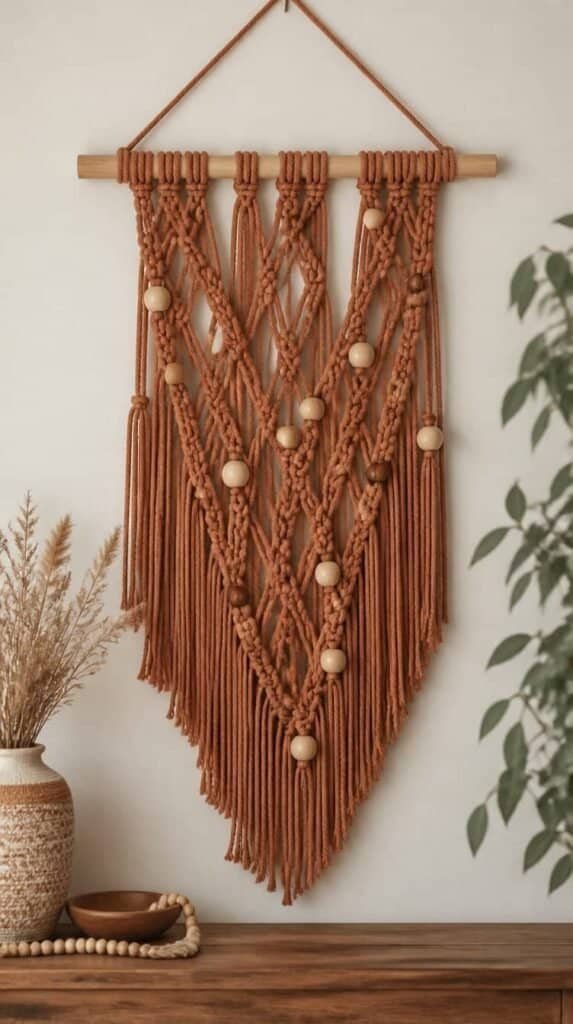
Warm terracotta and wood bead macrame wall hanging with beads woven through the pattern

Wooden and terracotta beads woven into the knot pattern add warm color and a subtle rattle of texture when the piece moves. It pairs naturally with clay pots and warm wood tones already in the room.

Space beads unevenly through the pattern rather than in a strict grid. It reads more handmade and less kit-assembled.

Shop the Look

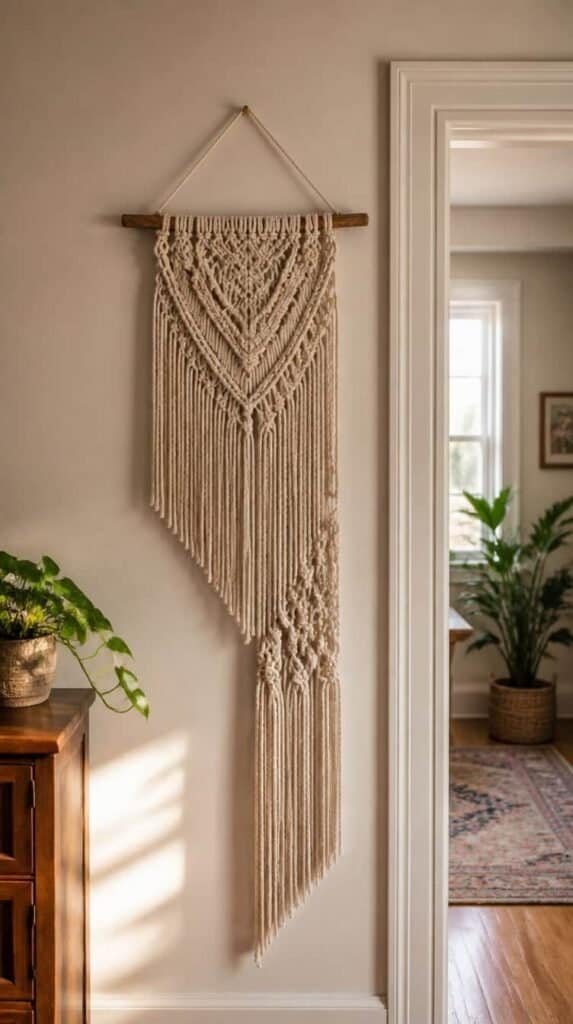
9. Asymmetrical Long Fringe Hanging

Asymmetrical macrame wall hanging with one side of longer fringe mounted beside a doorway

Let one side hang shorter than the other for a piece feeling intentionally undone rather than perfectly symmetrical. It works well beside a doorway or on a wall with an off-center window.

Trust the asymmetry once you commit. The instinct to even it out usually flattens the whole design.

Shop the Look

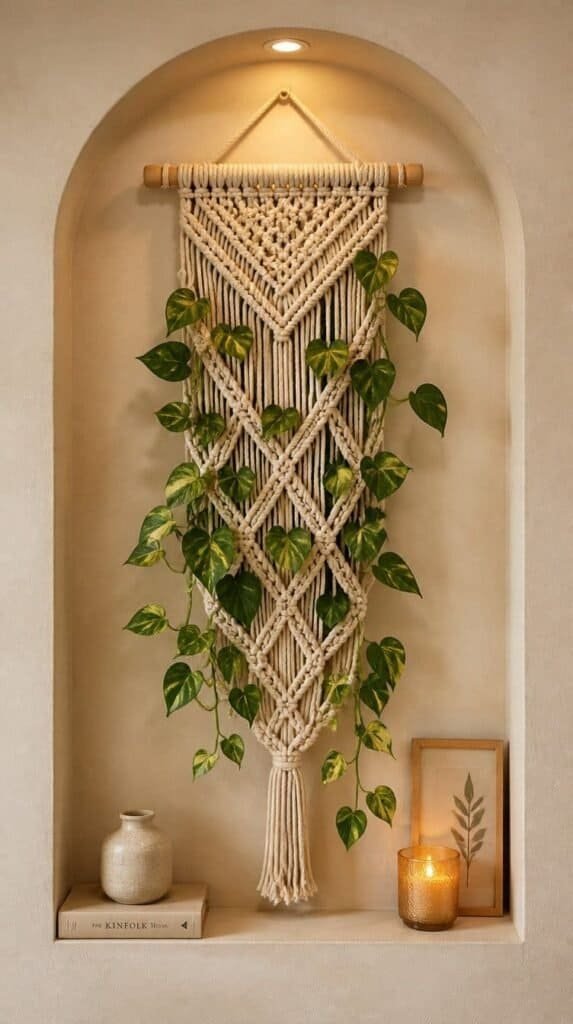
10. Woven Plant Hanger Wall Display

Macrame plant hanger mounted flat against a wall with a trailing pothos plant

A macrame plant hanger mounted flat against the wall instead of suspended from the ceiling gives you the texture of macrame with a living plant tucked into the weave. It solves the problem of a wall too shallow for a hanging piece.

Choose a trailing plant like pothos so the vines eventually become part of the design themselves.

Shop the Look

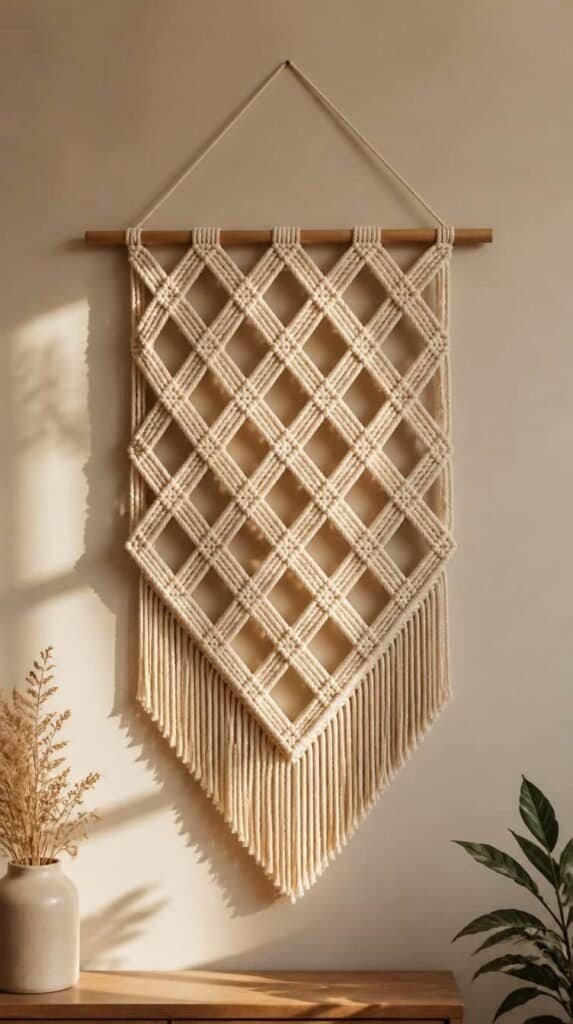
11. Double Layer Diamond Lattice Hanging

Double layer diamond lattice macrame wall hanging with visible shadow depth

Two diamond lattice panels layered front and back create shadow and depth no single-layer piece matches. It reads as a statement piece worth the extra knotting time.

Space the back layer slightly wider than the front so both patterns stay visible instead of blending into one shape.

Shop the Look

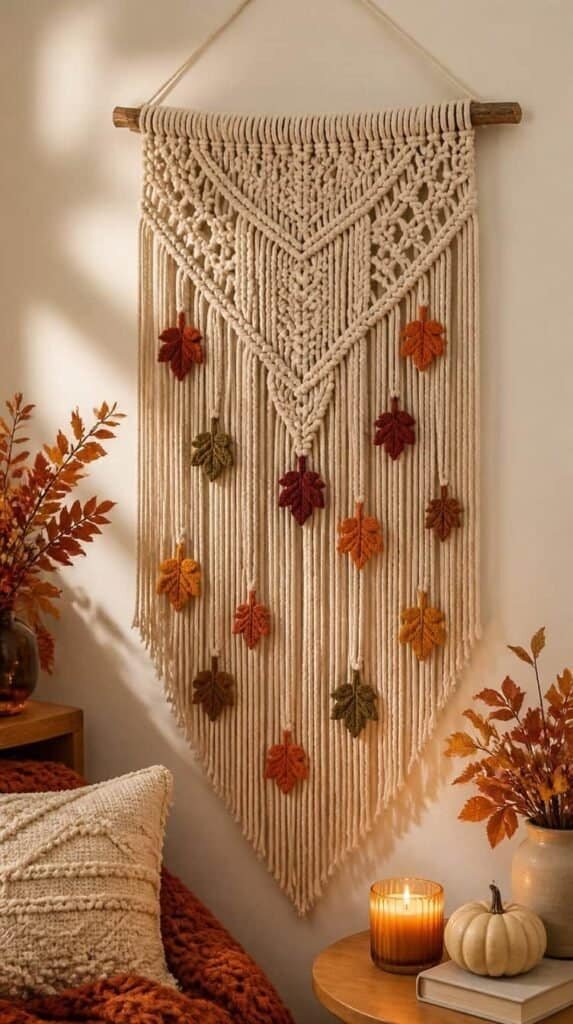
12. Autumn Leaf Fringe Macrame

Macrame wall hanging with small felt autumn leaf accents woven into the fringe

Small felt or dried leaf accents woven into the fringe give this piece a seasonal touch reading as fall without leaning into pumpkin cliches. Swap the leaves for something else come January and the base piece works year round.

The wall finally looked finished, and it took an afternoon, not a weekend.

Shop the Look

Pick One. Start This Weekend.

Fall is the season to bring texture and warmth into a home, and macrame does both without a full room refresh. This list covered bold statement pieces, delicate mini clusters, and combinations with pampas grass and plants for anyone who wants a softer touch. Start with the chunky rope tapestry if you want a fast, forgiving first project, then work your way toward the double layer lattice once you have a few knots under your fingers. If you are ready for even more beginner-friendly macrame projects, be sure to check out 12 Easy Macrame Decor Projects for Beginners for even more ideas to fill your walls.

Finished macrame wall hanging ideas

This post contains affiliate links. If you purchase through my links, I may earn a small commission at no extra cost to you. Thank you for supporting Room Revival Studio!

The heat kicks on, the sky goes gray by five, and your living room still looks like it did in July. Nothing about it says stay a while. A hygge living room fixes that fast: warm light, soft layers, and a few small swaps turn a cold room into the spot everyone wants to land in. You do not need a renovation. You need the right pieces in the right places.

These 15 hygge living room ideas cover lighting, texture, seating, and small styling moments that add warmth without a full redo. Pick a few that fit your space and start building the room you want to come home to this winter.

Layer Chunky Knit Throws

Chunky knit throw blankets layered on a cozy living room sofa

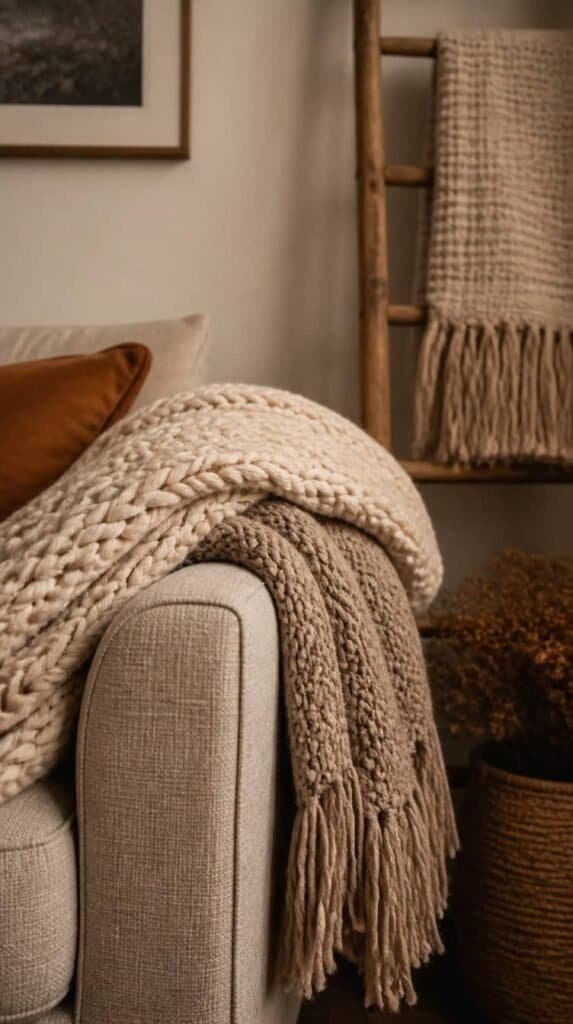
A single throw folded over the couch arm looks styled. Three or four in different weights and textures look lived in. Drape one over the back, fold one across a cushion, and leave one loose for grabbing on a cold night.

Stick to a warm neutral palette so the layers read as one cohesive pile instead of a mismatched pile. Wool and chunky cable knit hold up best against daily use.

Shop the Look

Add a Faux Fur Area Rug

Ivory faux fur area rug under a coffee table in a cozy living room

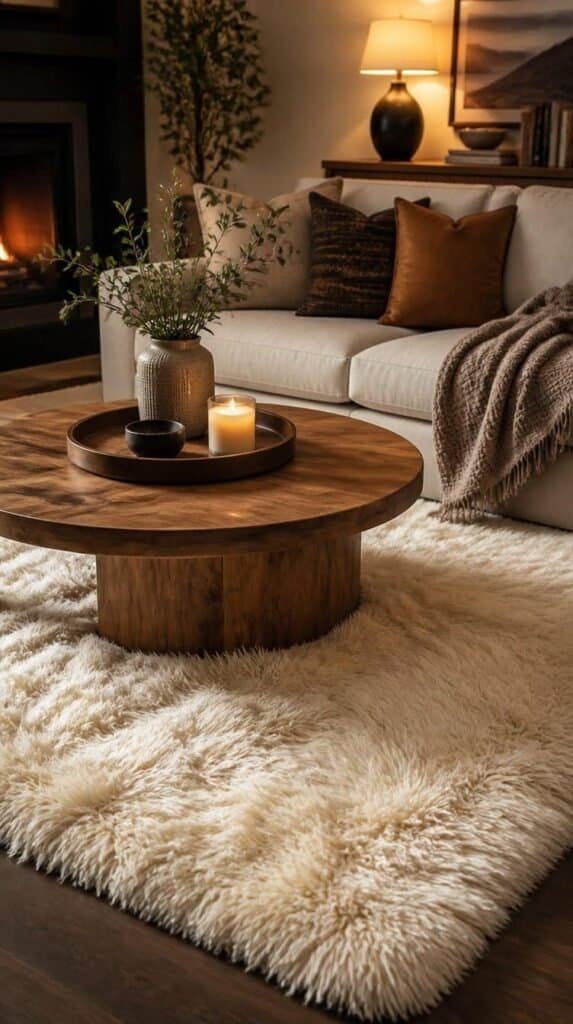
Bare feet on a cold floor is the opposite of hygge. A faux fur or shag rug under the coffee table softens the whole room instantly and gives you a warm landing spot for floor seating.

Choose ivory, oatmeal, or soft gray so it anchors the space without competing with your other textures.

Shop the Look

Switch to Warm Amber Lighting

Warm amber table lamp and floor lamp glowing in a cozy living room corner

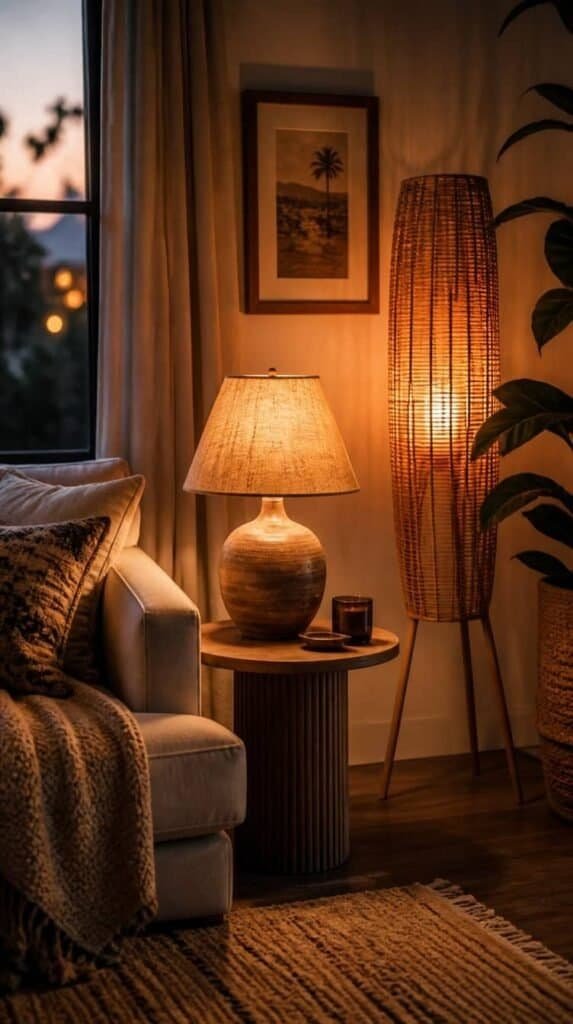
Overhead lighting kills a cozy mood on contact. Swap your bulbs for warm amber tones around 2700K and add two or three lamps at different heights around the room.

A dimmer switch takes this further, letting you drop the light low the moment the sun sets.

Shop the Look

Create a Fireplace Focal Point

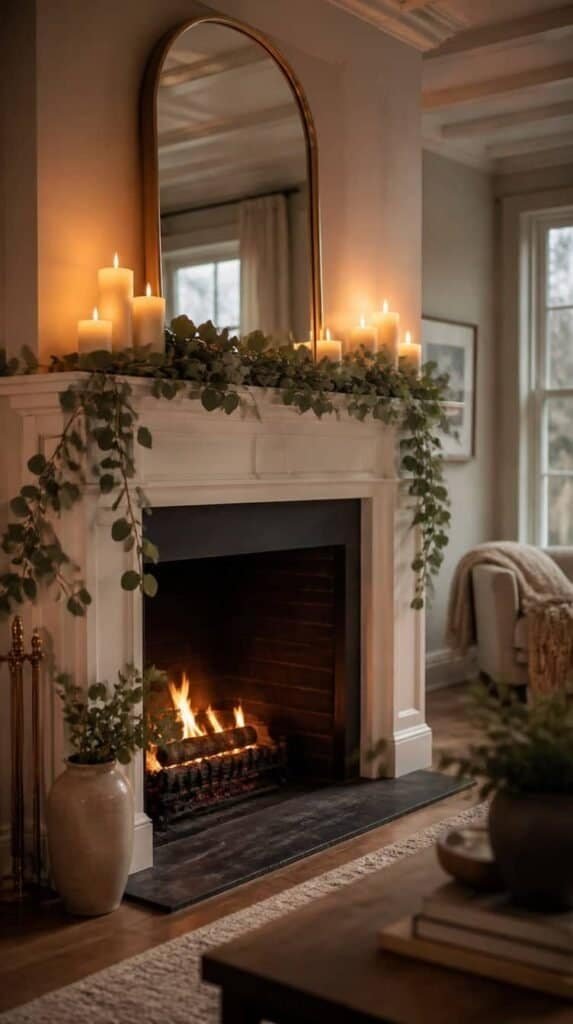
Styled fireplace mantel with pillar candles and greenery in a cozy living room

No working fireplace? An electric insert or a large candle arrangement on the mantel does the same job. It gives your eye a warm spot to land the moment you walk in.

Style the mantel with pillar candles at staggered heights and a piece of greenery for texture.

Shop the Look

Style a Window Reading Nook

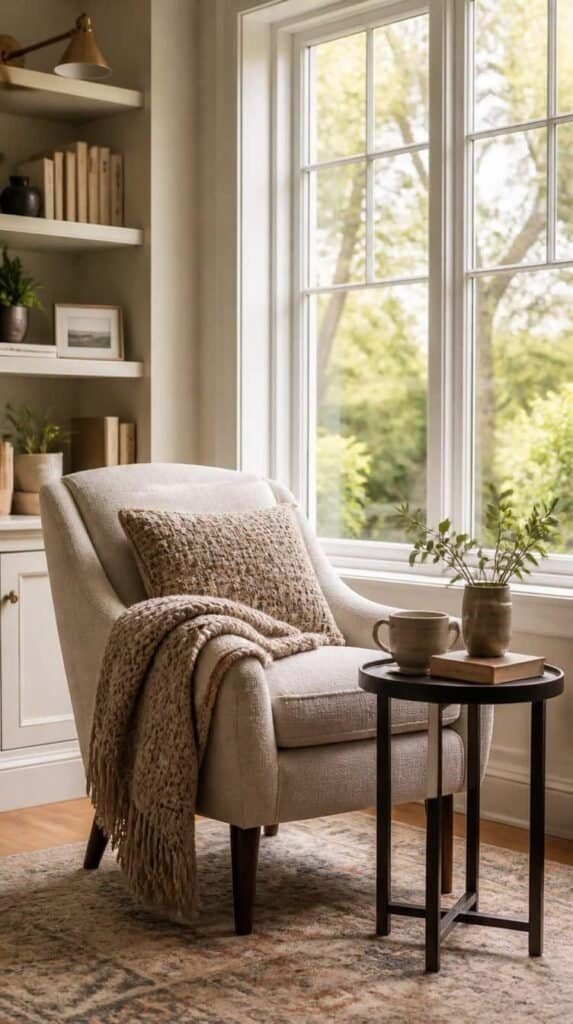
Cozy window reading nook with an accent chair and folded throw blanket

A chair angled toward the window with a throw and a small side table turns dead corner space into the room’s best seat. Add a reading lamp so it works after dark too.

Layer a cushion and a blanket over the chair so it looks inviting even when no one is sitting there.

Shop the Look

Bring in Beeswax Candles

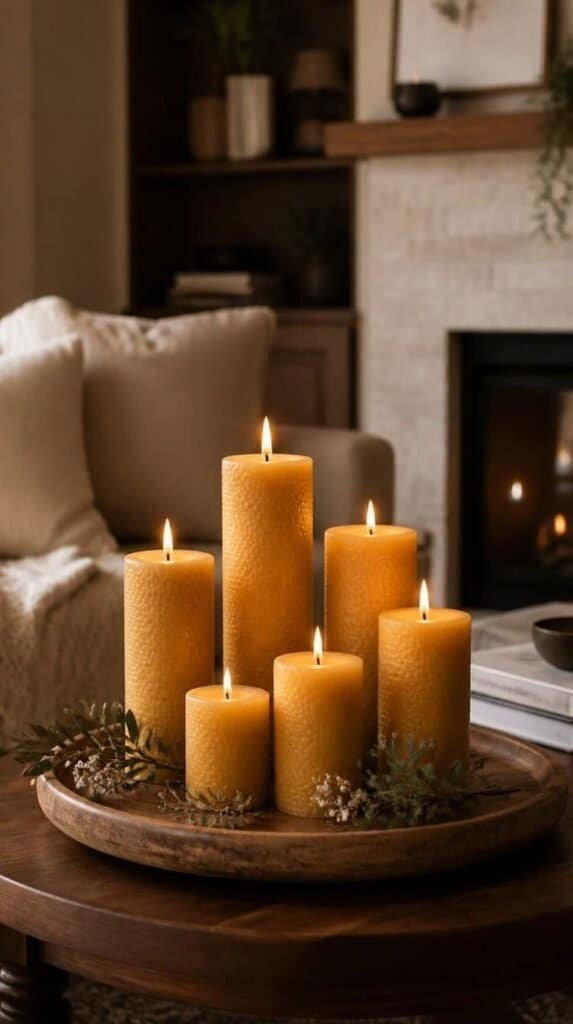
Cluster of beeswax pillar candles glowing on a coffee table tray

Beeswax candles burn with a honeyed warmth and a soft golden glow that overhead light cannot match. Cluster three or four on a tray on the coffee table.

Vary the heights for visual interest and keep them lit during evening hours for the full effect.

Shop the Look

Add Sheepskin Accent Chairs

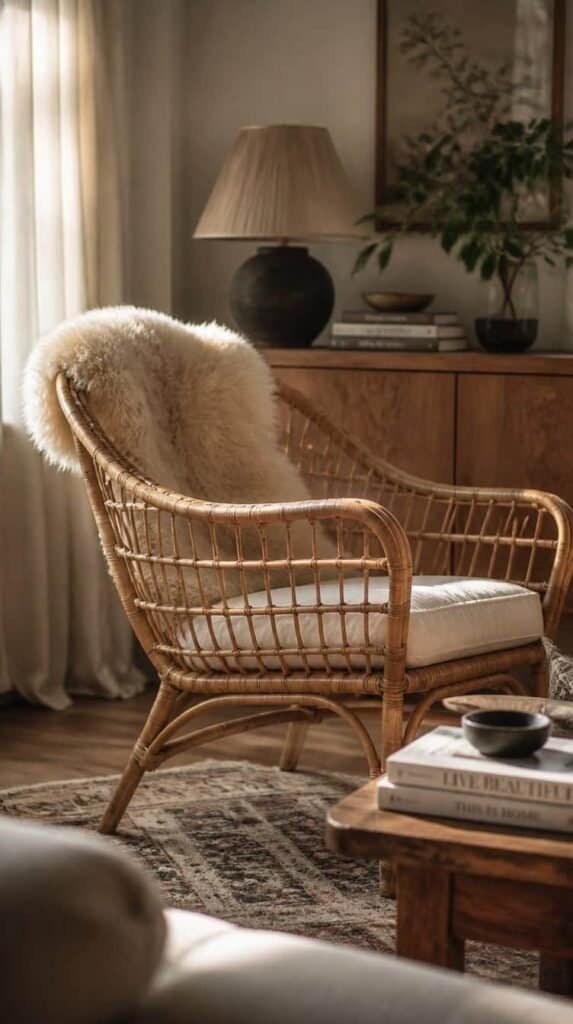
Sheepskin throw draped over a rattan accent chair in a cozy living room

Drape a sheepskin over the back of a wood or wicker accent chair and the whole piece reads warmer instantly. It softens hard lines and adds a texture your room is probably missing.

This works even better paired with a rattan or Scandinavian style chair frame.

Shop the Look

Layer a Wool Area Rug

Patterned wool area rug layered over a jute rug in a cozy living room

Layering a smaller wool rug over a larger jute or flatweave base adds depth to the floor and warmth underfoot in one move. It also grounds the seating area visually.

Pick a patterned wool layer to add interest without overwhelming the room.

Shop the Look

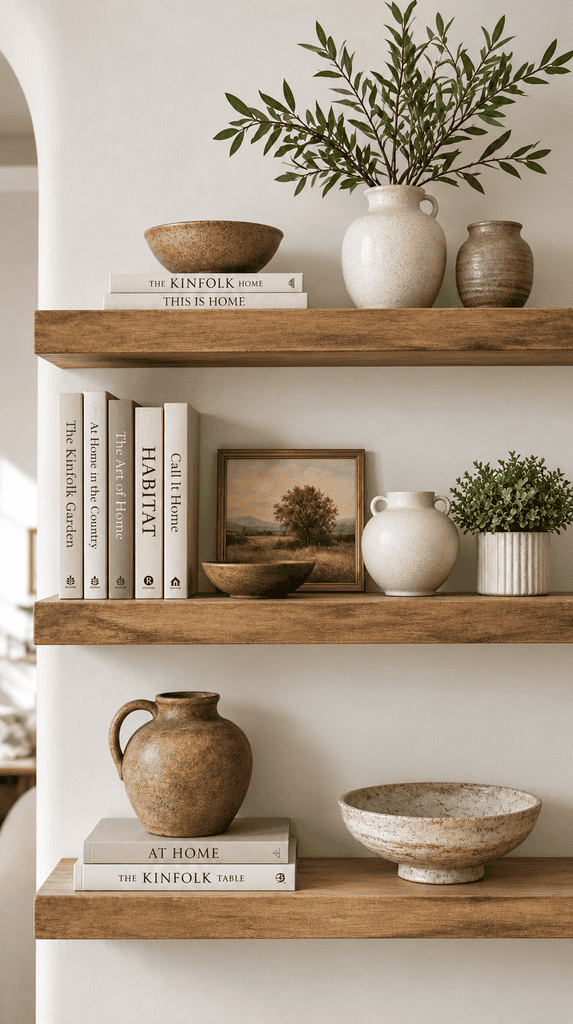
Add Wood Accent Shelving

Open wood floating shelves styled with ceramics and a small plant

Open wood shelving warms up a wall fast, especially paired with white or plaster walls. Style it with a mix of books, ceramics, and one small plant per shelf.

Leave some negative space so the shelf reads as curated instead of crowded.

Shop the Look

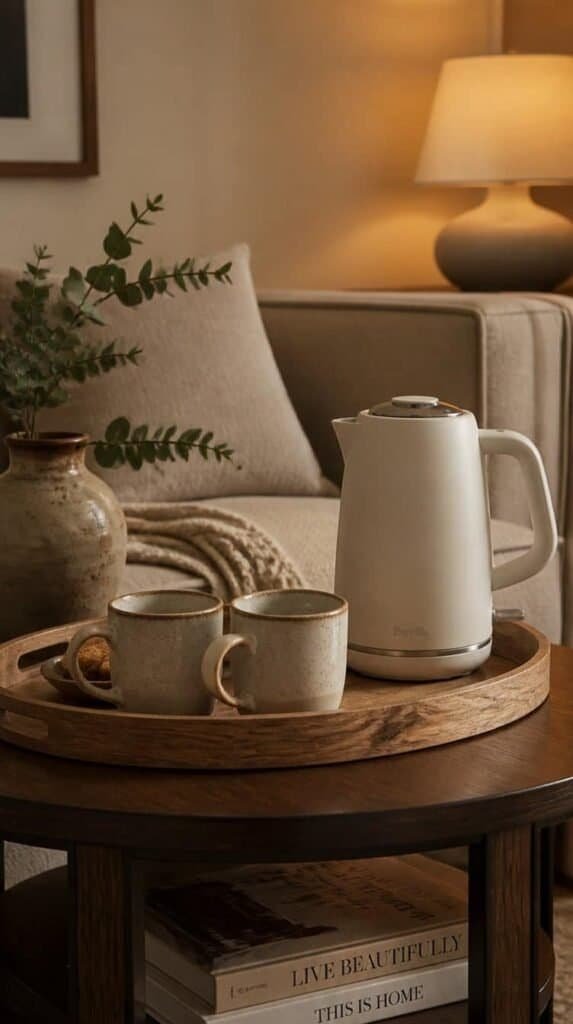
Create a Hot Drink Station

Wood tray with stoneware mugs and a kettle on a living room side table

A small tray with a kettle, mugs, and tea or cocoa on a side table turns your living room into the place people gather. It signals slow down and stay before anyone even sits.

Keep it simple: a tray, four mugs, and a jar of loose leaf tea is enough.

Shop the Look

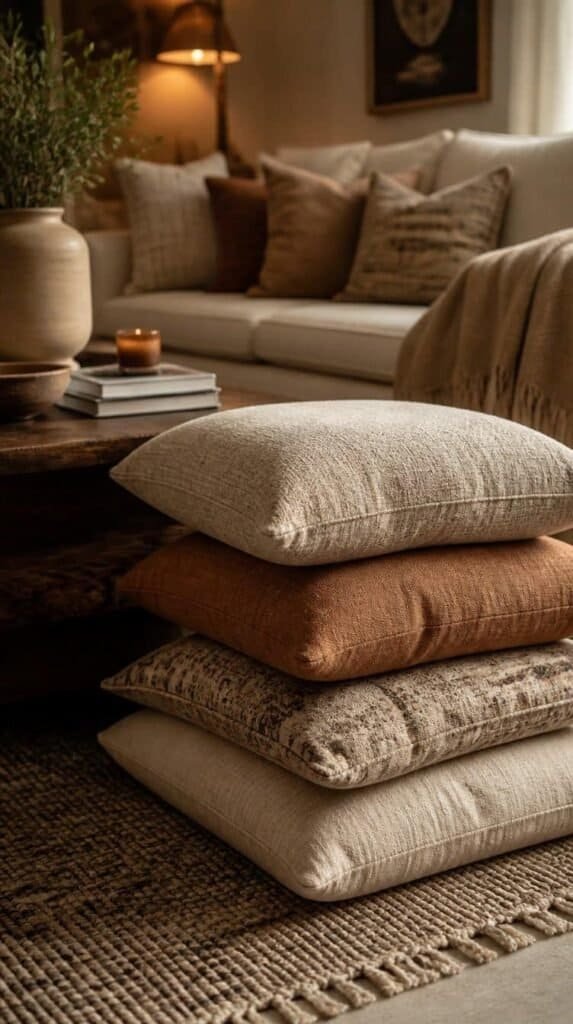
Add Floor Cushions for Extra Seating

Stack of warm neutral floor cushions near a living room coffee table

Floor cushions pulled up near the coffee table give a room extra low seating without adding furniture. They also make the space feel more relaxed and social.

Stack two or three near the fireplace or window nook so they are ready for movie nights.

Shop the Look

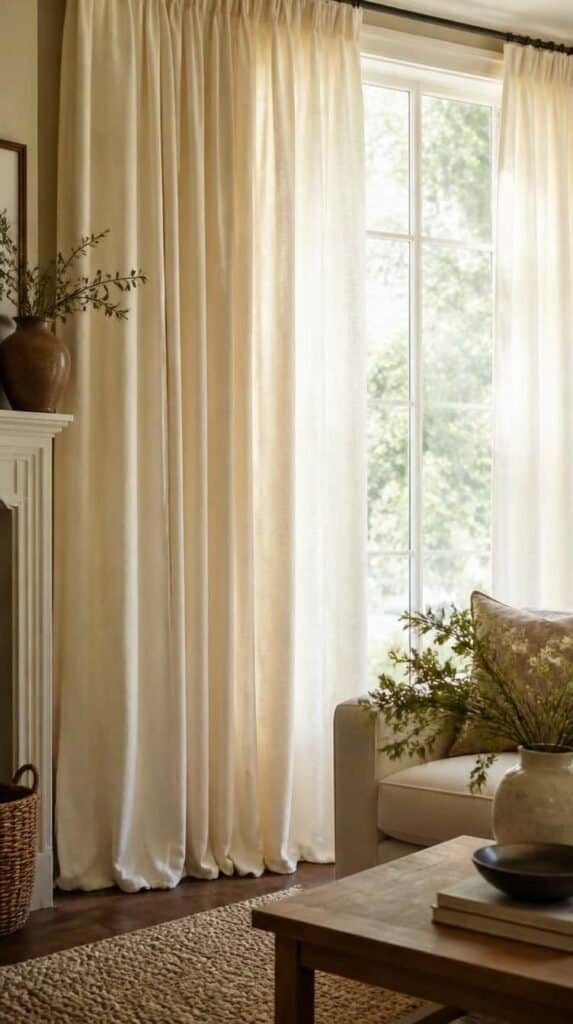
Hang Linen Curtains

Heavy linen curtains hanging beside a cozy living room window

Heavy linen curtains soften a window and add warmth to a room even before winter light gets short. Hang them high and wide so the window looks larger and the fabric pools slightly at the floor.

Choose a warm ivory or oatmeal shade rather than stark white for a softer feel.

Shop the Look

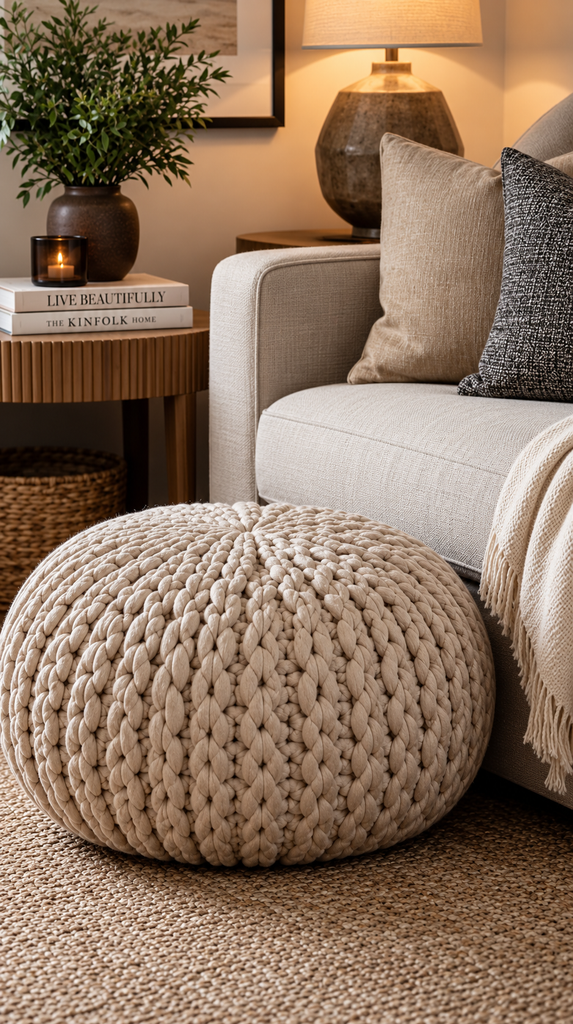
Add a Chunky Knit Pouf

hygge-living-room-section

A chunky knit pouf works as a footrest, extra seat, or side table in a pinch. The oversized stitching adds instant texture and it moves easily wherever you need it.

Pull it up near the sofa for propping up tired feet after a long day.

Shop the Look

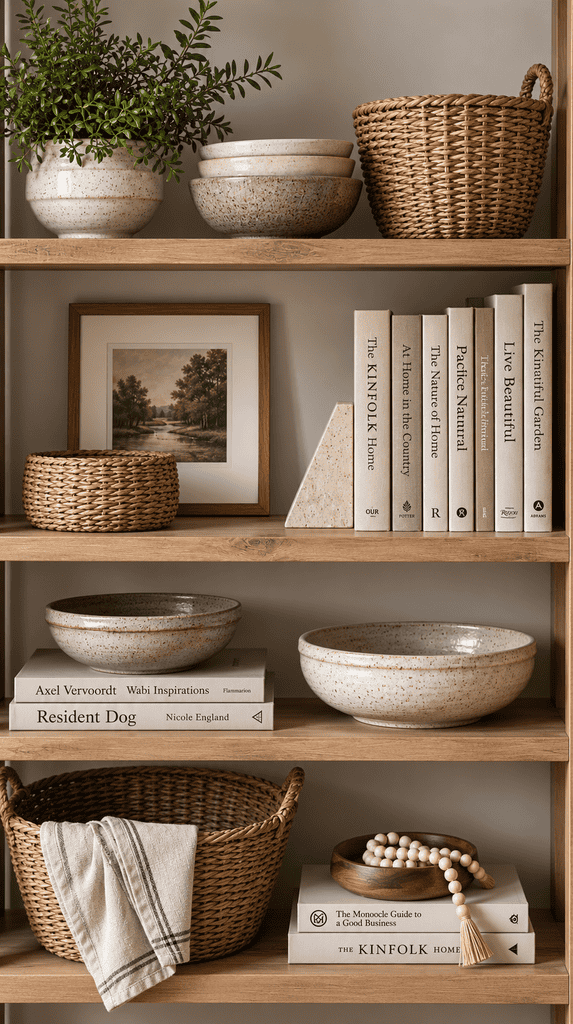
Style An Open Shelf with Warm Textures

hygge-living-room-ideas

Swap glossy or cold materials on your open shelving for warmer ones: stoneware, woven baskets, wood bowls, and linen bound books. The texture shift changes the whole feel of the wall.

Group items in odd numbers and vary the heights so the shelf feels intentional.

Shop the Look

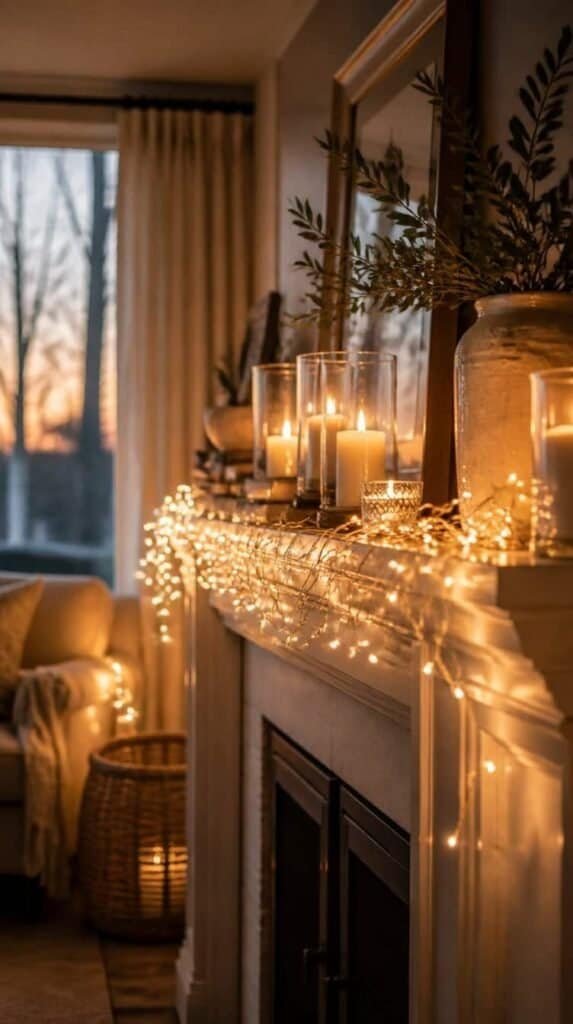
Add String Lights Along the Mantel

Warm white string lights draped along a living room mantel shelf

Warm white string lights draped along a mantel, shelf, or window frame add a soft glow without a single extra lamp. They read as intentional, not seasonal, when kept simple.

Tuck the battery pack or plug behind decor so the lights look like they are floating.

Shop the Look

Pick One. Start Today.

Winter is the season a living room either earns its keep or sits empty. These hygge ideas cover lighting, texture, and small styling touches so your space pulls double duty as a reading spot and a gathering room. Start with warm lighting, layer in a chunky throw and a faux fur rug, then add one styling moment like the mantel candles or the hot drink station. If you are ready for even more cozy home decor, be sure to check out How To Make Handmade Candles For Holiday Gifting for even more warm winter styling.

This post contains affiliate links. If you purchase through my links, I may earn a small commission at no extra cost to you. Thank you for supporting Room Revival Studio!

Every room you scroll past on Pinterest right now has the same thing in common: texture. Not paint color, not furniture brand, texture. Jute underfoot, rattan overhead, a woven basket doing the job three plastic bins used to do. Organic modern design leans on natural fiber because it warms up a room without adding a single extra color.

These 15 ideas bring this texture into your home this fall, one surface at a time. No renovation, no big budget, no risk of a look you will regret by spring. Each piece works on its own or layered together, and none of it requires a design background to pull off.

1. Layer a Jute Area Rug

Chunky jute area rug layered under a coffee table in a living room

A chunky jute rug anchors a room the way a paint color used to. It reads warm underfoot and pairs with almost any furniture finish you already own.

Honest caveat: jute sheds fibers for the first few weeks. A quick vacuum on the low setting handles it, and it settles down soon after installing it.

Shop the Look

2. Hang a Rattan Pendant Light

Woven rattan pendant light hanging above a dining table

Swap a builder grade fixture for a woven rattan pendant and the whole ceiling line changes. Light filters through the weave and throws pattern across the wall at night.

Hot tip: pick a pendant one size larger than feels comfortable. Rattan reads lighter than it looks in photos.

Shop the Look

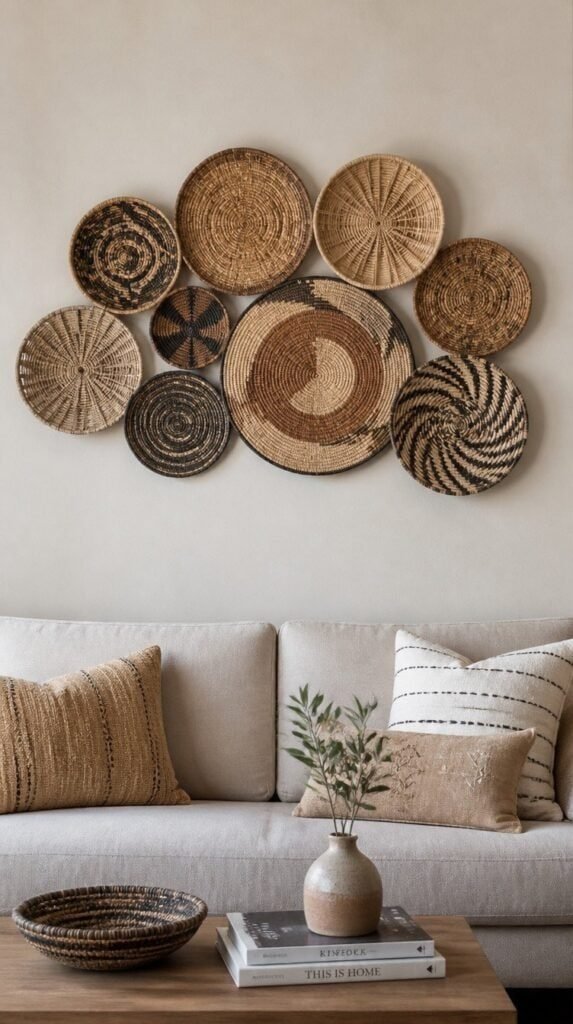
3. Turn Woven Baskets Into Wall Art

Woven basket wall art arranged in a cluster above a sofa

Cluster flat woven baskets on the wall above the sofa instead of framed prints. It fills space with dimension and costs a fraction of original art.

Mix two or three sizes and hang them slightly overlapping for a fuller look.

Shop the Look

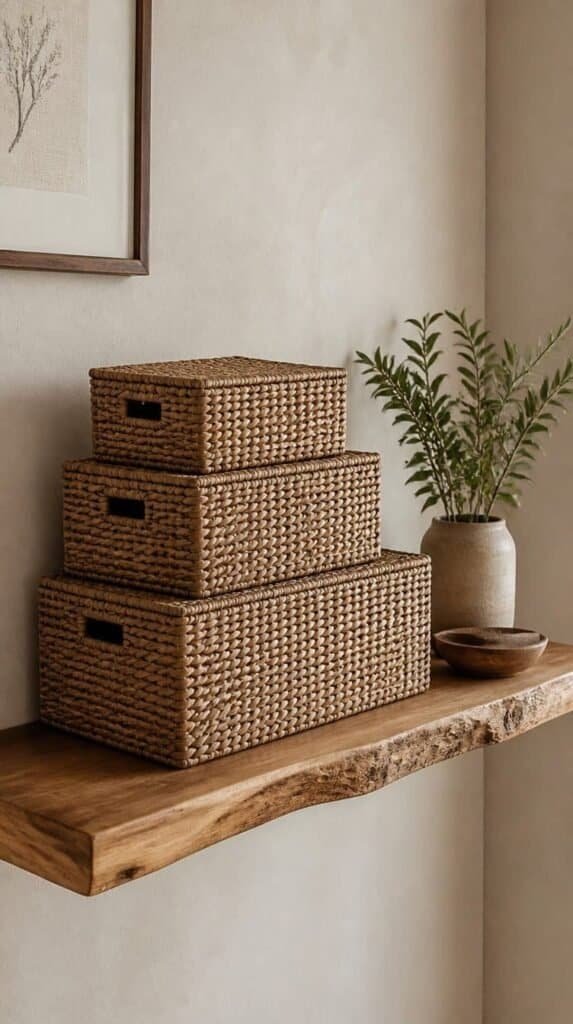
4. Swap Plastic Bins for Seagrass Storage

Seagrass storage baskets stacked on an open shelf

Every shelf has a bin nobody wants to look at. Swap it for a seagrass basket in the same size and the storage disappears into the design instead of interrupting it.

(It is still holding the same mismatched cords and remote batteries. It looks intentional now, and nobody has to know the truth.)

Shop the Look

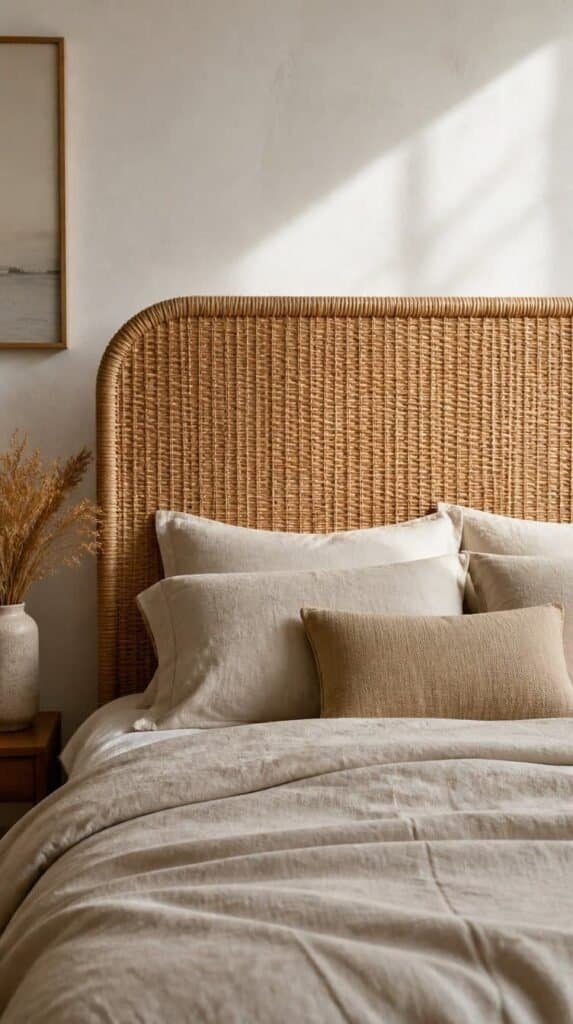
5. Frame the Bed With a Rattan Headboard

Woven rattan headboard framing a bed with neutral linens

A rattan headboard softens a bedroom instantly, and unlike upholstered options it never stains or holds onto odor.

Pair it with plain white or oat linens so the weave stays the star of the wall.

Shop the Look

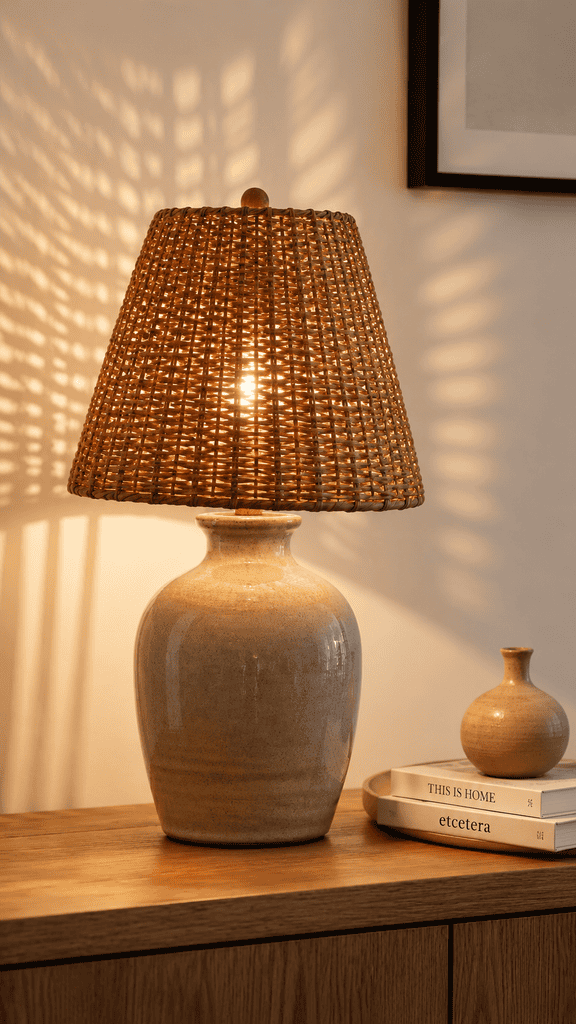
6. Add a Woven Lampshade

natural-fiber-decor-section-6

A woven shade throws softer, more dappled light than plain fabric, and it swaps onto most existing lamp bases in under a minute.

Check the harp size before you order. This one measurement trips people up more than any other step.

Shop the Look

7. Bring in a Jute Pouf

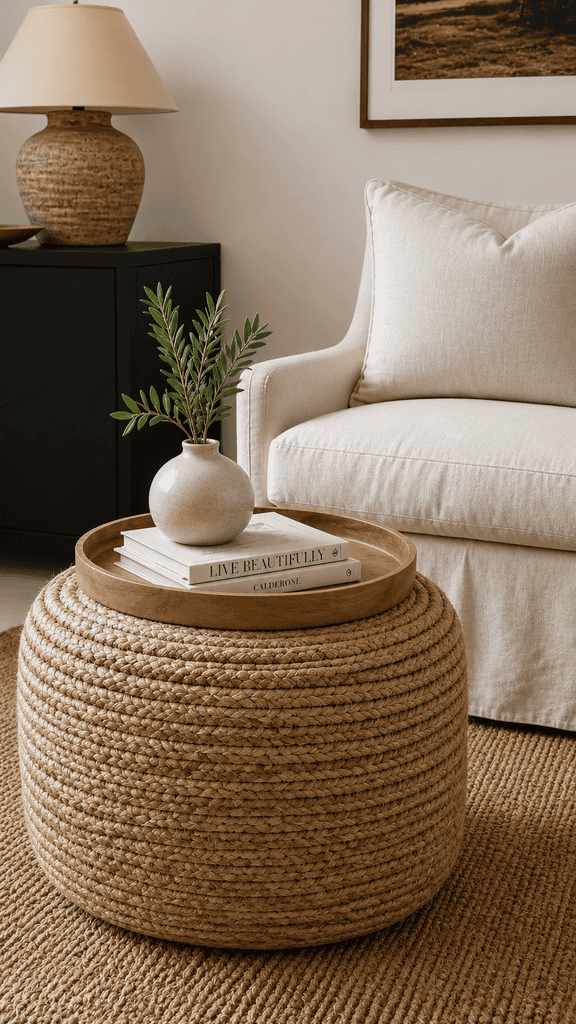
natural-fiber-decor-section-7

A jute pouf works as extra seating, a footrest, or a side table stand-in, and it moves easily since it weighs almost nothing.

Set a round wood tray on top and it becomes a table the moment guests need one.

Shop the Look

8. Hang a Rattan Mirror

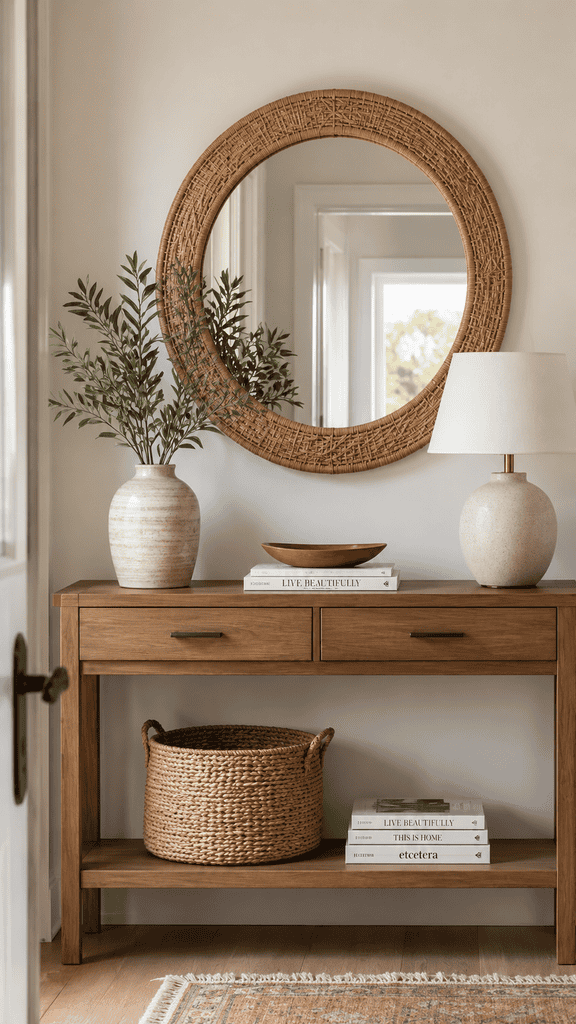
natural-fiber-decor-section-8

A rattan framed mirror adds texture and reflects light at the same time, which makes it one of the most efficient upgrades in this whole list.

Round frames soften a room full of straight lines. Rectangular frames pull a wall together in an entryway.

Shop the Look

9. Set the Table With Woven Placemats

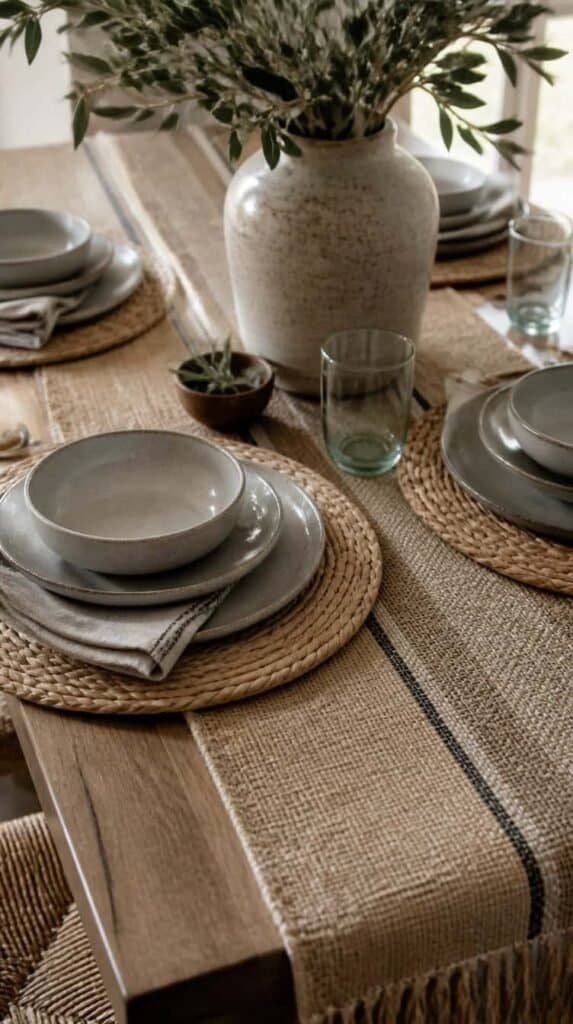
Woven placemats and a jute table runner set on a dining table

Swap fabric placemats for woven ones and even a weeknight dinner looks styled without extra effort on your part.

They wipe clean, which matters more than any styling point once real meals happen on top of them.

Shop the Look

10. Update Cabinet Doors With Cane Webbing

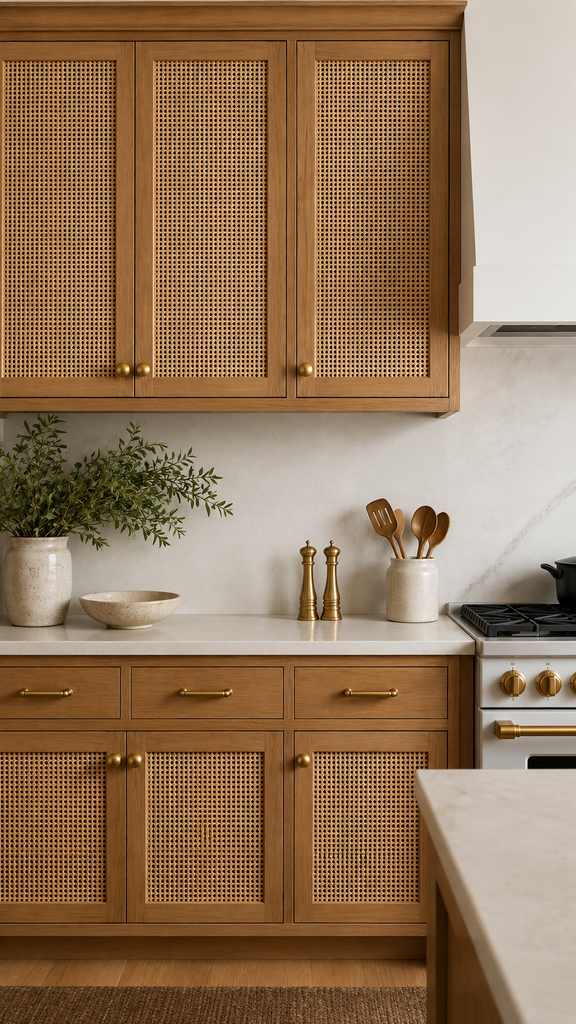
natural-fiber-home-decor-section-10

Cane webbing panels applied to flat cabinet fronts turn builder grade cabinetry into a custom looking upgrade, all in a weekend instead of a full remodel.

Start with one cabinet before committing to the whole kitchen. It is easier to gauge the look at a smaller scale first.

Shop the Look

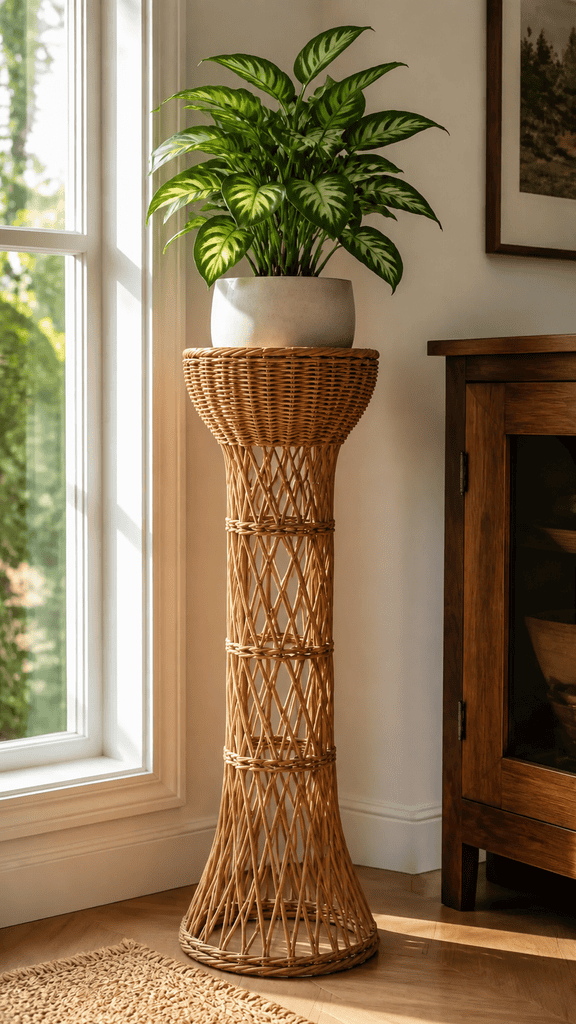
11. Elevate Plants With a Wicker Stand

natural-fiber-home-decor-section-11

A tall wicker plant stand lifts greenery into the light and adds height to a room without buying more furniture.

Group three stands at different heights near a window for a small indoor garden moment.

Shop the Look

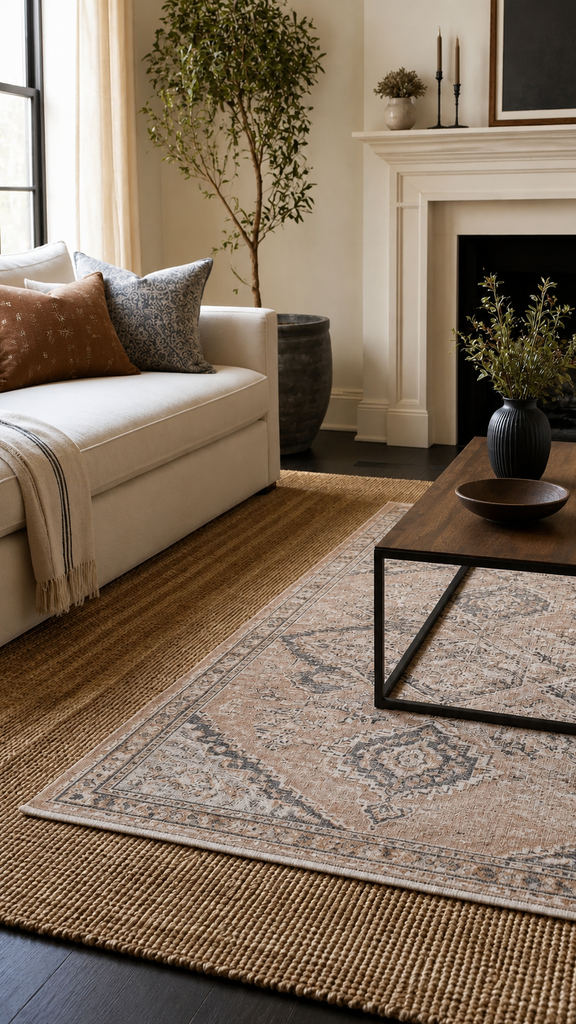
12. Layer Wool and Jute Rugs

Wool accent rug layered on top of a jute area rug in a living room

Layer a smaller wool or pattern rug on top of a jute base and the floor instantly reads more designed than either rug alone.

Rotate the top rug seasonally while the jute base stays put year round.

Shop the Look

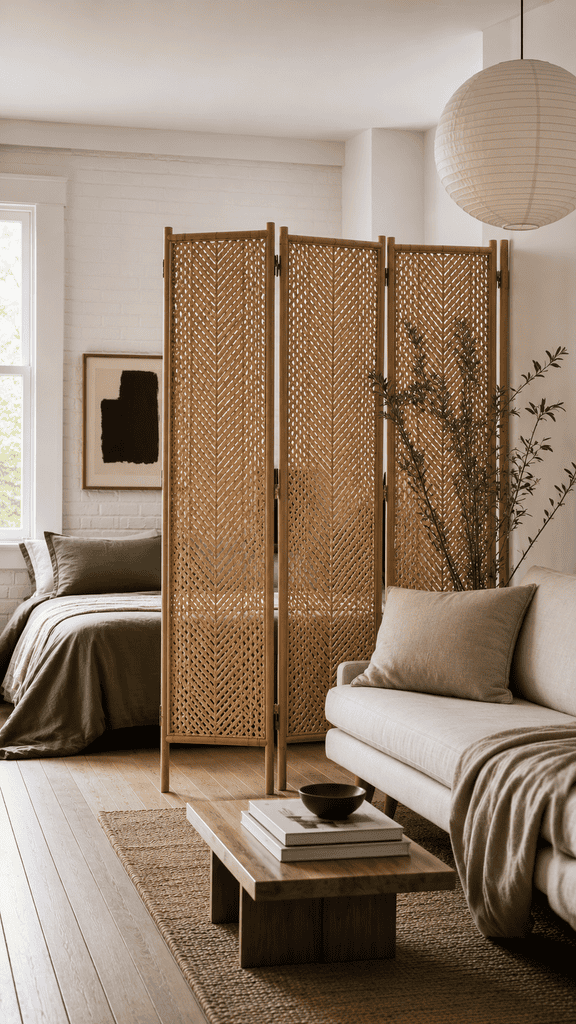
13. Add a Woven Room Divider

Woven bamboo room divider screen separating a small living space

A woven screen divides a studio or open floor plan without a wall, and it folds flat for storage the moment you need the space back.

Use it behind a desk to separate a work corner from the rest of the living room.

Shop the Look

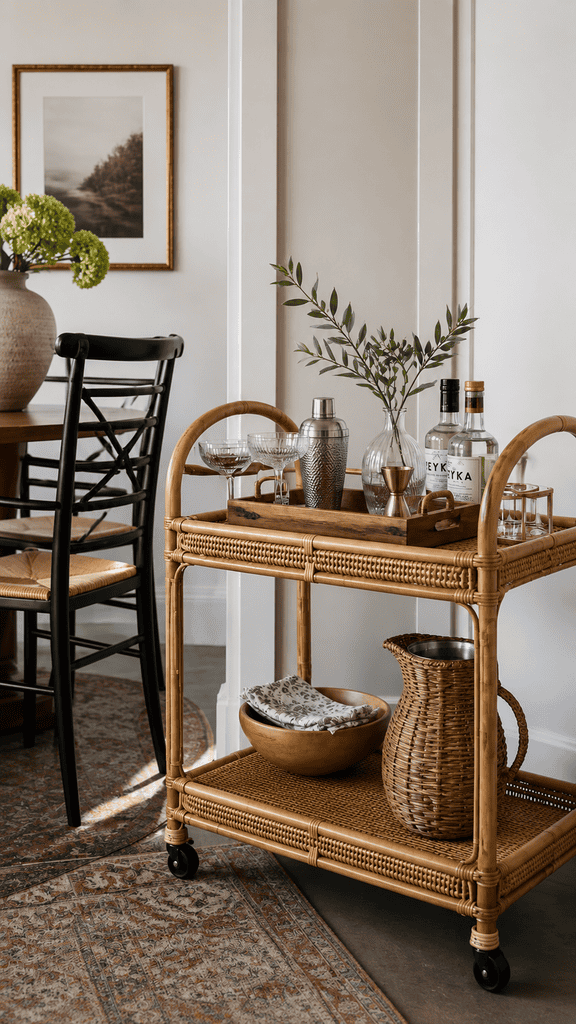
14. Roll in a Rattan Bar Cart

Rattan bar cart styled with glassware in a dining nook

A rattan bar cart adds function and texture in one move, and it moves with you if entertaining shifts from the living room to the patio.

Style the top shelf with glassware and leave the bottom shelf for extra storage nobody has to see.

Shop the Look

15. Finish With a Macrame Wall Hanging

Macrame wall hanging displayed above a bed in a neutral bedroom

A macrame hanging above the bed or sofa is the final piece, pulling every other natural fiber choice in the room together.

Choose one in undyed cotton so it reads organic modern instead of dorm room boho.

Shop the Look

Texture Is the Upgrade

Fall is the easiest season to lean into organic modern style, since warm neutrals and woven texture already match the mood outside your window. These 15 ideas cover the floor, the ceiling, the storage, and every surface in between, so the room feels finished without a single new color on the wall. None of it requires ripping anything out first, which is the whole appeal of leaning on texture over trend. Start with the jute rug, add one lighting swap, then layer in a basket cluster for texture at eye level. Three moves in and the room already reads warmer. If you are ready for even more 15 Organic Modern Decor Ideas for a Warm, Minimal Home for even more ways to bring natural texture into your space.

Finished organic modern living room styled with layered natural fiber texture

This post contains affiliate links. If you purchase through my links, I may earn a small commission at no extra cost to you. Thank you for supporting Room Revival Studio!

You keep scrolling past punch needle pillows and wall hangings wondering how anyone made something so plush and so polished. The truth is punch needle embroidery is one of the most forgiving crafts you will ever pick up, and you do not need a single hour of experience to make something you would display. Grab a hoop, a length of yarn, and twenty minutes tonight.

This guide walks you through every step, from threading your punch needle tool to finishing your first piece. Difficulty: beginner. Time: about 1 to 2 hours for a small design. Anyone with two hands and a little patience gets a piece worth framing by the end. This is one of the few beginner embroidery projects where your first attempt looks nearly as good as your fifth.

Punch needle embroidery skips the tiny stitches and knots that make traditional embroidery slow. One tool, one motion, repeated across your fabric, builds a plush textured surface in a fraction of the time. If you searched for how to punch needle before landing here, this walkthrough covers the full process start to finish.

What You Need

Punch needle embroidery uses fewer supplies than most hobbies you have tried. Here is everything to grab before you start, all budget friendly and reusable across every future project.

An adjustable punch needle tool lets you switch loop height between projects, which matters more than it sounds once you start making pillows, coasters, and wall pieces with different textures. Monk’s cloth stays the standard fabric choice because its open weave lets the needle glide through without resistance. A basic wood embroidery hoop set in two or three sizes covers nearly every small project you will start as a beginner.

Step 1: Set Up Your Hoop

Monks cloth fabric stretched tight inside a wood embroidery hoop for punch needle

Stretch your monk’s cloth across the hoop until it feels tight like a drum. Loose fabric ruins your loops before you even start.

Tighten the hoop screw a few extra turns once it feels snug. A little extra tension now saves you from re-stretching mid project.

Test the tension by pressing a finger into the center of the fabric. It should bounce back with almost no give, similar to a trampoline surface.

Step 2: Sketch Your Design

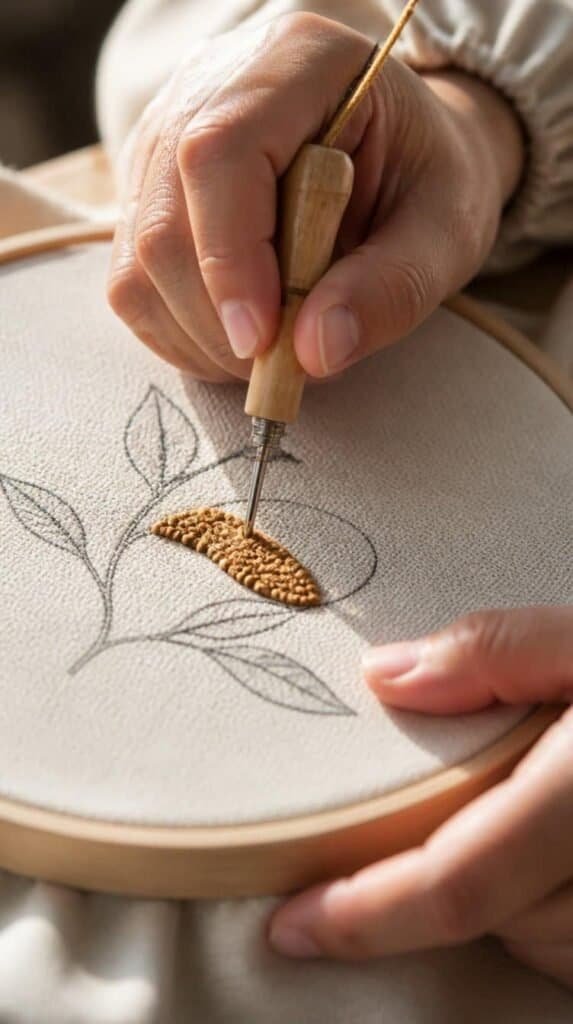
Hand drawing a simple floral outline onto monks cloth with a fabric marker

Draw a simple outline directly onto the fabric with a fabric marker. Stick to bold shapes for your first design, since tiny details get lost in the loops.

A flower, a wave, or initials work great here. Save the detailed portraits for round two.

Trace over a printed template held against a bright window if freehand drawing feels intimidating. This trick removes the guesswork for your first design.

Step 3: Thread Your Punch Needle

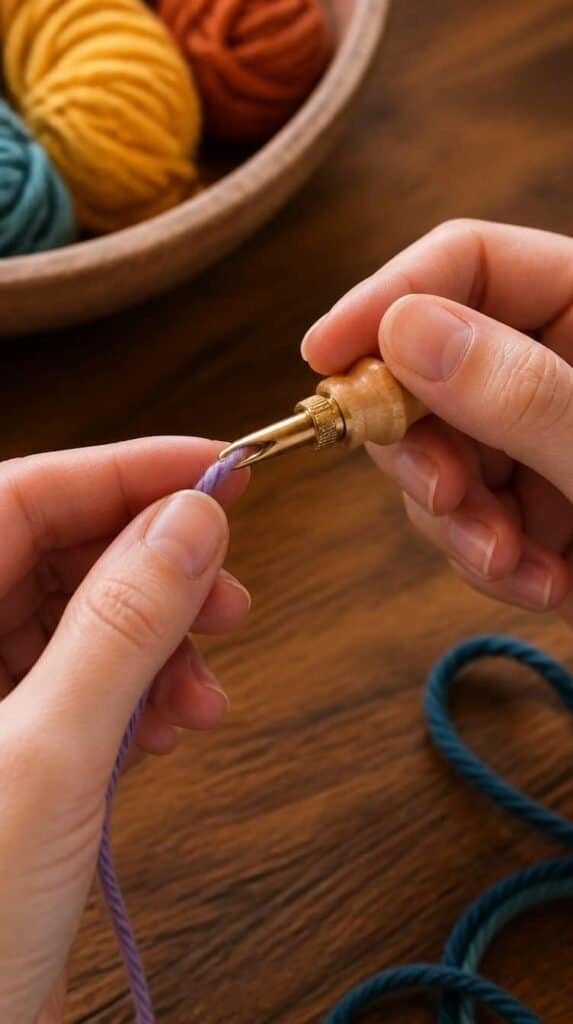
Close up of hands threading colorful yarn through an adjustable punch needle tool

Feed your yarn through the handle and out the tip following your tool’s threading diagram. Every brand threads a little differently, so keep the instruction card nearby the first few times.

Set your needle depth for the fabric thickness you chose. Deeper settings work for thicker monk’s cloth and shorter loops.

Pull an extra six inches of yarn through the tip before your first punch. A short tail slips back out of the needle mid stitch and forces you to rethread.

Step 4: Punch Your First Line

Hands guiding a threaded punch needle along a marked outline on stretched fabric

Hold the needle like a pencil with the bevel facing your direction of travel. Punch straight down, lift slightly, and slide along your outline without pulling up too high.

Keep the same hand direction the whole time. Switching direction mid line creates gaps that show on the front.

Move slower than feels natural for your first outline. Speed comes fast once your hand learns the rhythm, and rushing early leads to skipped spots.

Step 5: Fill In Your Shape

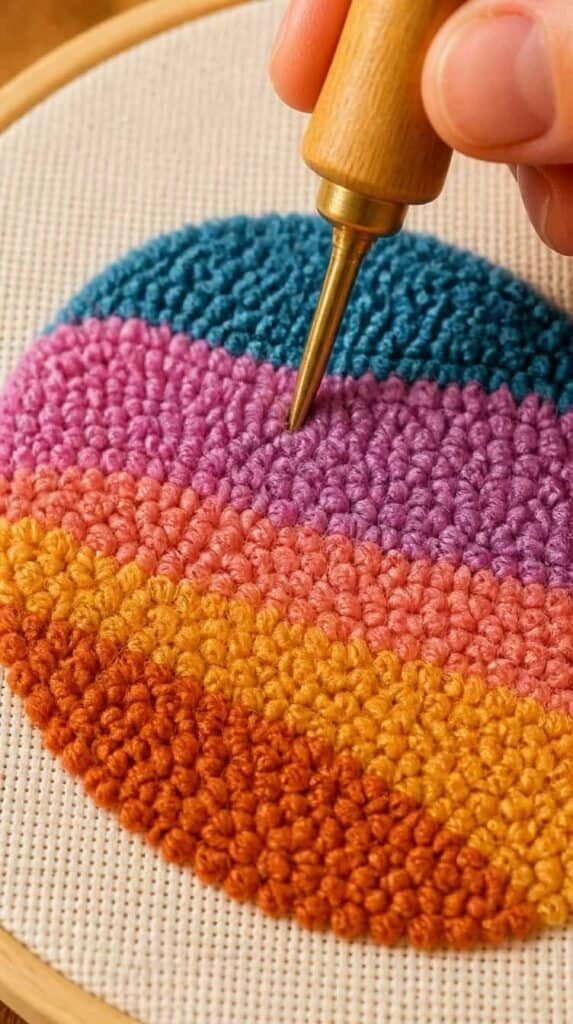
Punch needle filling in a rounded shape with dense colorful loops row by row

Work in rows packed close together so no fabric peeks through the loops. Circle the outline first, then fill toward the center.

Check the back often. Even loops on the back mean even loops on the front.

Rotate your hoop as you fill instead of twisting your wrist into awkward angles. Your loops stay consistent when your hand stays in a natural position.

Step 6: Switch Colors Cleanly

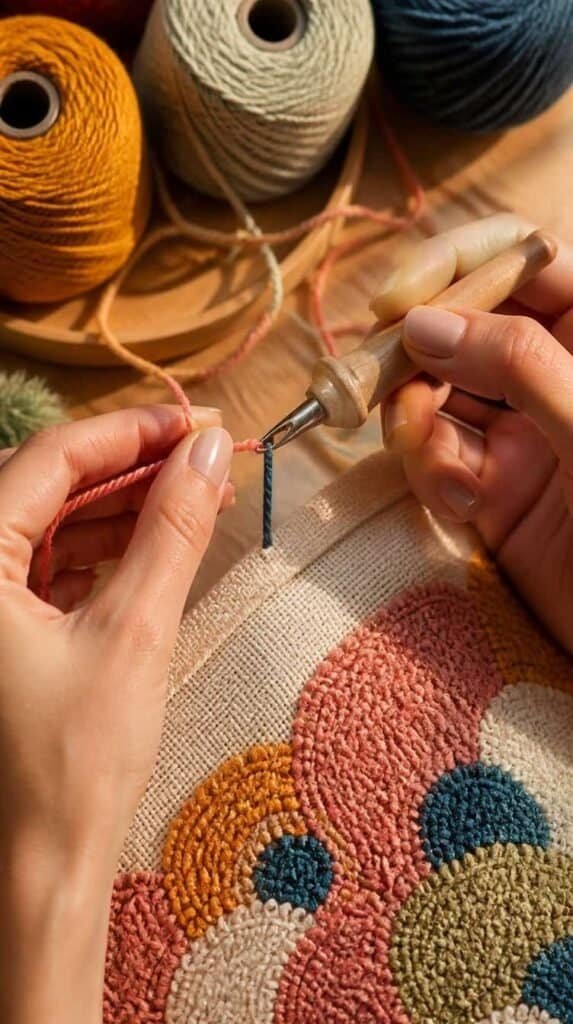
Hands changing yarn colors on a punch needle tool mid project

Cut your yarn close to the fabric before rethreading a new color. Start the new color right next to where the last one ended so there is no visible seam.

Trim any loose tails on the back once you finish a section.

Leave a small gap between colors rather than punching them flush against each other. That tiny buffer keeps colors from blending into a muddy line.

Step 7: Trim And Even Out Loops

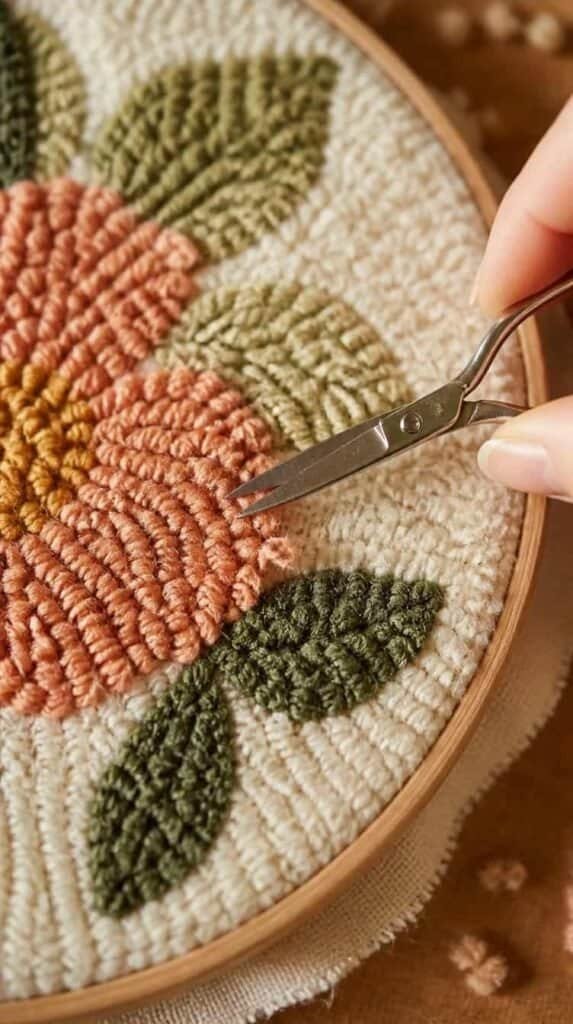
Small scissors trimming uneven yarn loops on a finished punch needle piece

Snip any loops sitting taller than the rest so the surface reads smooth and even. Step back every few snips to check the whole piece rather than one small patch.

This is the step people skip, and it is the one that makes your piece look finished instead of homemade.

Use small sharp scissors instead of household shears for this part. Precision matters more than speed once your design is fully filled.

Step 8: Finish The Back

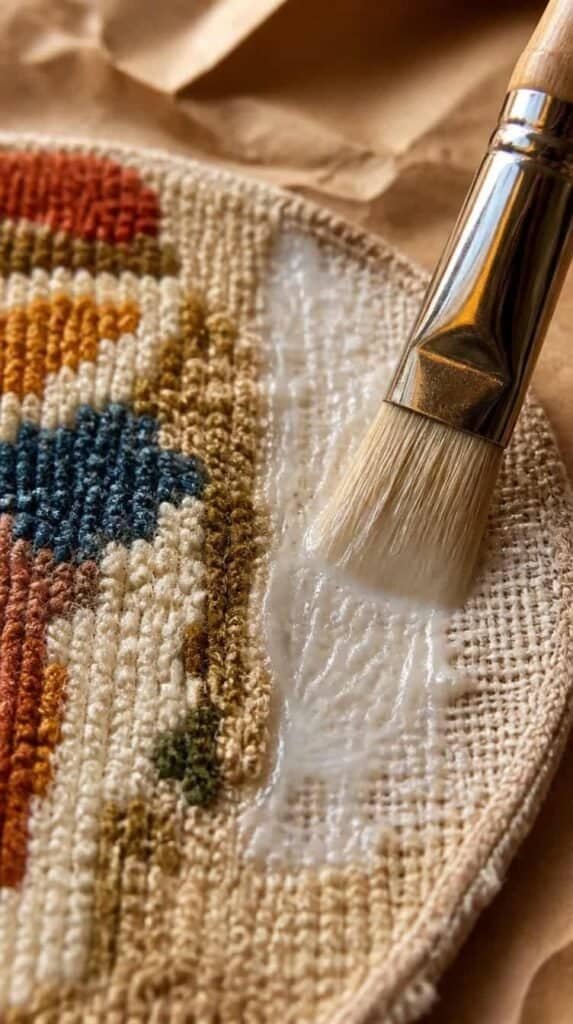
Fabric glue being applied to the back of a finished punch needle embroidery piece

Apply a thin layer of fabric glue over the entire back once you remove the piece from the hoop. This locks every loop in place so nothing pulls loose with handling.

Let it dry flat overnight before framing, hanging, or turning it into a pillow.

Common Beginner Mistakes To Avoid

Loose fabric tension tops the list. A saggy hoop pulls your loops uneven no matter how careful your hand stays, so recheck tension every ten minutes if this is your first punch needle kit.

Skipping the practice scrap is another common slip. Ten minutes on a spare piece of monk’s cloth saves an hour of unpicking loops from your real design.

Forgetting to seal the back rounds out the top three. An unsealed piece sheds loops the first time it gets bumped, undoing an hour of careful work in seconds.

Shop the Look

Pro Tips

  • Practice your first few rows on a scrap piece of monk’s cloth before touching your real design. It takes the pressure off and builds the muscle memory fast.
  • Keep your loop height the same throughout one shape. Mixing heights within a single color block reads messy even when the color work is perfect.
  • Work under a bright light. Punch needle shadows hide gaps you will notice the moment you move to regular lighting.
  • Store leftover yarn in small labeled bags sorted by color. Punch needle projects go fast once you get comfortable, and having your palette organized keeps you from stalling mid piece hunting for the right shade.

What You’ll End Up With

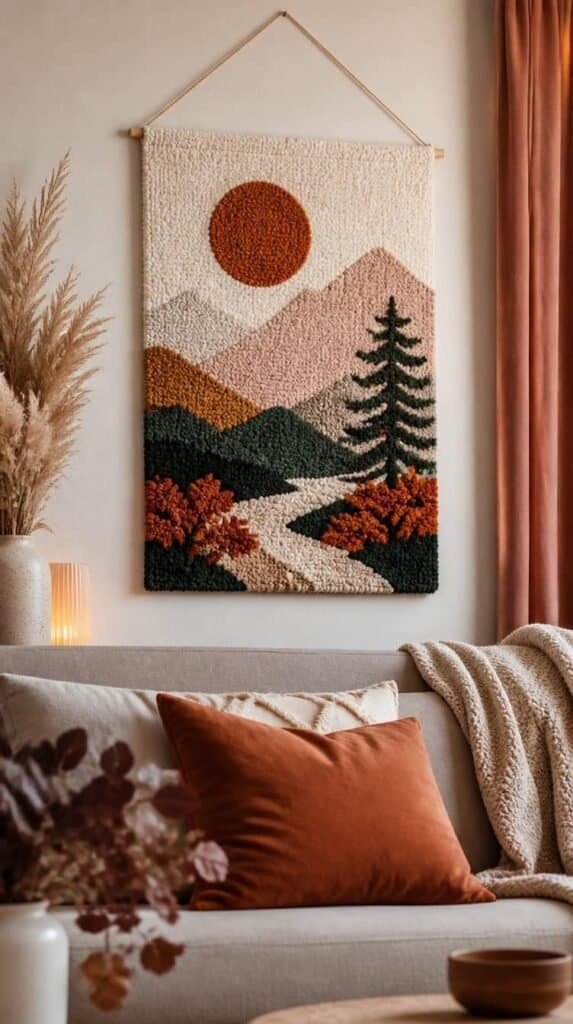
Finished punch needle embroidery wall hanging displayed in a cozy living room

A textured, hand-loomed piece that looks like it came from a boutique studio, not your kitchen table. Frame it, turn it into a small pillow, or hang it as is. Either way, it holds up as real wall art, not a beginner attempt tucked in a drawer. Most first timers finish their piece feeling ready to size up to a full punch needle wall hanging for their next weekend project.

Pick Up The Needle Tonight

Fall and winter evenings are made for a slow, hands-on project like this one. Punch needle covers wall art, pillow covers, and even small coasters once you get comfortable with the basic loop, and every piece takes a fraction of the time traditional embroidery demands. Start with one small hoop, master the fill technique, and build toward a piece big enough for your living room wall. If you are ready for even more cozy handmade projects, be sure to check out 18 Winter Craft Night Themes For Girls Night In for even more ideas to fill your next slow weekend.

This post contains affiliate links. If you purchase through my links, I may earn a small commission at no extra cost to you. Thank you for supporting Room Revival Studio!

Winter nights get long fast, and scrolling on the couch only fills so many hours before you want something to show for your evening. A winter craft night with your favorite people fixes that. Pour something warm, clear the table, and pick a project that ends with everyone holding something they made themselves.

These 18 themes cover every skill level and every budget, from a five dollar candle pour to a full gift wrapping station. Pick one for your next girls night in and build a tradition worth repeating all season.

1. Candle Pouring Night

Hands pouring melted wax into glass jars for a DIY candle making night

Set up a melting station with soy wax and a handful of scent oils and let everyone build their own signature candle. Vanilla, cedar, and peppermint cover most preferences for a winter session.

Reuse pretty jars or grab a set of small tins so each candle looks finished the moment it sets.

Shop the Look

2. Ornament Painting Party

Hands painting glass ornaments with colorful acrylic paint on a winter craft table

Grab a set of clear glass ornaments and let everyone paint their own design. Marbled paint pours, hand-lettered names, and simple polka dots all photograph beautifully on a tree.

Lay down newspaper first. Paint pours get messy fast, and everyone will thank you for the easy cleanup.

Shop the Look

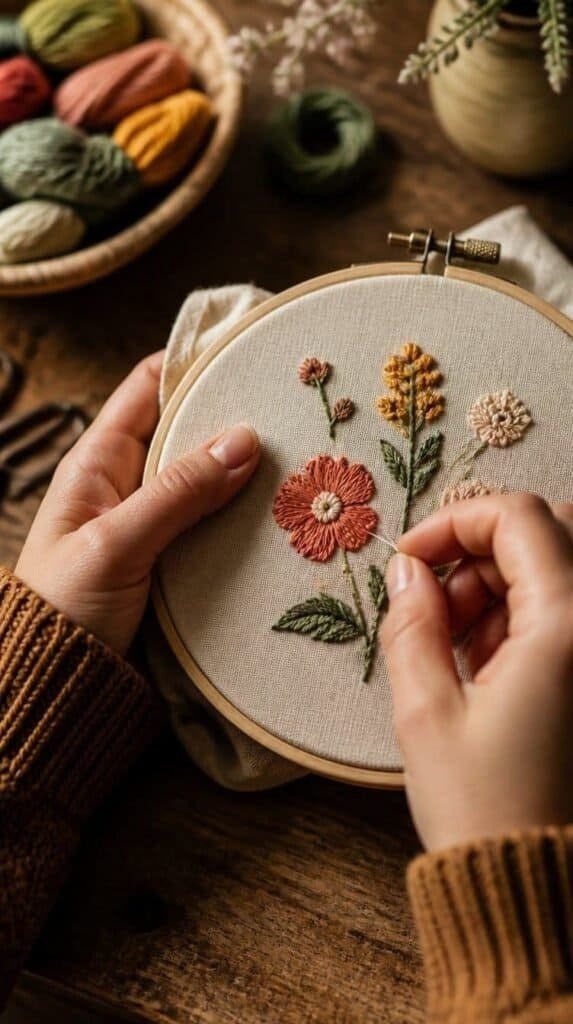
3. Embroidery Hoop Art

Hands stitching simple embroidery hoop art with colorful thread for a winter craft night

Hand out pre-printed patterns and let everyone stitch a small hoop over drinks and conversation. Simple line work and lettering keep the skill level low for beginners at the table.

This one moves slow, which makes it the perfect pick for a night meant for talking as much as making.

Shop the Look

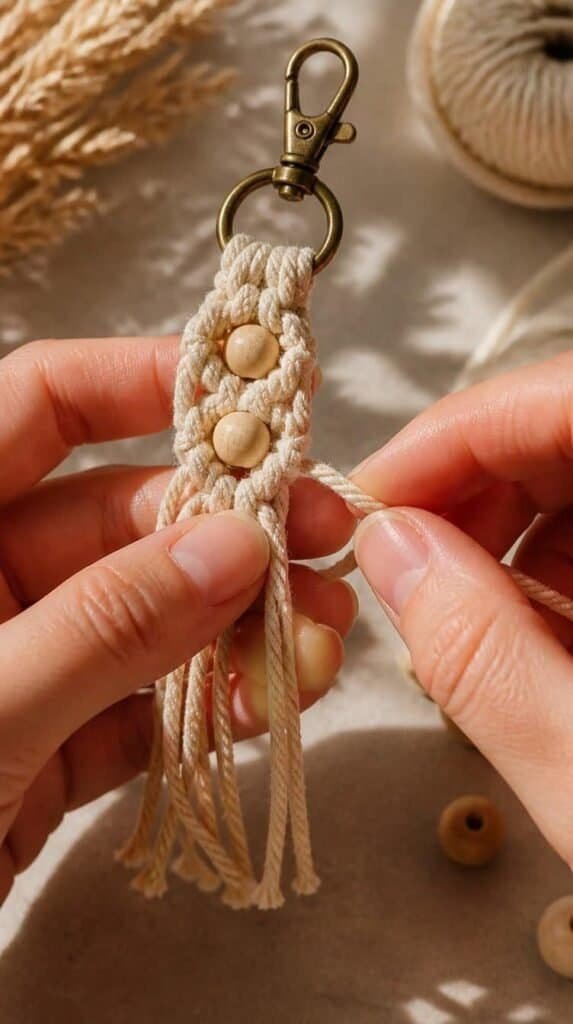
4. Macrame Keychains

Hands knotting macrame cord into a small keychain for a winter craft night

Macrame cord and a wood ring turn into a keychain in about twenty minutes once everyone learns two basic knots. It is the fastest project on this list and doubles as a party favor everyone leaves with.

Print a one-page knot guide ahead of time so nobody feels lost at the table.

Shop the Look

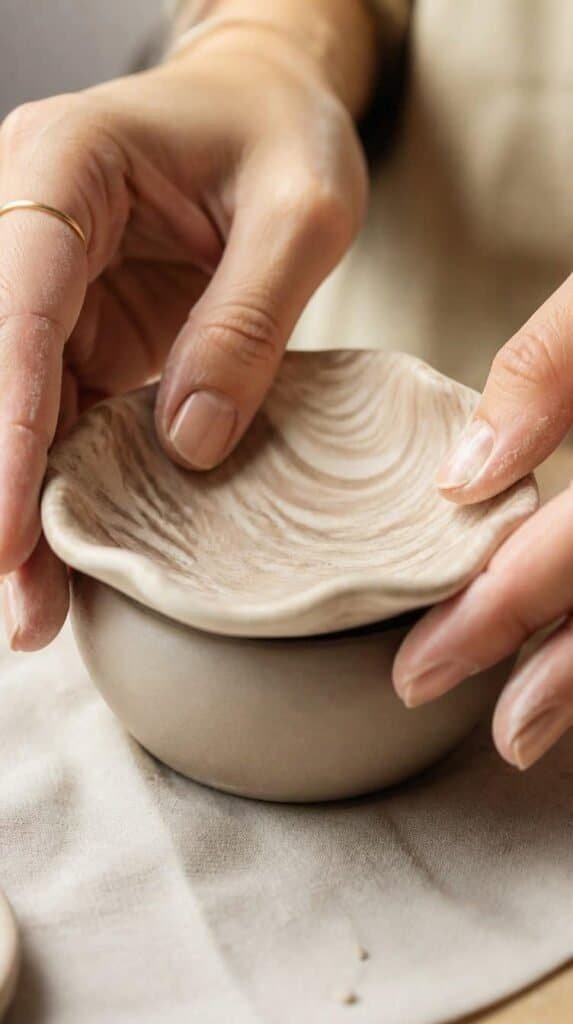
5. Polymer Clay Trinket Dishes

Hands shaping polymer clay into a small trinket dish for a winter craft night

Roll and drape polymer clay over a small bowl to form a catch-all dish for rings and earrings. A home oven bakes them hard in under thirty minutes.

Marbled clay colors look the most expensive with the least effort, so start there if this is anyone’s first try.

Shop the Look

6. Watercolor Greeting Cards

Hands painting a watercolor holiday greeting card at a winter craft night

Set out watercolor paper and a simple starter palette so everyone paints their own set of holiday cards. Loose winter scenes forgive shaky brush hands better than detailed portraits.

Send everyone home with their finished set plus envelopes so the cards get mailed, not shelved.

Shop the Look

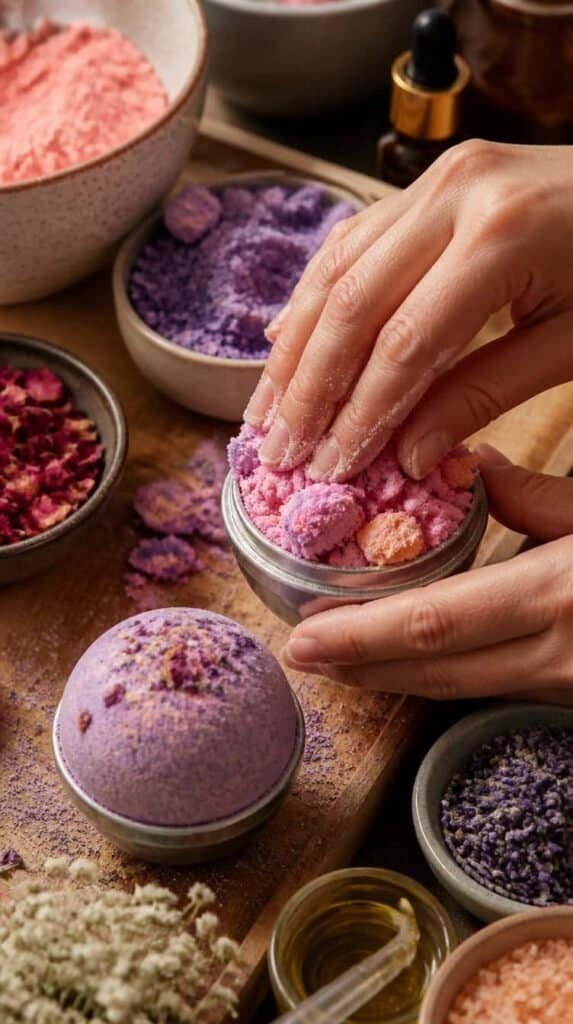
7. DIY Bath Bombs

Hands packing colorful DIY bath bomb mixture into a mold for a winter craft night

Mix baking soda, citric acid, and a few drops of essential oil, then press the mixture into molds. They harden overnight and make an easy party favor for everyone to take home.

Layer two colors in each mold for a marbled look that feels store bought.

Shop the Look

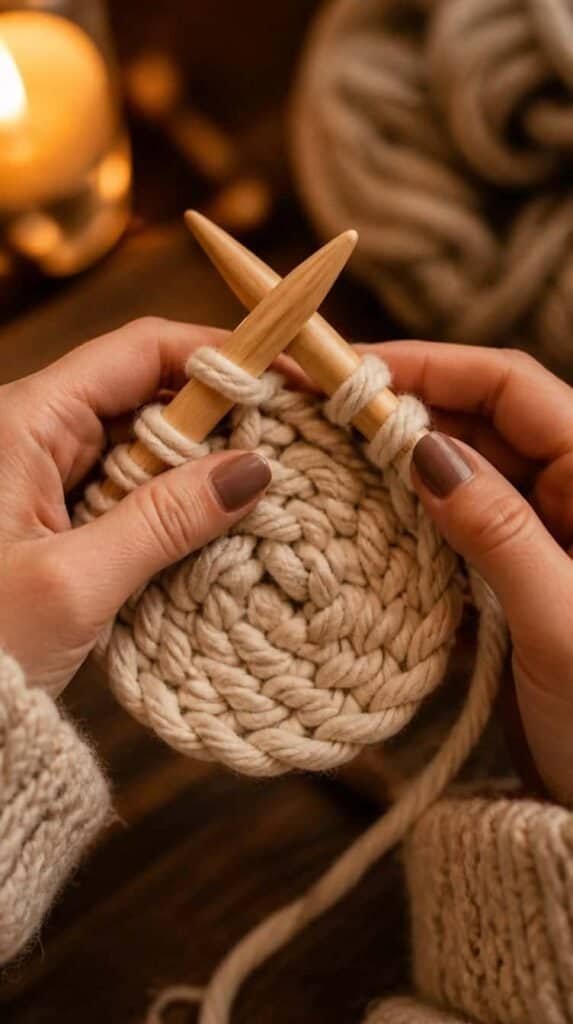
8. Knit Coasters

Hands knitting a small chunky yarn coaster for a winter craft night

Chunky yarn and oversized needles turn a coaster into a fifteen-minute project, even for someone who has never held knitting needles before. It is the easiest entry point into knitting on this whole list.

Make a full set of four in one sitting and everyone leaves with a matching stack for their coffee table.

Shop the Look

9. Photo Collage Frames

Hands arranging printed photos into a collage frame for a winter craft night

Print a stack of favorite photos ahead of time and let everyone arrange their own collage inside a plain wood frame. It turns into an instant gift for a parent or a partner once the season wraps up.

Add washi tape borders for anyone who wants a little more color without much extra effort.

Shop the Look

10. Beaded Bracelets

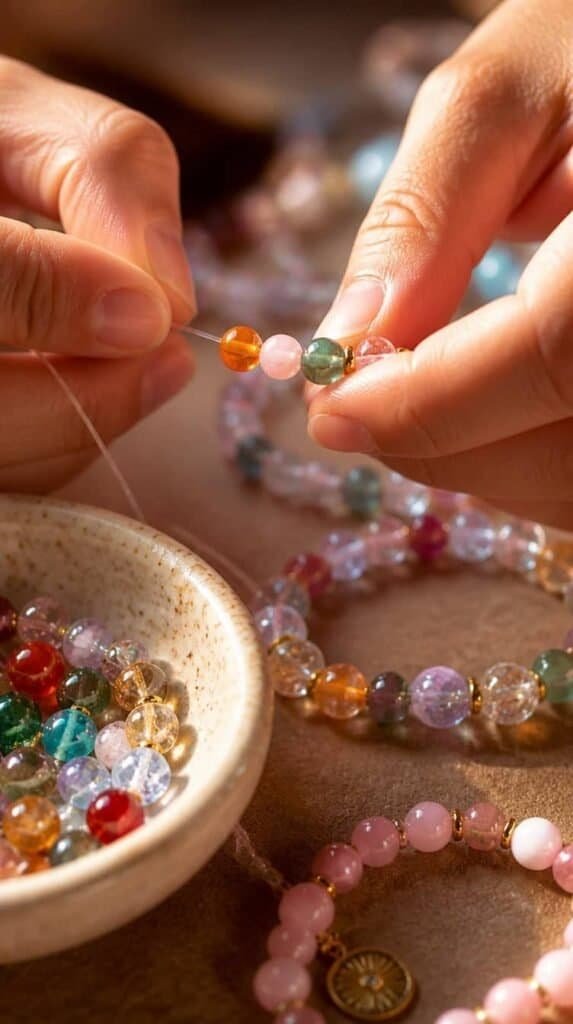
Hands stringing colorful beads onto elastic cord for a winter craft night

Set out bowls of beads sorted by color and let everyone design their own stack of stretch bracelets. This one keeps hands busy during conversation without demanding full attention.

Add a letter bead set so friends can spell out names or small words in the mix.

Shop the Look

11. Felt Ornament Making

Hands hand sewing a small felt ornament for a winter craft night

Precut felt shapes and a simple whip stitch turn into little ornaments stuffed with polyester filling. Stars, trees, and mittens work best for a beginner’s first attempt at hand sewing.

Keep a hot glue gun on standby for anyone who wants to skip the needle entirely.

Shop the Look

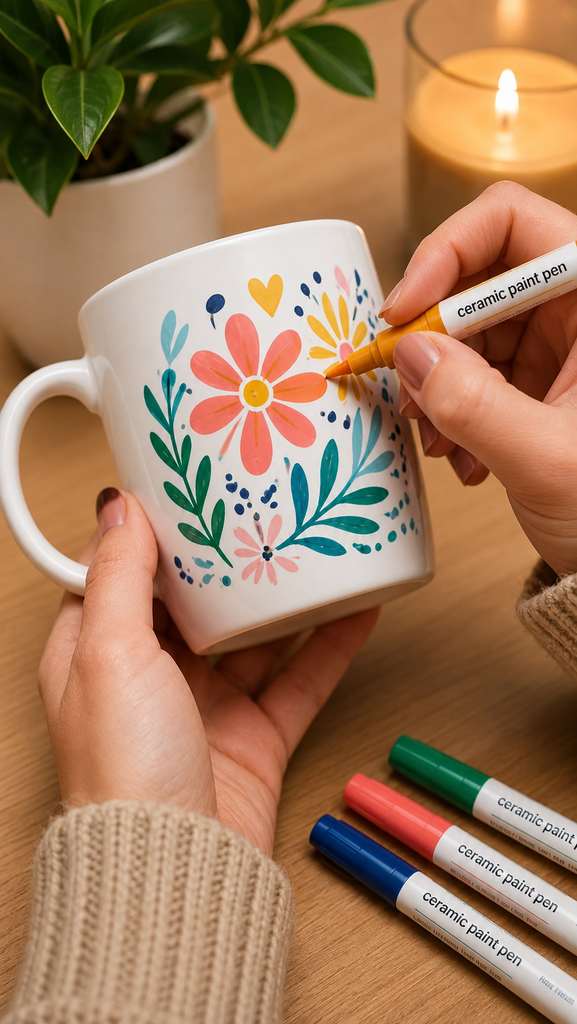
12. Paint Your Own Mug Night

winter-craft-night-step

Ceramic paint pens let anyone decorate a plain mug without any pottery experience. Bake the mugs in a home oven to set the design permanently before the first wash.

Pair this one with a hot cocoa bar so everyone gets to use their new mug the same night they make it.

Shop the Look

13. Pressed Flower Art

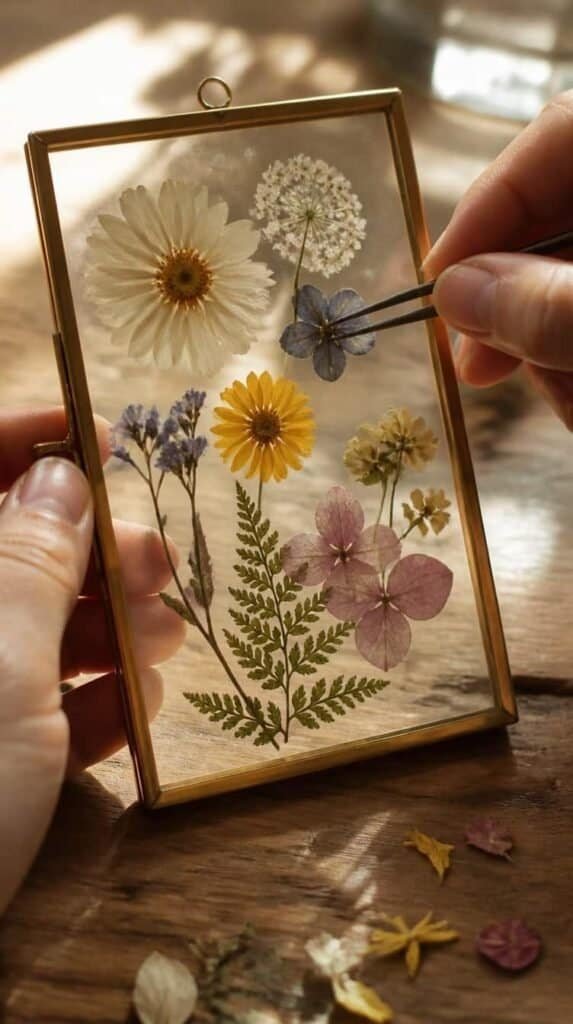
Hands arranging pressed dried flowers into a small frame for a winter craft night

Buy pre-pressed dried flowers if nobody has weeks to press their own, then arrange them behind glass in a small frame. The finished piece looks delicate and expensive for almost no cost.

Tweezers make the small stems far easier to place than fingers alone.

Shop the Look

14. Soy Candles In Teacups

Melted soy wax being poured into a vintage teacup for a winter craft night

Thrifted teacups turn into one-of-a-kind candle vessels once filled with scented soy wax. This project pairs perfectly with a candle pouring night if you want a second twist on the same idea for a bigger group.

Mismatched cups actually work in your favor here, since every finished candle looks unique.

Shop the Look

15. Mini Cross Stitch Hoops

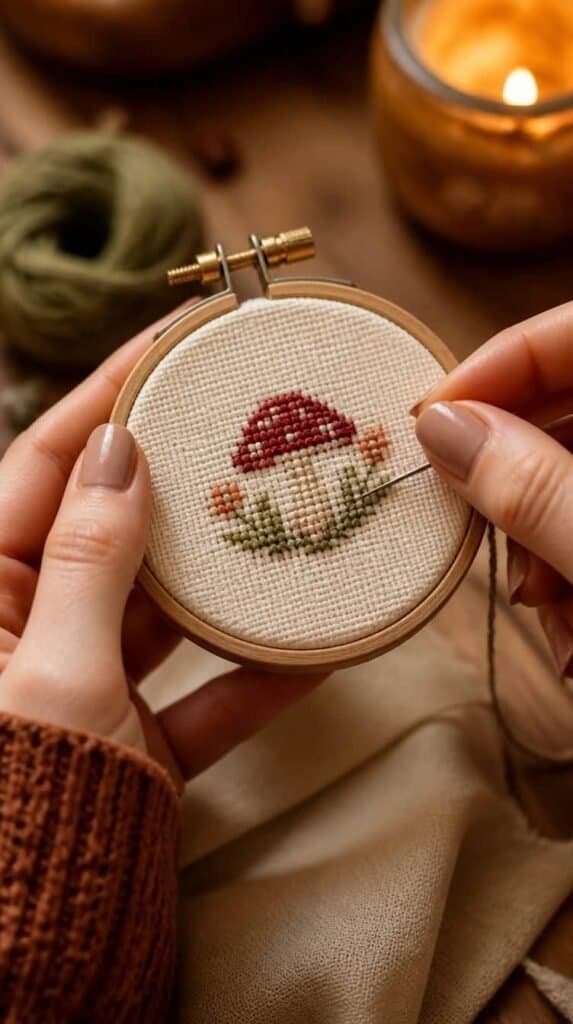
Hands cross stitching a small design in a mini hoop for a winter craft night

Pre-gridded mini cross stitch kits keep this beginner friendly even for someone who has never counted a stitch. A three-inch hoop finishes in one sitting instead of dragging on for weeks.

Pick simple word or icon patterns so the whole group finishes around the same time.

Shop the Look

16. Custom Gift Wrap Station

Hands wrapping gifts with kraft paper and ribbon at a winter craft night wrapping station

Set out kraft paper, ribbon, and a stamp set so everyone builds a stack of wrapped gifts they actually enjoy looking at. This turns a chore everyone dreads into the easiest project of the night.

Add a hand-lettered gift tag station so every present leaves with a personal touch.

Shop the Look

17. DIY Wine Charms

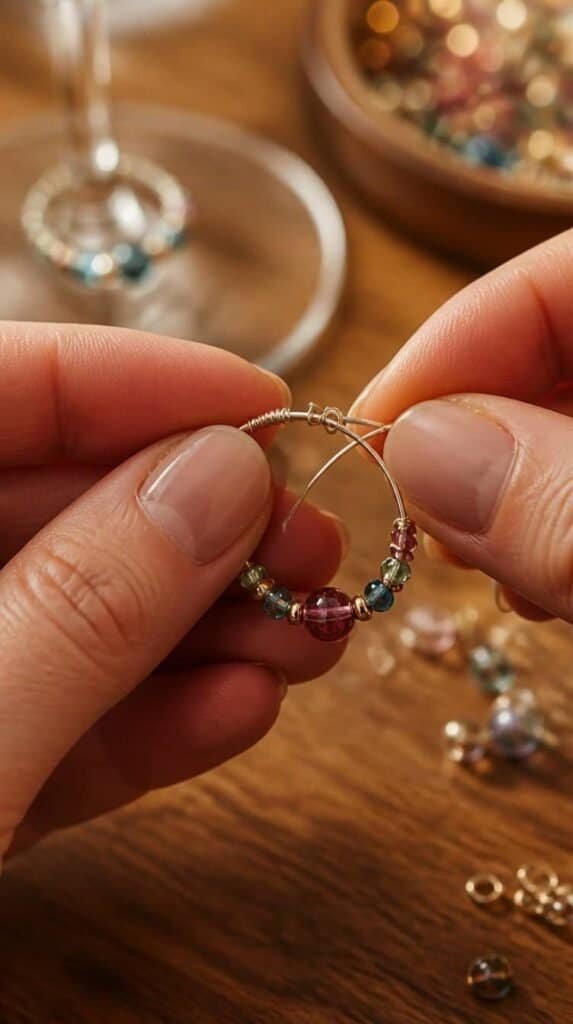
Hands making beaded wine glass charms for a winter craft night

Small wire loops and a handful of beads turn into wine glass charms in about ten minutes each. Everyone leaves with a set that solves the age old problem of whose glass is whose.

This project pairs naturally with the beaded bracelet station if you want to run two low-effort options side by side.

Shop the Look

18. Vision Board Night

Hands cutting out magazine images for a vision board at a winter craft night

Stack up old magazines, poster board, and glue sticks so everyone builds a vision board for the new year. It closes out a winter craft night with something reflective instead of another small trinket.

Bring a stack of markers so people can add their own words alongside the cutout images.

Shop the Look

Pick A Night. Send The Invite.

Winter is the season built for slow evenings with people you love, and a craft night gives everyone a reason to actually show up instead of canceling for the couch. This list covers candles, wearable projects, and gifts so you never run out of new themes to rotate through the season. Start with one low-effort option like the wine charms or beaded bracelets, build up to a full wrapping station once the group finds its rhythm, and let one theme lead into a monthly tradition. If you are ready for even more handmade ideas to fill your calendar, be sure to check out How To Start Punch Needle Embroidery for even more cozy projects worth an entire evening.

Group of friends enjoying a cozy winter craft night with finished handmade projects on the table

This post contains affiliate links. If you purchase through my links, I may earn a small commission at no extra cost to you. Thank you for supporting Room Revival Studio!

Your dresser has been sitting in the corner for two years looking exactly like it did the day you found it at the curb. The finish is dated, the hardware is tired, and every time you walk past it you think about the trash pickup schedule. Here’s the good news: paint fixes almost everything. One weekend and a few coats later, this same piece looks like it walked out of a furniture showroom.

This is the exact process I use on every furniture flip in my own house, from thrifted nightstands to hand-me-down dressers nobody wanted. No heavy sanding, no fancy tools, no guessing which paint sticks and which peels off in a month. I’ve ruined enough drawer fronts figuring this out myself so you don’t have to. Grab a Saturday and let’s get your piece ready for fall.

Difficulty: Beginner. Time: One weekend, about 4 to 6 hours of active work plus dry time.

What You’ll Need

Before you touch the piece, get every supply in one spot. Running to the store mid-project is how a two-hour job turns into a two-week one.

Choosing the Right Paint for a Fall Refresh

Chalk paint and mineral paint both stick to old finishes without much prep, which makes either a solid choice for a first flip. Chalk paint dries fast and gives a flat, matte look leaning into a worn, collected feel. Mineral paint takes a little longer to dry but self-levels better, so brush strokes disappear as it cures.

For fall, warm neutrals, deep greens, and soft terracotta tones read as intentional rather than trendy. (A color feeling a little too bold in the container usually settles down once it covers an entire dresser.) Pick one shade and commit. Two-tone furniture looks polished on Pinterest and messy in real rooms nine times out of ten. If you’re painting more than one piece for the same room, buy your paint from a single batch or matched formula so the shade stays consistent from can to can.

Step 1: Clean the Whole Piece

paint-old-furniture-fresh-fall-look

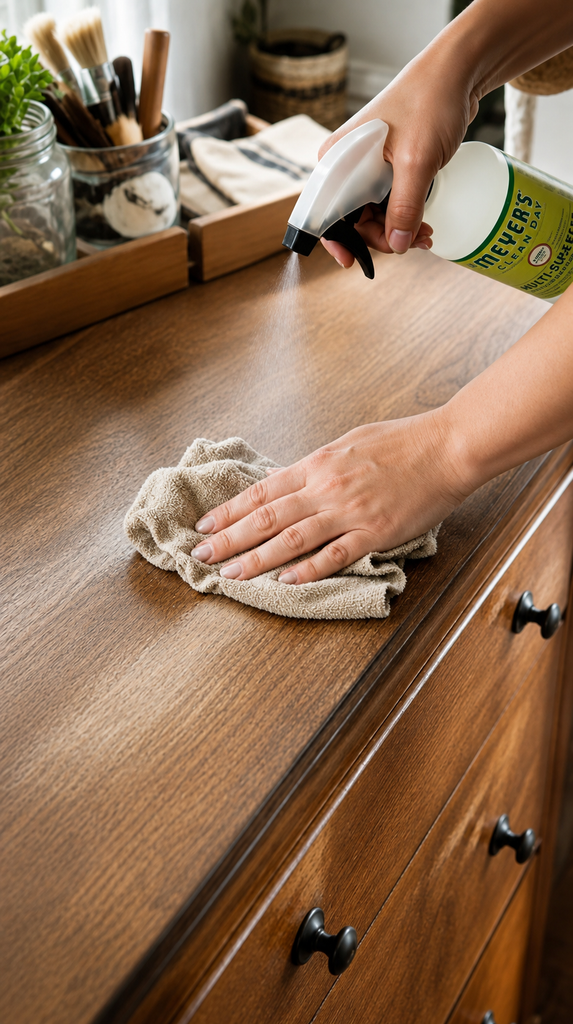
Wipe down every surface with a degreasing cleaner instead of a damp rag. Years of hand oils, dust, and furniture polish sit on top of the wood, and paint won’t grip through it.

Pull out every drawer and pop off the hardware while you’re at it. (You’ll thank yourself later when you’re not painting around a drawer pull.) Let everything dry fully before moving on.

Check the whole piece for loose joints, wobbly legs, or deep gouges while it’s stripped down and easy to see. A tube of wood filler and a clamp now saves a much bigger headache once the paint is on.

Step 2: Skip the Sanding Marathon

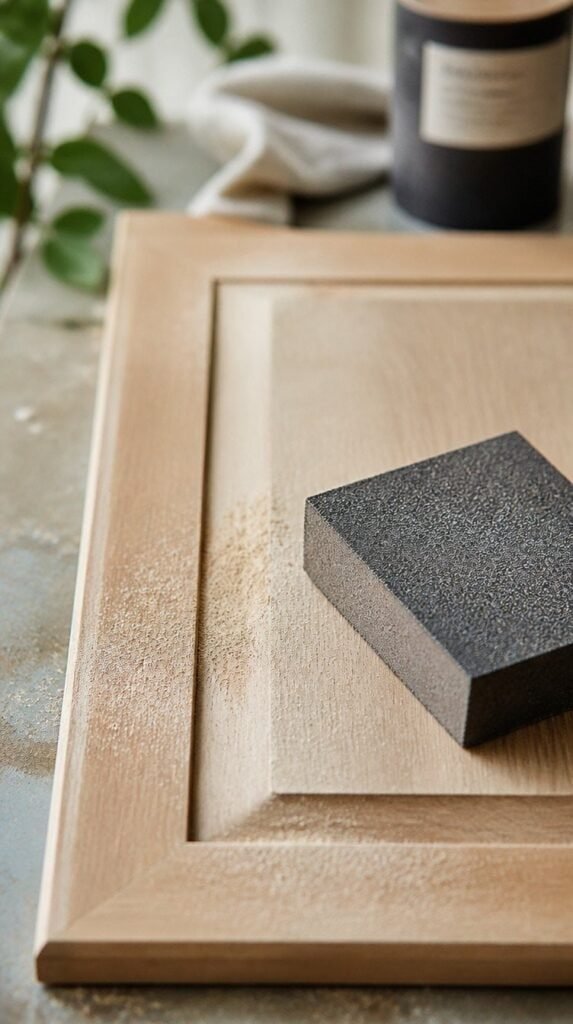
Sanding sponge lightly scuffing a wood cabinet door before priming

Here’s what nobody tells you: you don’t need to strip the piece down to bare wood. A quick pass with a sanding sponge to knock down the shine is enough for most bonding primers to grab hold.

Focus on flat, visible surfaces. Corners and carved details stay untouched. (Nobody is running their finger along the inside edge of a drawer to check your work.)

Wipe away the dust with a slightly damp cloth once you’re done. Any grit left behind shows up as tiny bumps under your primer, and you’ll notice them the moment the light hits the piece.

Step 3: Prime to Block Stains

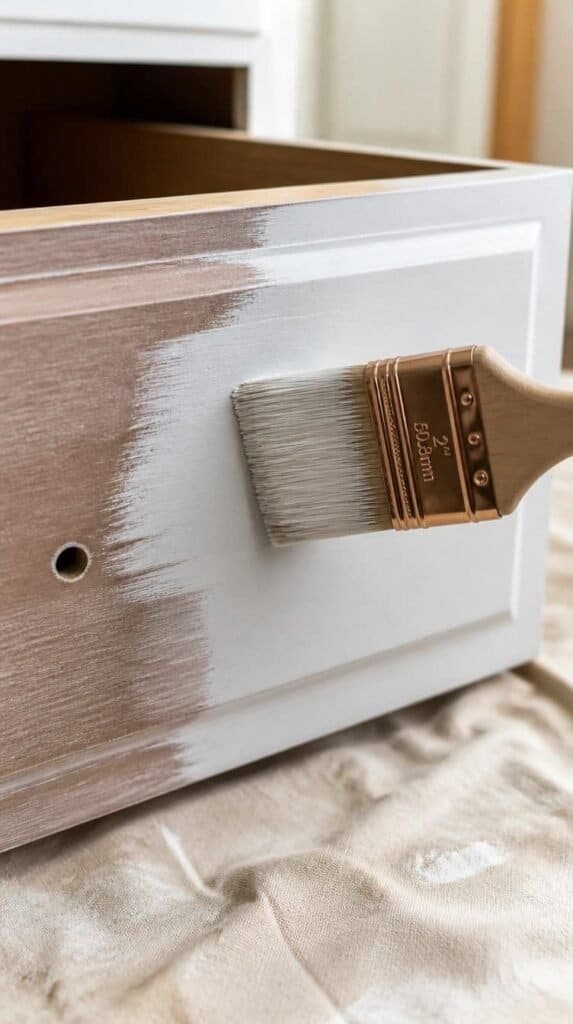
Paintbrush applying white bonding primer to a wood furniture drawer front

A stain-blocking bonding primer does two jobs at once. It gives your paint something to hold onto, and it stops old wood tannins from bleeding through and yellowing a light-colored topcoat weeks later.

One thin coat is plenty. Thick primer pools in corners and shows every brush stroke once the paint goes on top.

Let the primer cure for the full time listed on the container, not only until it feels dry to the touch. Paint applied too soon over damp primer tends to lift and peel within weeks.

Step 4: Paint the First Coat

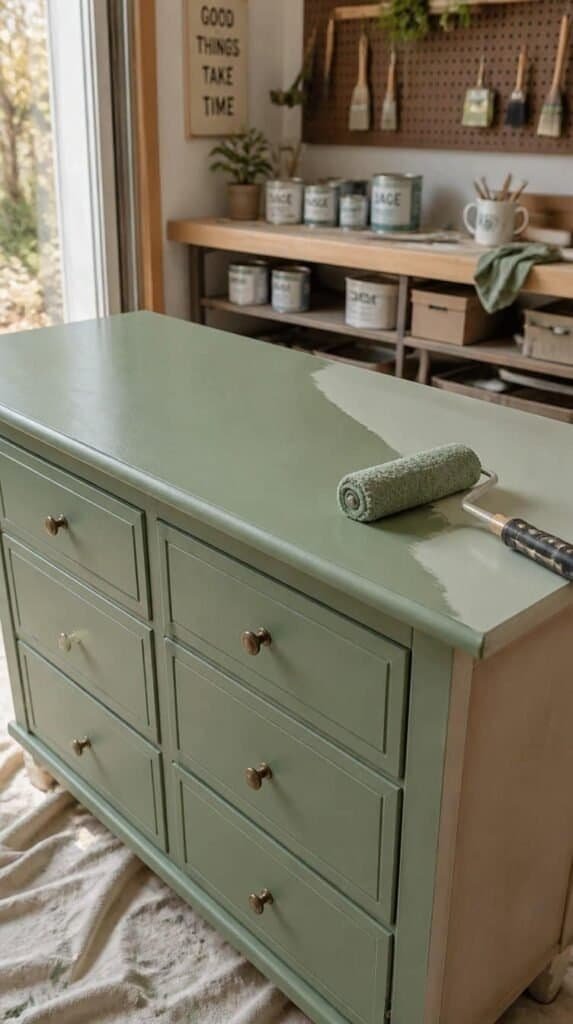
Foam roller applying sage green furniture paint to a dresser top

Use a foam roller on flat panels for a smooth, brush-mark-free finish, and switch to your angled brush for edges and corners. Work in long, even strokes and resist the urge to go back over a spot already drying.

The honest caveat here: your first coat is going to look streaky and uneven. Totally normal. It is not the finished product, so don’t chase perfection yet.

Give this coat a full 24 hours before touching it again, even if the paint label promises a faster recoat time. Wood furniture holds moisture longer than drywall, and rushing this step is the top reason a second coat drags and peels.

Step 5: Second Coat and Optional Distressing

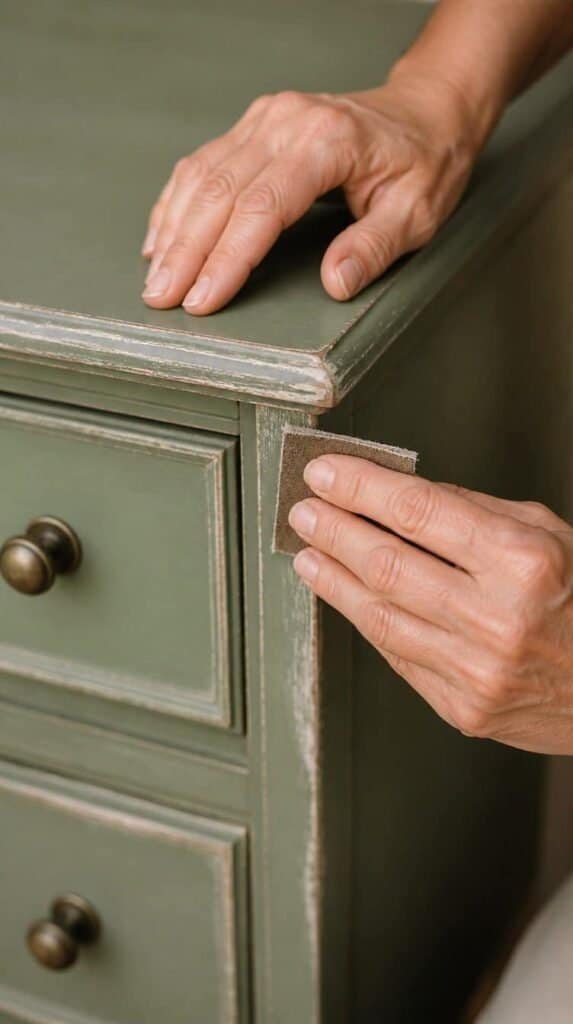
Hands lightly sanding the edge of a painted dresser for a distressed look

Once the first coat is fully dry, add a second for even, opaque coverage. This is where the piece finally starts to look intentional instead of “in progress.”

Want a soft, worn-in look? Run a sanding sponge lightly over edges and corners where a piece would naturally wear over the years. Go slow. Removing more paint stays an option the whole time. Putting it back never does.

Step back and look at the whole piece from a few feet away between passes. Distressing always looks heavier up close than it reads from across the room.

Step 6: Seal and Protect

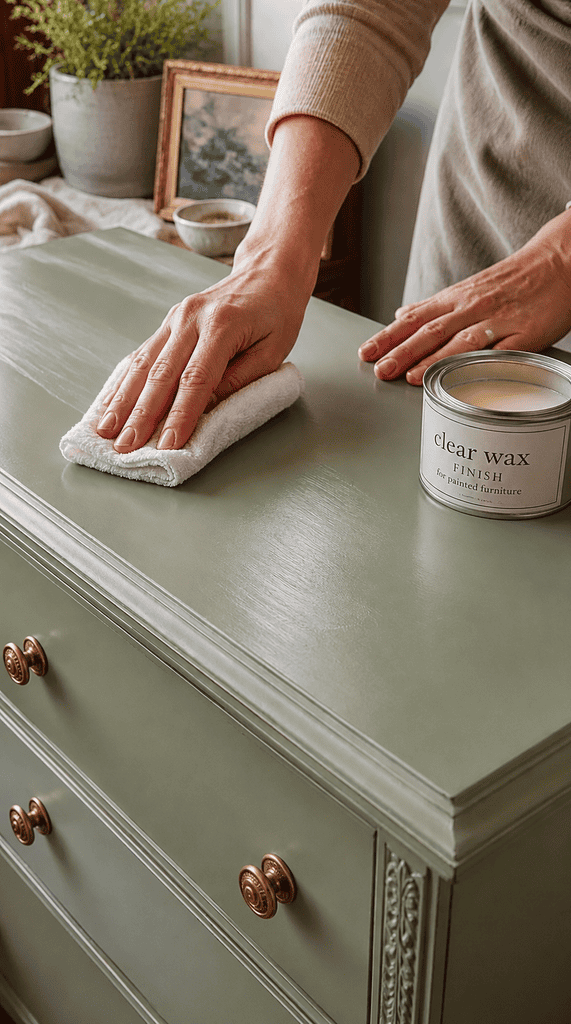
paint-old-furniture-fresh-fall-look-6

A clear wax or polycrylic topcoat is the step people skip and regret most. Without it, painted furniture scuffs, scratches, and shows every water ring within a month of real use.

Apply in thin layers with a soft cloth, let it cure fully, then buff for a soft sheen. Reattach your new hardware once everything is dry to the touch.

Give the topcoat a full week to cure before loading drawers with anything heavy or setting a lamp on top. It feels dry well before it’s fully hardened, and rushing furniture back into daily use is how the finish scuffs early.

Mistakes Ruining an Otherwise Good Paint Job

Painting over old wax or silicone-based furniture polish is the single biggest reason a fresh coat peels off in sheets a month later. If your piece has a shiny, slick finish, wipe it down with a degreaser made for this exact problem before you prime, not a general household cleaner.

Painting in a cold garage or a humid bathroom is a close second. Paint needs a steady room temperature and low humidity to cure properly, and rushing the process in the wrong environment leaves you with a tacky finish, never fully hardening.

The last one catches almost everyone at least once: skipping the topcoat because the paint already looks finished. Paint color and paint protection are two separate jobs, and only the topcoat handles daily wear, spills, and scratches.

Pro Tips

  • Hot tip: Paint drawer fronts separately, flat on a table, for a smoother finish than painting them in place.
  • Pro tip: Label each drawer and its slot with painter’s tape before you disassemble anything. Furniture somehow always knows when you’ve forgotten which drawer goes where.
  • Pro tip: Test your paint color on the back or underside of the piece first. Lighting changes everything once a color goes from a swatch to a full dresser.
  • Pro tip: Keep your leftover paint in a labeled jar with the piece’s name and the date. Touch-ups six months from now go a lot faster when you’re not guessing at the shade.

What You’ll End Up With

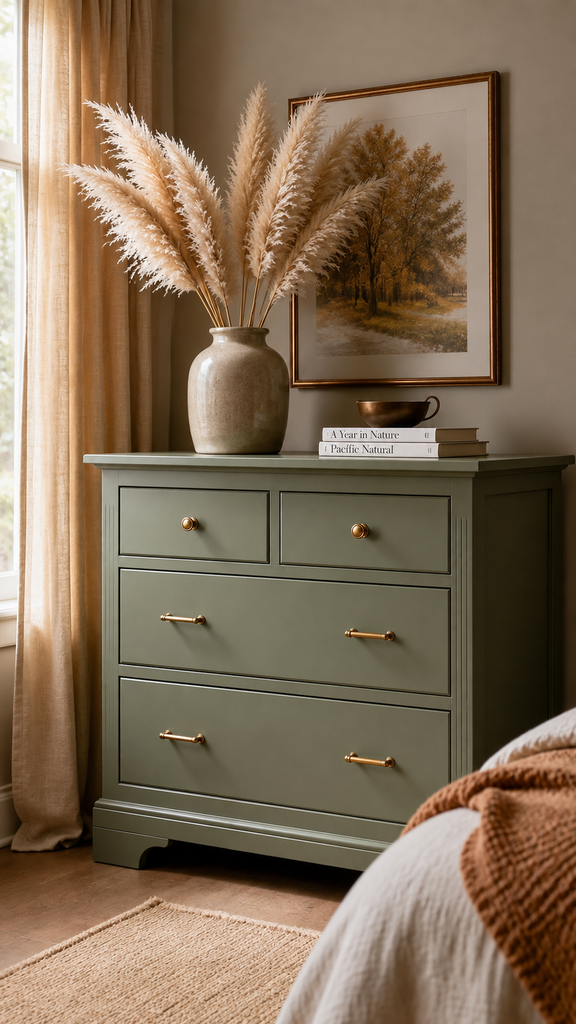
Finished sage green painted dresser styled in a cozy fall bedroom with dried pampas grass

A piece looking like it cost three times what you paid for it, finished in a color you chose yourself instead of one you inherited. The room finally looks like it meant to be there.

You’ll also walk away with a repeatable process. The materials list and the order of steps stay the same whether you’re painting a nightstand this weekend or a full dining set next spring, so every future flip gets faster and less intimidating than this one.

Pick a Color. Start This Weekend.

Fall is the perfect season to give a tired piece a second life before the holidays fill your house with guests. This same process works on dressers, nightstands, cabinets, and dining chairs, so one weekend of practice sets you up for every piece after it. Start with the smallest item in the room, pick a color pulling double duty with your existing palette, and build confidence before tackling the big dresser. If you are ready for even more no-sand furniture projects, be sure to check out How to Paint Old Furniture Without Sanding for even more shortcuts saving you a weekend.

This post contains affiliate links. If you purchase through my links, I may earn a small commission at no extra cost to you. Thank you for supporting Room Revival Studio!

Walk into a kitchen painted in flat white or beige one more time and something in you sighs. The room works fine, yet it never feels like yours. Wasabi green decor changes the mood the second it lands: a warm, muted green with a little gray mixed in, soft enough for everyday cooking and bold enough to stop a scroll.

Here are 18 wasabi green kitchen decor ideas, from a full cabinet repaint to small styling swaps you finish in an afternoon. Pick one entry point or layer several together for a kitchen finally looking intentional.

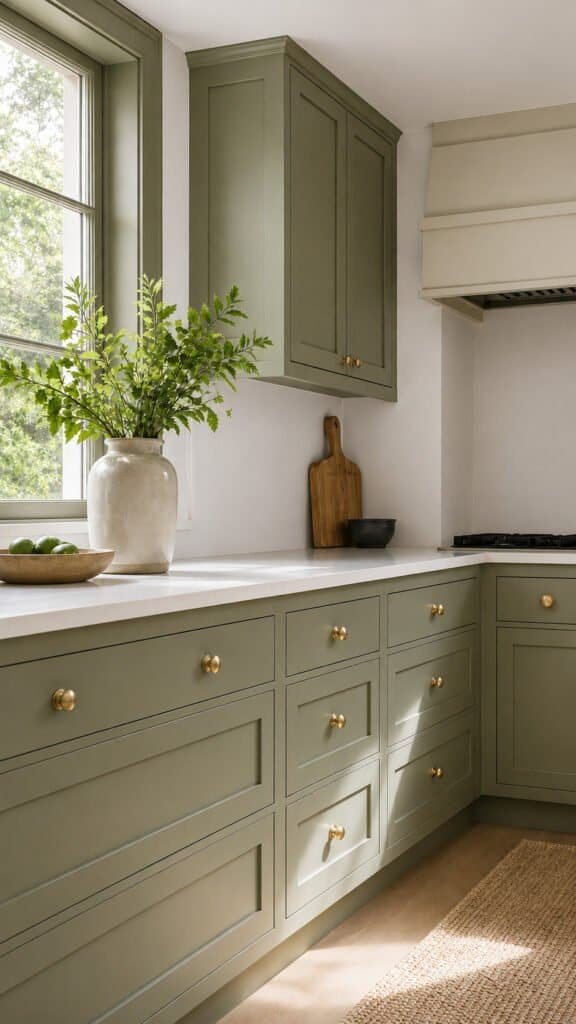
1. Wasabi Green Cabinets

Wasabi green painted kitchen cabinets with brass pulls and white countertops

A full cabinet repaint is the boldest move on this list, and the payoff shows every day. Wasabi green reads warmer than sage and softer than emerald, so it works with wood floors, white counters, and black fixtures alike.

Hot tip: paint the lower cabinets green and leave uppers white for a lighter, less committed version.

Shop the Look

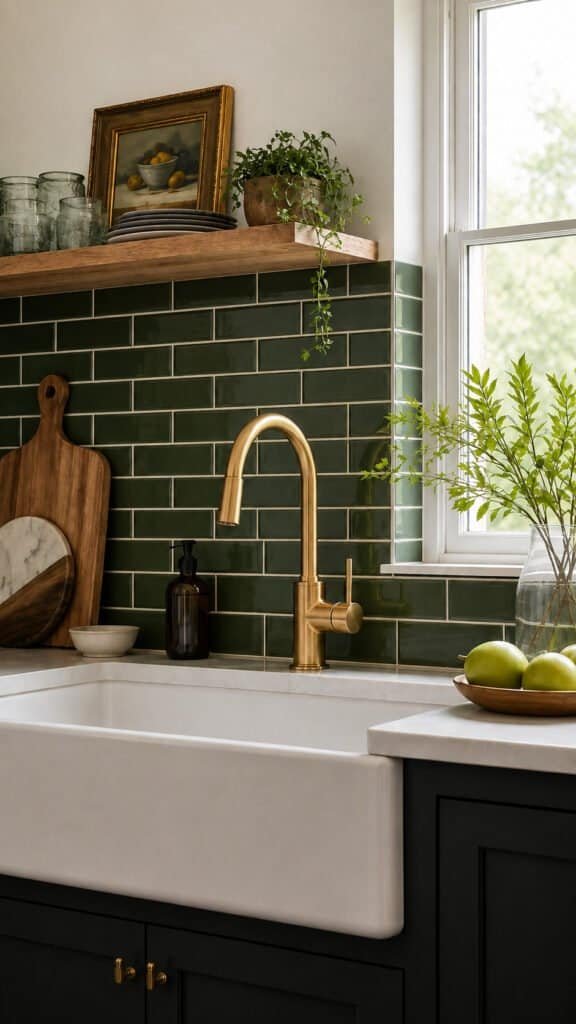
2. A Green Subway Tile Backsplash

Green subway tile backsplash with white grout and brass faucet

A backsplash swap changes a kitchen without touching a single cabinet door. Green subway tile in a wasabi shade gives the wall texture and depth while staying easy to clean and pair with almost any counter.

Honest caveat: peel-and-stick versions look great in photos but do not hold up well near a stove. Real tile lasts longer if the budget allows it.

Shop the Look

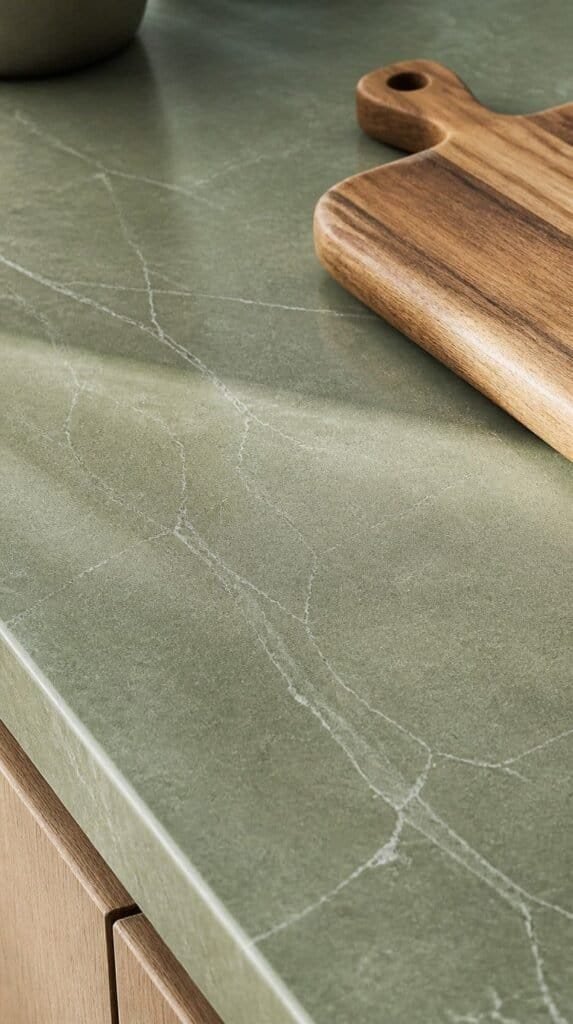
3. Green Quartz Countertops

Close up of green quartz kitchen countertop with subtle veining

Green countertops are a bigger investment, so save this one for a full remodel rather than a weekend refresh. A soft green quartz with light veining keeps the surface from feeling heavy while still carrying the color story.

Pair a green counter with lighter cabinets so the room reads balanced instead of monochrome and closed in.

Shop the Look

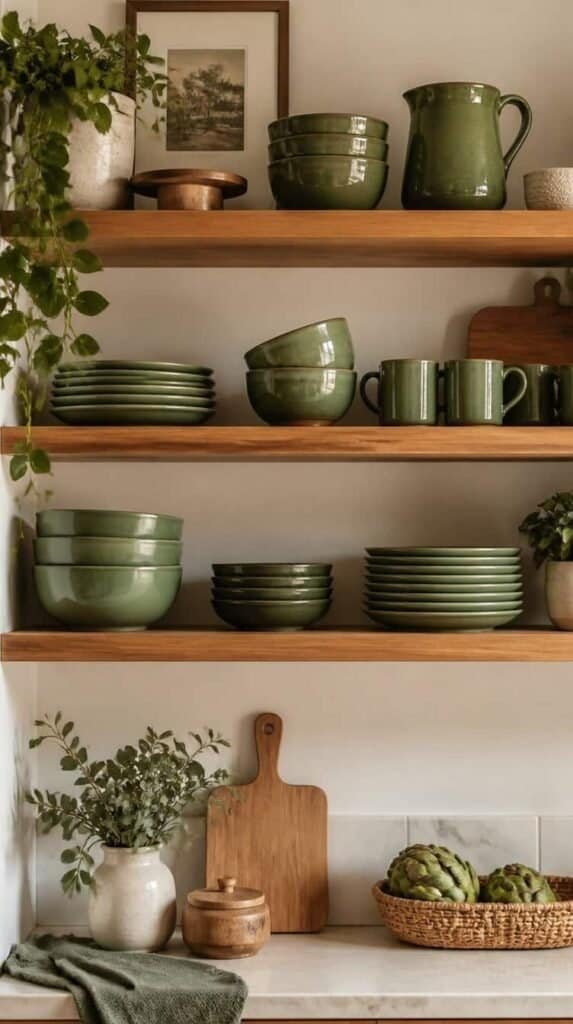
4. Open Shelving Styled With Green Ceramics

Open wood shelving styled with green ceramic bowls, plates, and mugs

Swap a few upper cabinet doors for open shelves and fill them with green ceramics instead of a full repaint. The color shows up in small doses, which suits renters and anyone testing the shade before committing.

Group pieces by height and leave breathing room between stacks so the shelf reads styled, not cluttered.

Shop the Look

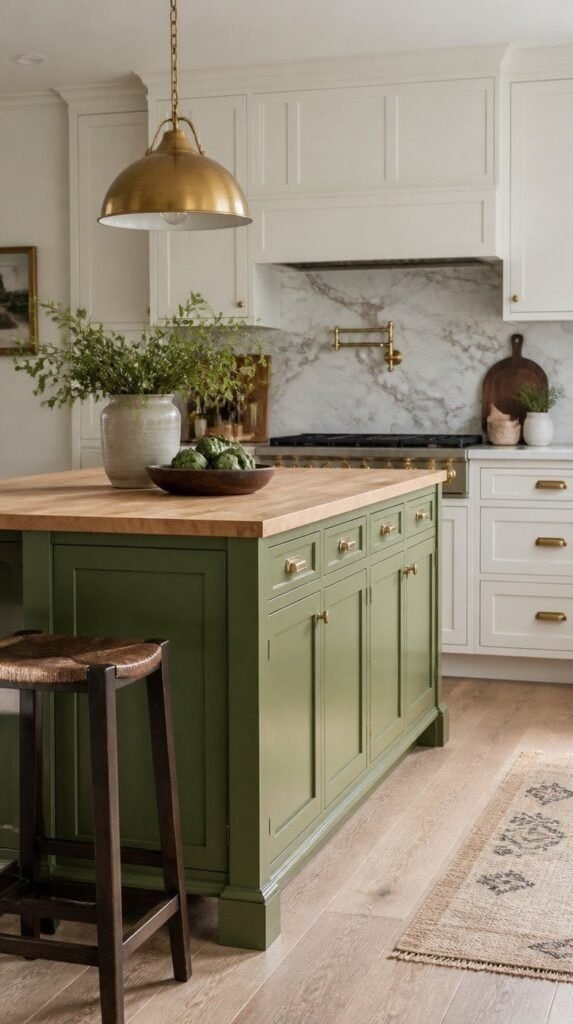
5. A Wasabi Green Kitchen Island

Wasabi green kitchen island with wood countertop against white cabinetry

Painting only the island gives a kitchen a color anchor without repainting every cabinet in the room. It works especially well against white or light wood cabinetry, where the green reads as a deliberate design choice.

Top it with butcher block or a light stone to keep the palette from tipping too dark.

Shop the Look

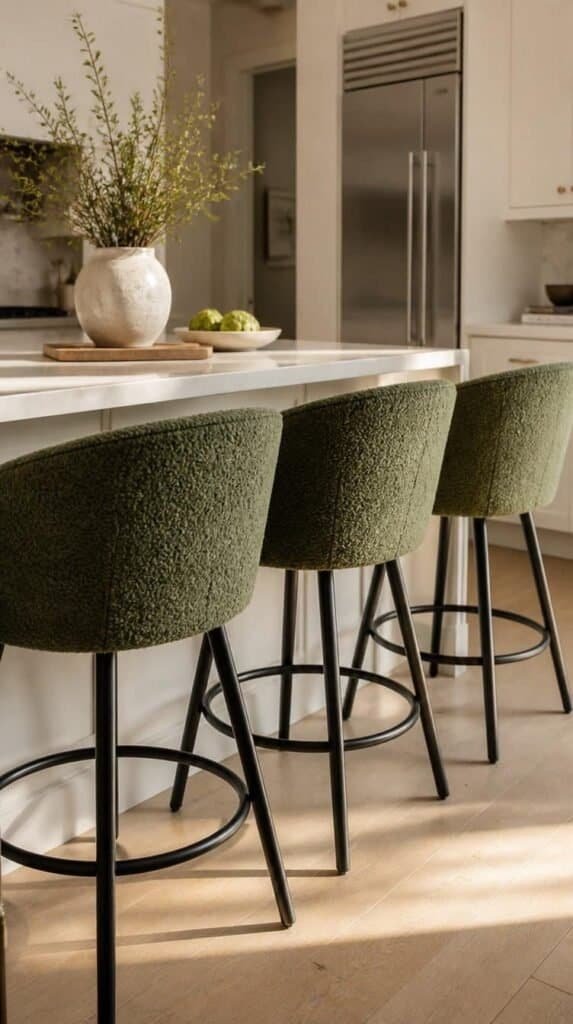
6. Green Bar Stools

Green upholstered bar stools at a white kitchen island -wasabi green kitchen decor

Bar stools are one of the easiest, lowest-risk ways to bring wasabi green into a kitchen. Swap them out in an afternoon and the room shifts instantly, no paint or tools required.

Look for a boucle or woven texture to soften the color and keep the seats from feeling too matched to each other.

Shop the Look

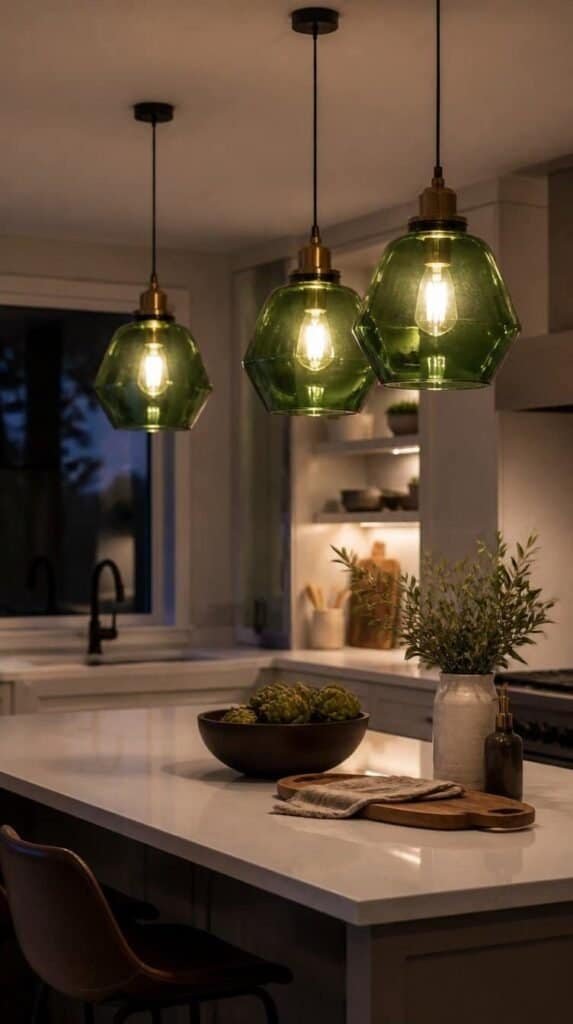
7. Green Pendant Lights

Green glass pendant lights hanging over a kitchen island

Lighting sits at eye level, so a green glass or enamel pendant does a lot of visual work for one small fixture. Hang a pair over the island and the color reads as intentional rather than accidental.

Warm bulbs keep wasabi green from turning cold under bright white light.

Shop the Look

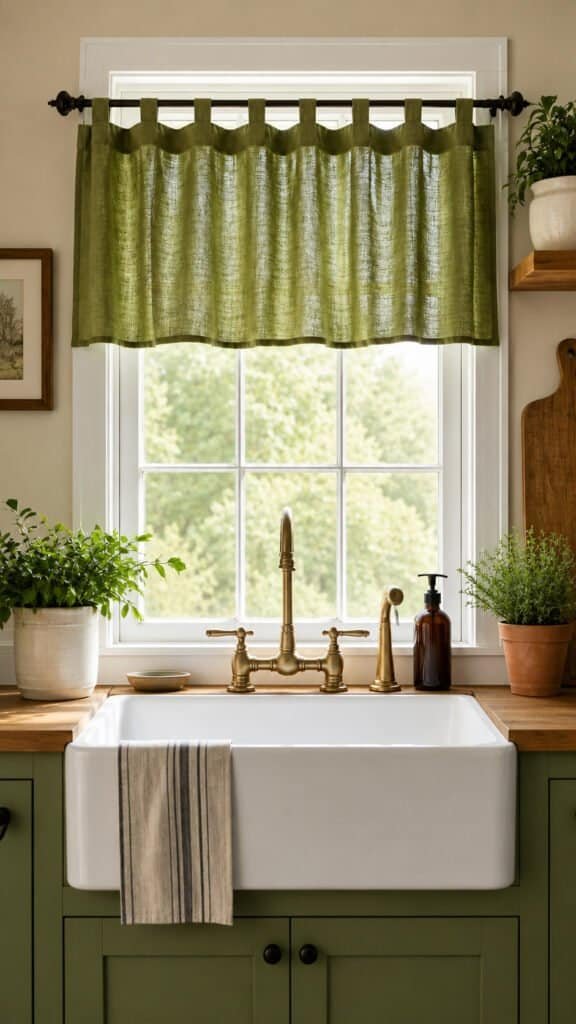
8. Green Cafe Curtains

Green cafe curtains on a kitchen window above the sink

A short cafe curtain over the sink window adds color and privacy without blocking light. Linen in a wasabi green shade softens hard cabinet lines and gives the window a finished look.

Rod pocket styles slide onto a tension rod in minutes, no drilling needed.

Shop the Look

9. A Green Stand Mixer

Green stand mixer on a kitchen countertop with a bowl of flour nearby

Small appliances left out on the counter double as decor, so pick colors on purpose. A green stand mixer turns baking day into a styling moment and skips the color-clash problem entirely.

Keep the rest of the counter clear so the mixer stays the focal point instead of getting lost in clutter.

Shop the Look

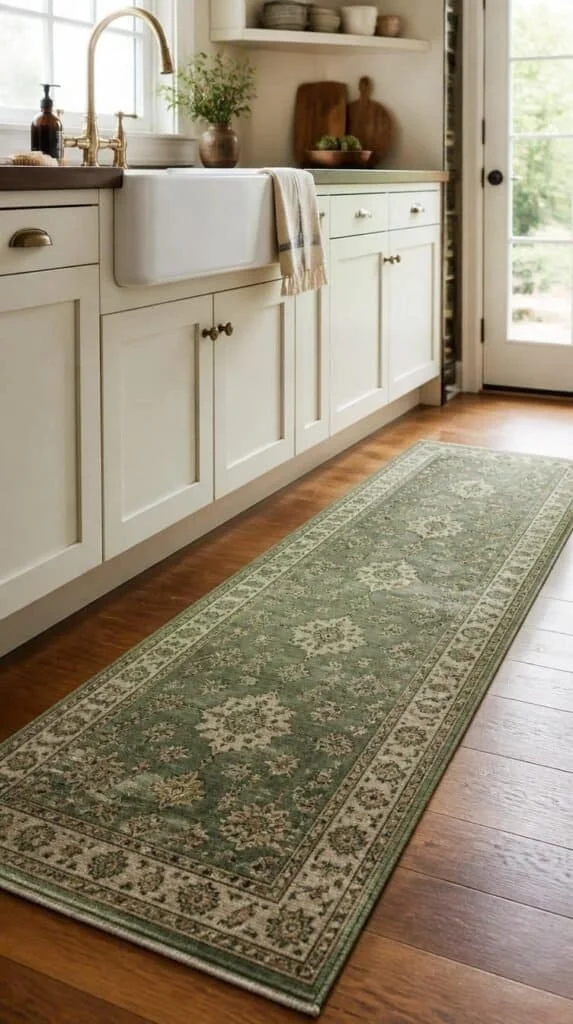
10. A Green Runner Rug

Green kitchen runner rug on wood floors in front of the sink

A runner in front of the sink or stove grounds the room and adds a layer of pattern underfoot. A green ground with a cream or terracotta motif ties the floor back to the cabinets or backsplash above.

Choose a low pile and a washable option since kitchen floors take daily wear.

Shop the Look

11. Green Dish Towels

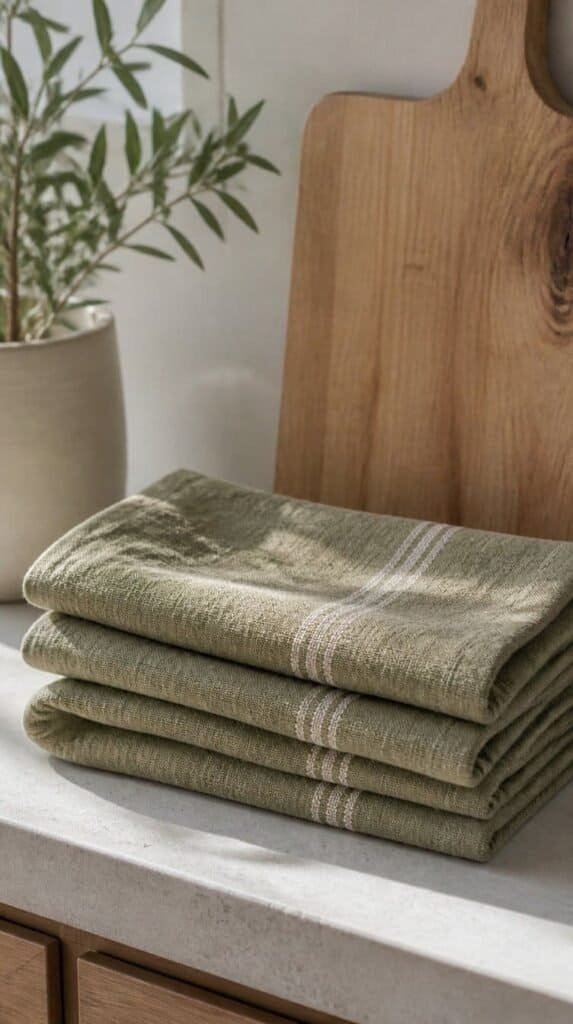
Folded green dish towels stacked on a kitchen counter beside a wood cutting board

Dish towels are the cheapest, fastest color swap on this entire list. Stack a few wasabi green towels near the sink or loop one through the oven handle for instant color without a single tool.

Rotate them seasonally and the kitchen never feels stuck in one look for too long.

Shop the Look

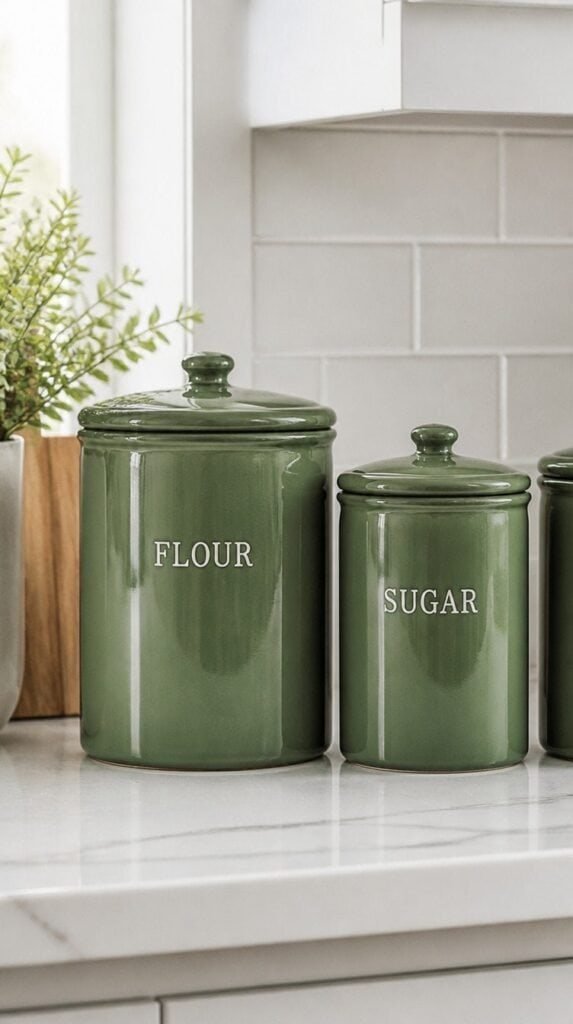
12. Green Ceramic Canisters

Green ceramic canisters lined up on a kitchen counter holding flour and sugar

Swap plastic storage bags for a lineup of green ceramic canisters and the counter starts to look styled instead of only stocked. Flour, sugar, and coffee finally get containers worth leaving on display.

Label each one so the swap stays functional, not only decorative.

Shop the Look

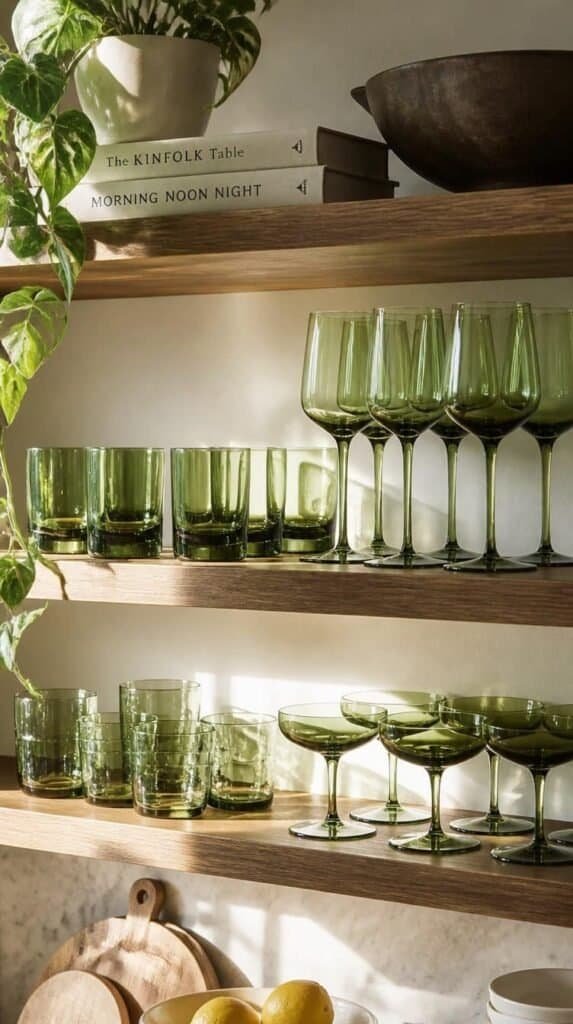
13. A Green Glassware Display

Green glass drinkware displayed on open kitchen shelving

Colored glassware catches light in a way solid ceramics never manage. Line up a set of green tumblers or wine glasses on an open shelf or inside a glass-front cabinet for a display changing with the sun.

Mix a couple of shades of green rather than matching every piece for a collected-over-time look.

Shop the Look

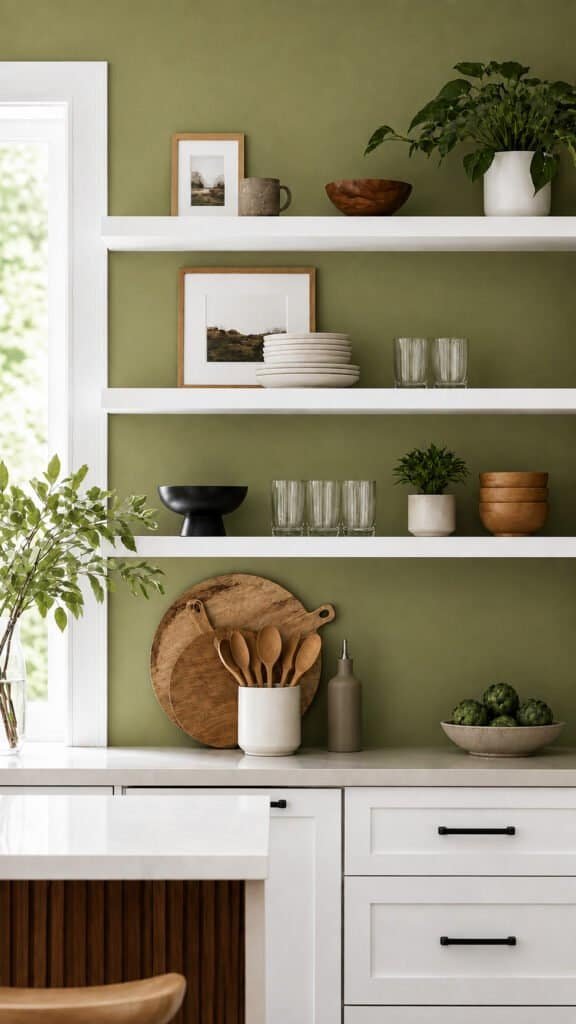
14. A Green Accent Wall

Wasabi green accent wall behind open kitchen shelving with white cabinets

If a full cabinet repaint feels like too much, take the color to a single wall instead. A wasabi green accent behind open shelves or a breakfast nook adds depth without touching a single cabinet door.

A matte finish keeps the wall from reading glossy or overly polished next to warm wood tones.

Shop the Look

15. Potted Herbs In Green Pots

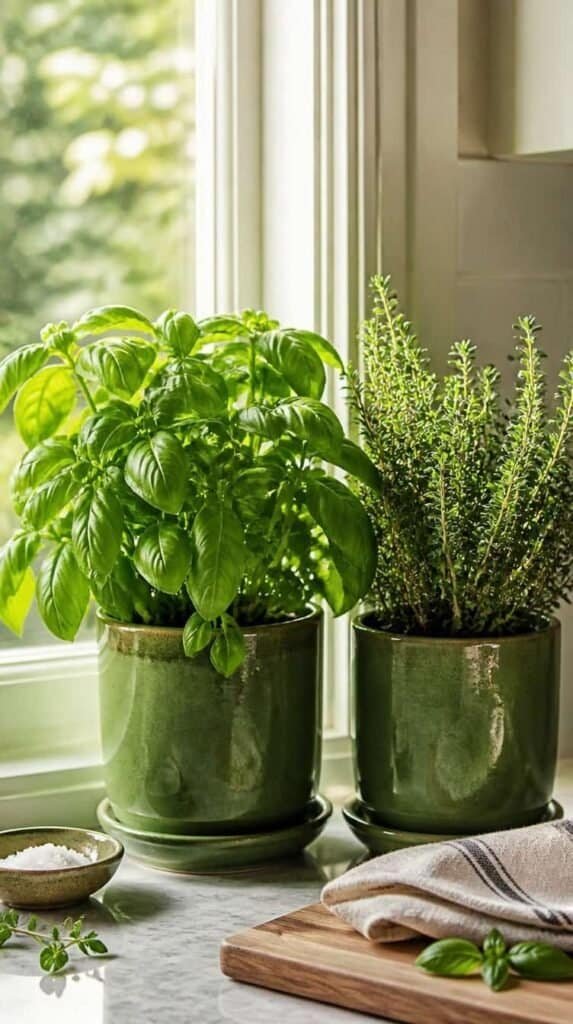
Potted herbs in green ceramic pots on a sunny kitchen windowsill

Live herbs on the windowsill bring in real green alongside the painted version, and a matching set of ceramic pots ties the whole scene together. Basil, thyme, and mint stay within easy reach of the stove.

Rotate the pots weekly so every side gets even light and the plants grow evenly.

Shop the Look

16. Green Wallpaper On An Accent Wall

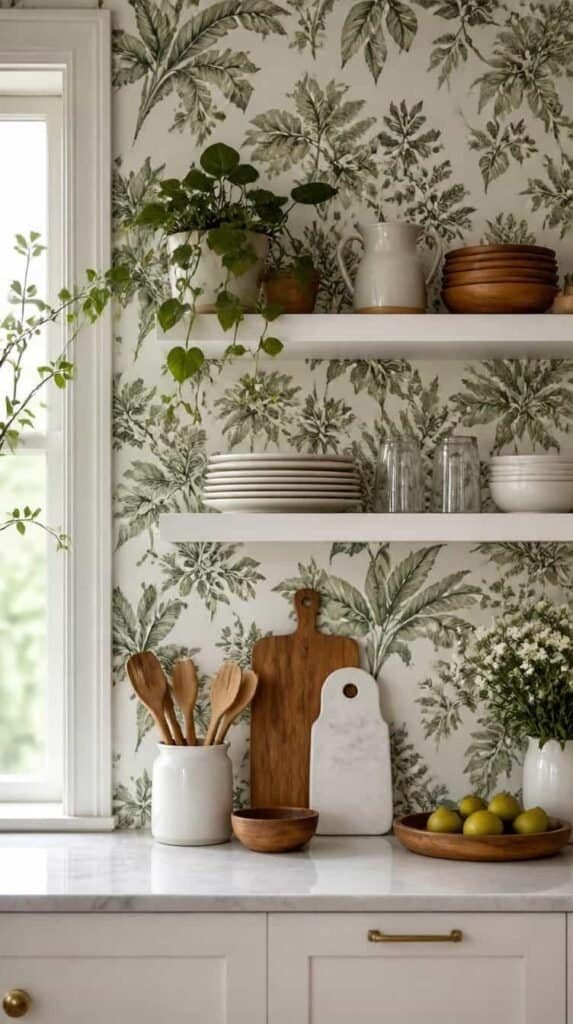
Green botanical wallpaper behind open kitchen shelving

Pattern adds another layer of interest beyond a flat coat of paint. A botanical or textured green wallpaper behind open shelving or a small pantry nook brings pattern and color together in one move.

Peel-and-stick versions work well for renters and remove cleanly at the end of a lease.

Shop the Look

17. Brass Hardware Against Green Cabinets

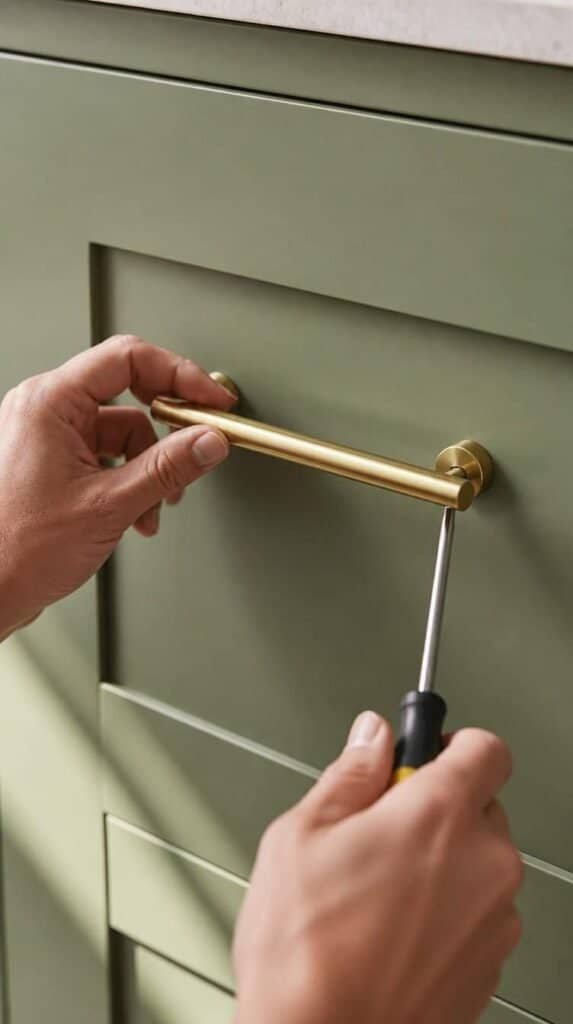
Close up of brass cabinet pulls on wasabi green kitchen cabinets

Hardware is a small detail carrying a surprising amount of weight. Brass pulls and knobs warm up wasabi green cabinets and keep the finish from tipping cool or industrial.

Measure the existing hole spacing before ordering new pulls to avoid extra drilling.

Shop the Look

18. A Full Green Dinnerware Set

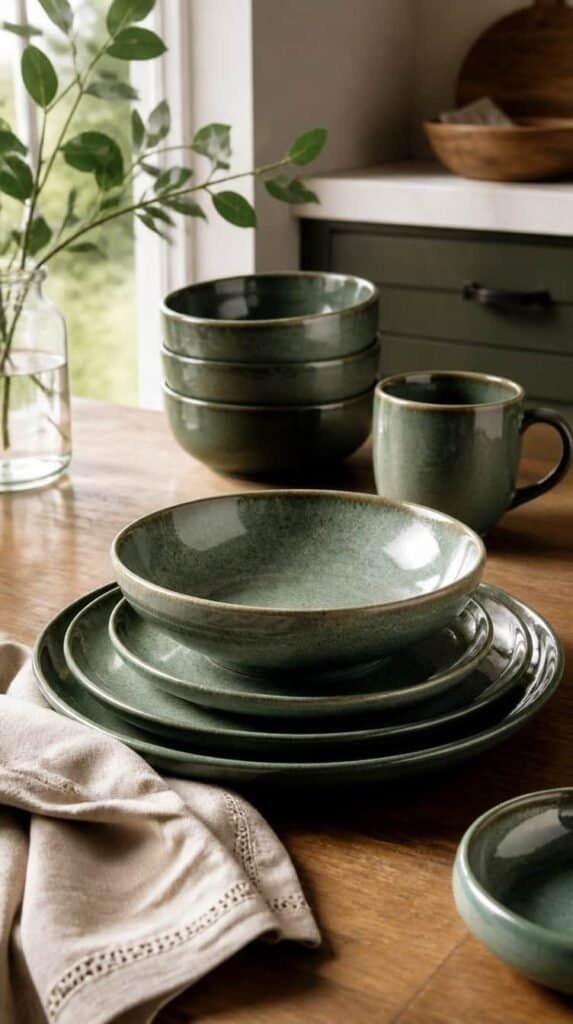
Green dinnerware set stacked on a wood kitchen table

The last idea on this list moves the color from the walls to the table. A full green dinnerware set turns weeknight dinners and holiday spreads into a styled moment without a single renovation involved.

Mix matte and glossy pieces within the same shade for a set looking collected rather than boxed.

Shop the Look

Pick One Shade. Start Your Kitchen Today.

Fall is the perfect season to bring a warmer, more grounded color into the kitchen, and wasabi green delivers this shift without going too bold for everyday living. This list covered everything from a full cabinet repaint to small styling swaps like dish towels, canisters, and glassware. Start with one low-cost change such as a runner rug or a set of green towels, add a plant or two in matching pots, and build toward a bigger move like cabinets or a backsplash once the shade earns its place. If you are ready for even more color inspiration, be sure to check out 18 Colorful Living Room That Feel Balanced and Modern for even more ideas to bring bold color home.

This post contains affiliate links. If you purchase through my links, I may earn a small commission at no extra cost to you. Thank you for supporting Room Revival Studio!

You walked into the thrift store for a coffee mug and left an hour later with a brass candlestick, a stack of leather books, and a plan to rearrange your entire living room. It happens to everyone. Fall lighting does something to secondhand shelves, making every dented frame and cloudy mirror look like it belongs in a design magazine.

These fifteen thrift store finds are the ones worth digging for this season, the pieces reading as expensive the moment they land in your cart. Bring a tote bag and a little patience, and expect to walk out with at least three of these on your list.

1. Brass Candlesticks

Pair of polished brass candlesticks with taper candles on a wood table

Real brass has weight to it, a cool heaviness plastic never fakes well. A tarnished pair polishes up into something worthy of a formal table in twenty minutes flat.

Hot tip: check the bottom for a stamped mark. Solid brass costs a fraction of new here and holds its shine for years.

Shop the Look

2. Carved Wood Picture Frames

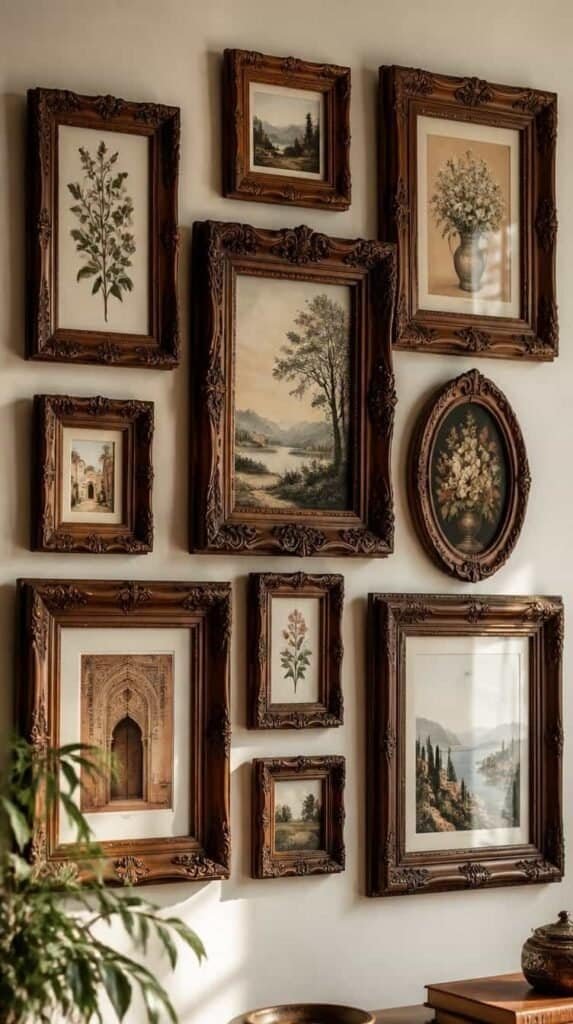
Gallery wall of ornate carved wood picture frames in mismatched sizes

Ornate wood frames with real carving detail cost real money new, and thrift shelves are full of them holding photos nobody wants anymore. Swap the photo, keep the frame, and suddenly a wall looks curated instead of purchased in one trip.

Mismatched wood tones work fine together as long as the carving style stays similar throughout the grouping.

Shop the Look

3. Vintage Crystal Decanter

Vintage cut crystal decanter and glasses on a wood bar cart tray

A cut crystal decanter catches light in a way modern glass rarely manages, and it turns a bar cart or console table into a scene from an old film. Fill it with amber liquid or colored water and it works purely as sculpture too.

Honest caveat: check for the stopper before buying. A decanter without its matching stopper sells for a fraction of the pair.

Shop the Look

4. Leather Bound Books

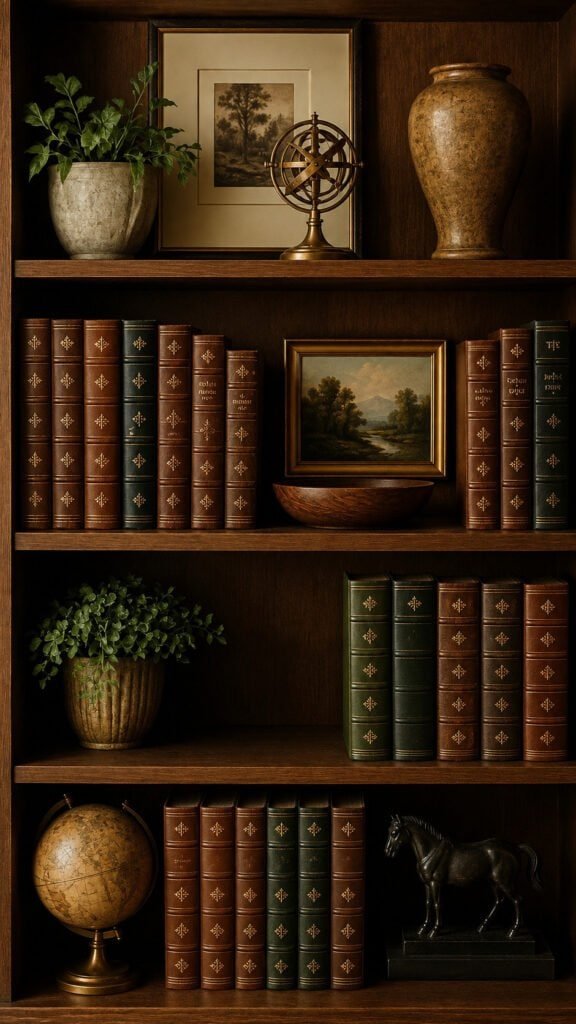
Thrift Store Finds

Stacked leather spines in warm browns and deep greens do more for a shelf than any decorative object manages. Buy them by color, not title, since the reading is optional and the styling is not.

The trick here: stack three flat and stand two upright against them for a shelf photographing like a rental listing.

Shop the Look

5. Ceramic Table Lamp

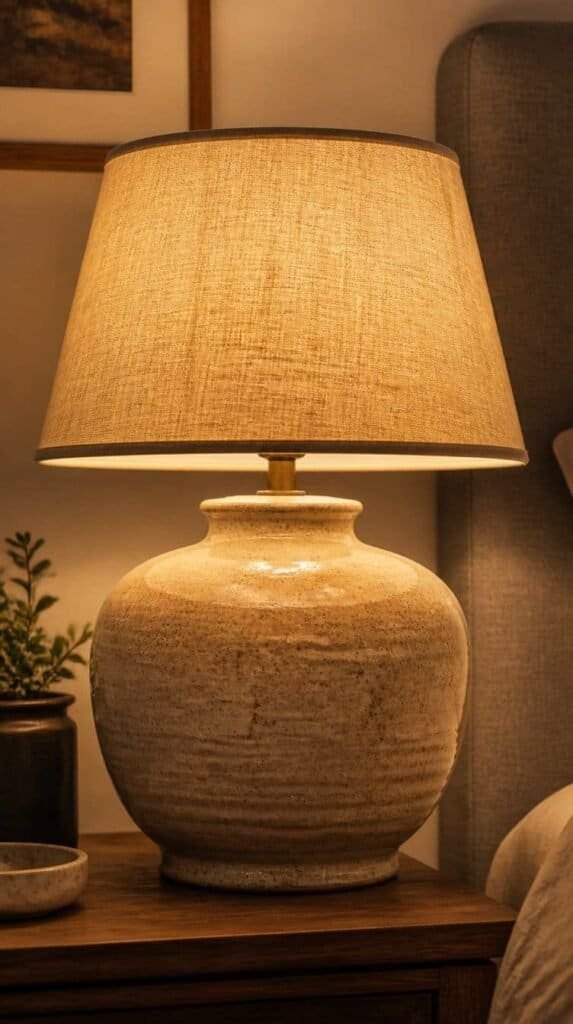
Chunky ceramic table lamp with a linen shade on a nightstand

A chunky ceramic base in a good glaze color outclasses most new lamps at ten times the price. Rewire it if needed or swap in a new shade, and the base alone carries the whole piece.

A fresh linen shade instantly modernizes a dated base without touching the ceramic itself.

Shop the Look

6. Wool Area Rug

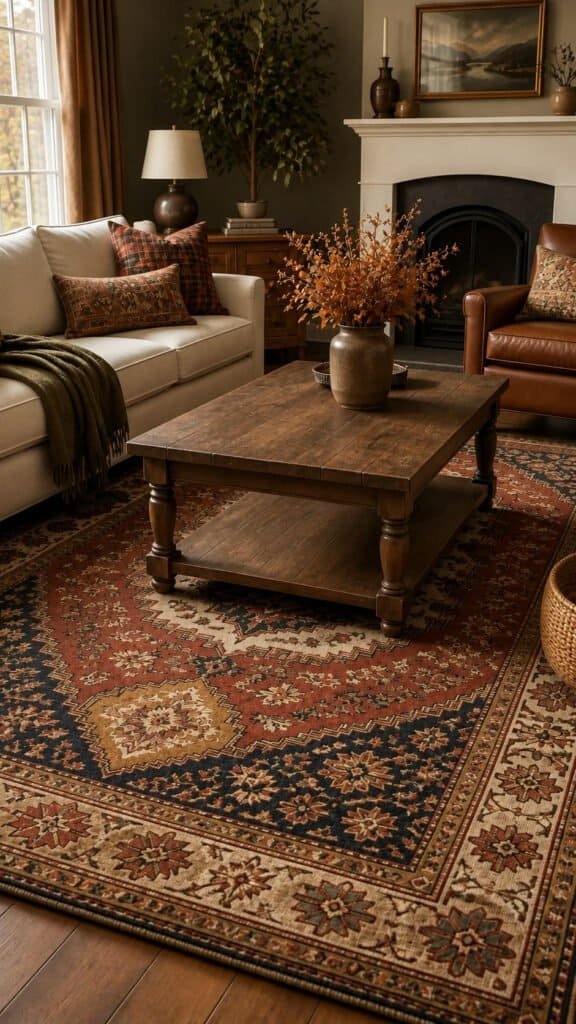
Vintage patterned wool area rug under a wood coffee table

Vintage wool rugs come in patterns and dye jobs new machine-made rugs cannot fully replicate. A little fading only adds to the character, and a good professional clean solves most odors.

Honest caveat: budget for a cleaning if it smells musty. It is worth the twenty dollars for a rug this good.

Shop the Look

7. Vintage Brass Mirror

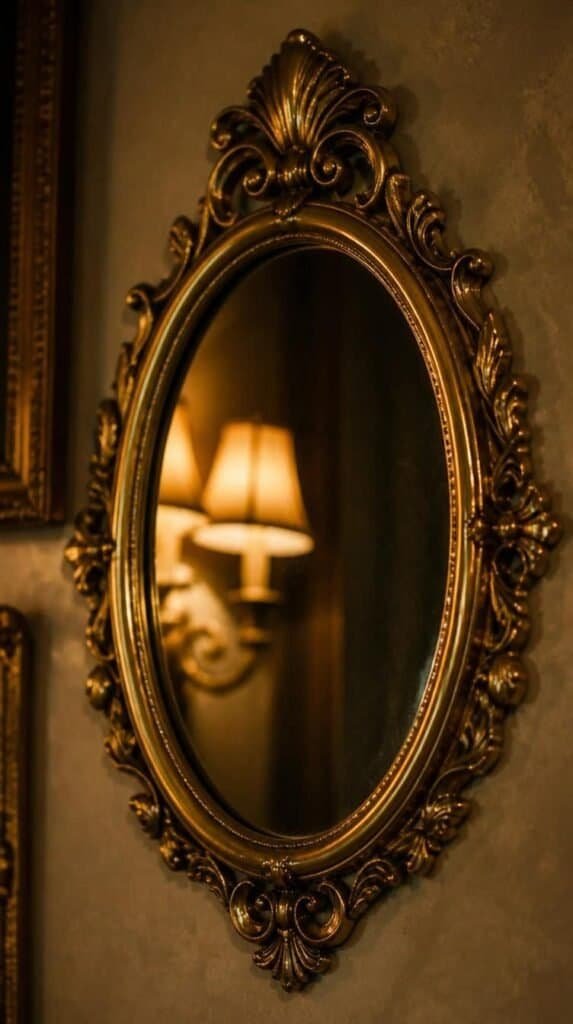
Ornate vintage brass framed mirror mounted on a wall

A brass-framed mirror with a slightly foxed center reads as intentional now, not damaged. Hang it somewhere it catches lamp light for the best effect.

The room finally had a spot feeling finished instead of only furnished.

Shop the Look

8. Marble Bookends

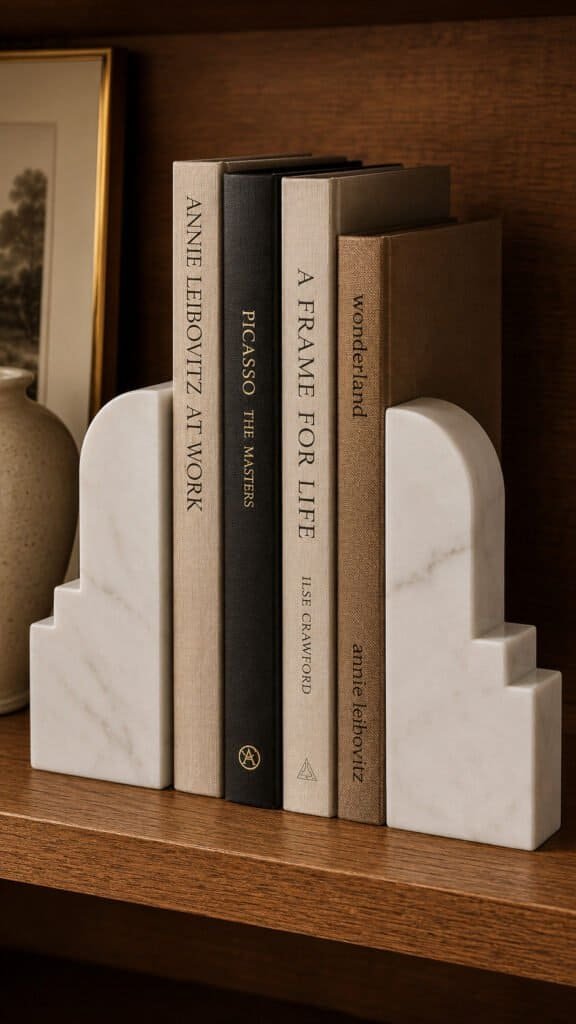
White marble bookends holding a small stack of books on a wood shelf

Real marble bookends carry a cool weight signaling quality the second someone picks one up. They show up at thrift stores often, usually underpriced because shoppers mistake them for resin.

Tap two together lightly. Real stone sounds solid and dense, resin sounds hollow and light.

Shop the Look

9. Cut Glass Vase

Cut glass pressed vase filled with dried fall grasses on a wood table

Pressed and cut glass vases throw light across a table in a way plain glass never does. One filled with dried grasses or fresh stems becomes the centerpiece without trying.

Group two or three different patterns together rather than hunting for a matching set.

Shop the Look

10. Wood Bar Cart

Styled wood bar cart with brass details holding glassware and a small plant

Solid wood bar carts with brass details show up secondhand for a fraction of what a new one costs, and the wood only improves with a little oil. It works equally well as a plant stand or bathroom cart if you do not drink.

Check the wheels roll smoothly before buying. A stuck wheel is a simple fix but worth negotiating on price.

Shop the Look

11. Vintage Wall Sconces

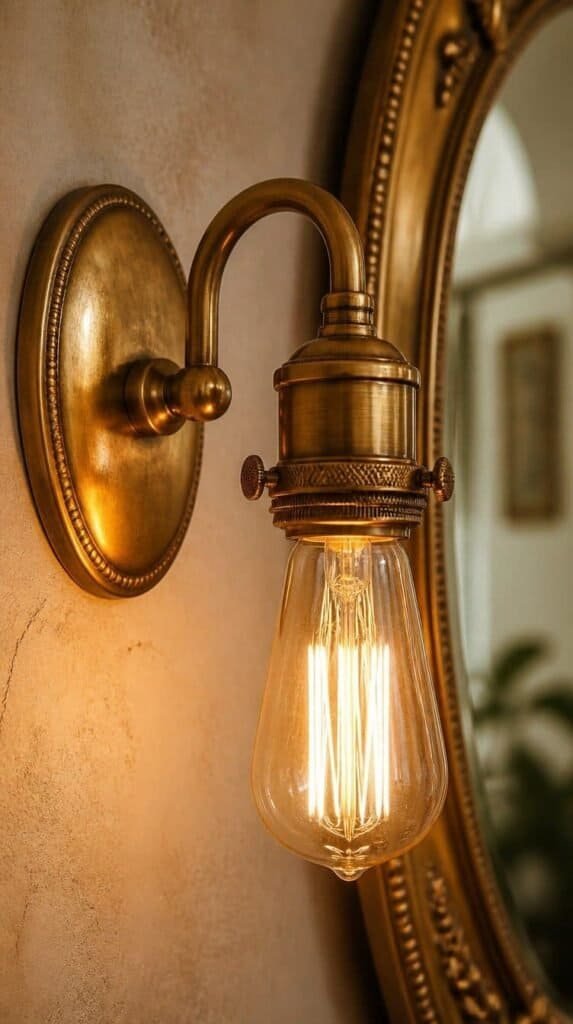
Vintage brass wall sconce with warm glowing bulb mounted beside a mirror

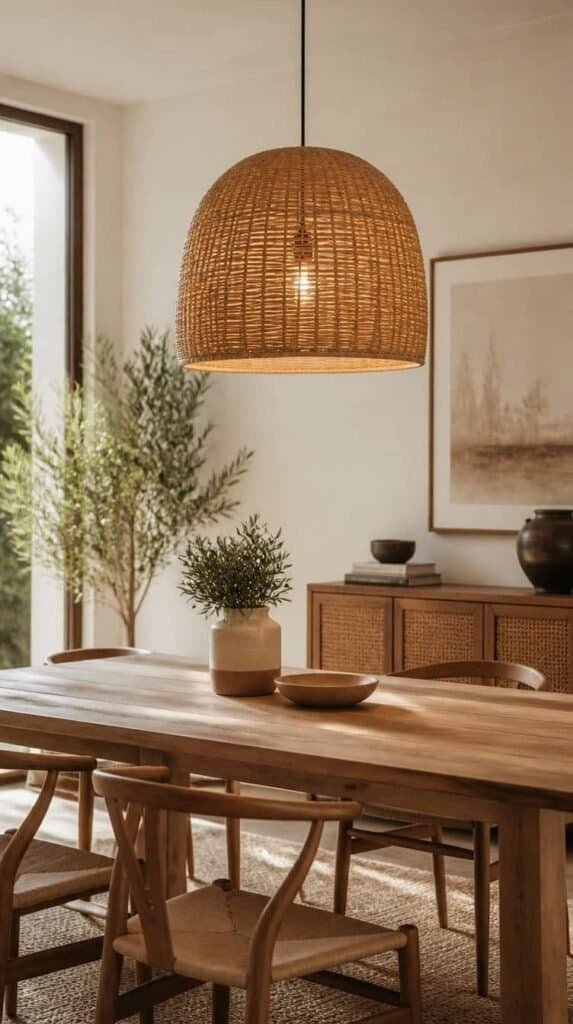
Hardwired sconces need an electrician, but battery or plug-in versions from the thrift store install in minutes and add warm light exactly where a room needs it. Original patina on the metal only helps the look.
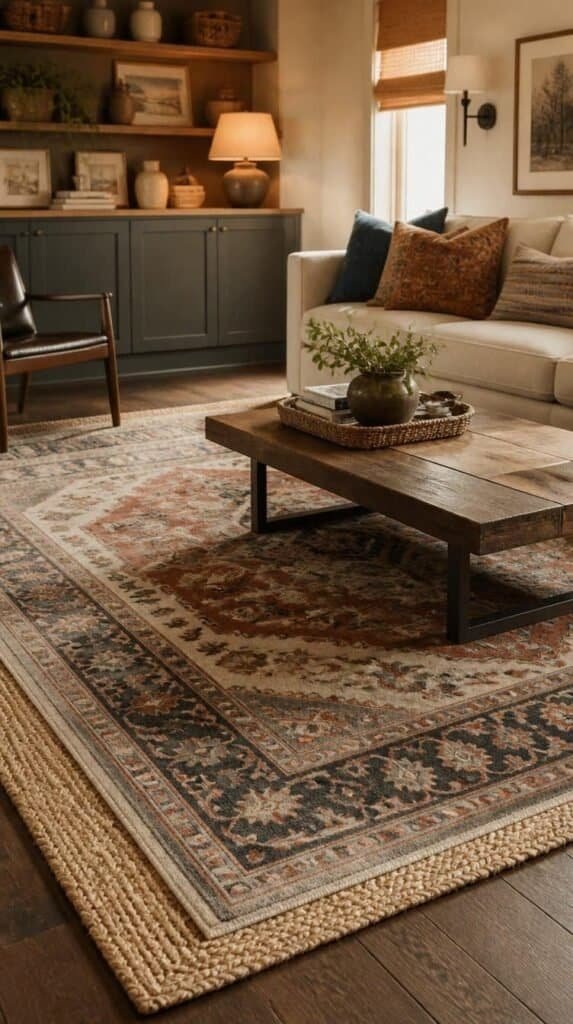
Two sconces flanking a mirror or headboard look intentional even if they never match perfectly.
Shop the Look

12. Cast Iron Fireplace Tools
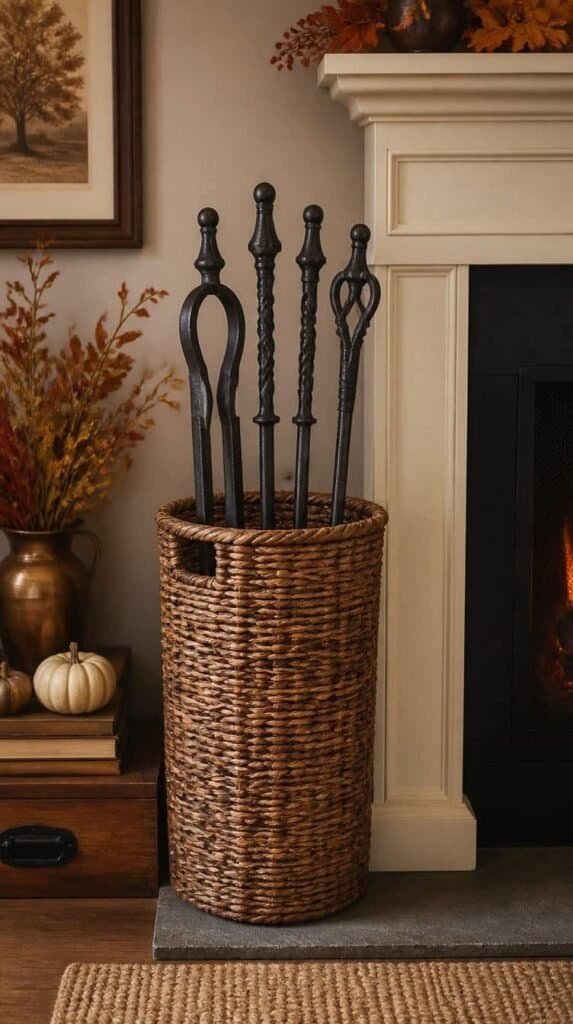
Cast iron fireplace tool set standing in a tall woven basket beside a mantel

Even without a working fireplace, a cast iron tool set leaning in a corner or basket adds old-world texture few new decor pieces manage. Rust wipes off with steel wool and a little oil.

Stand the set in a tall woven basket beside a mantel for instant styled texture.

Shop the Look

13. Silver Serving Tray

Polished silver serving tray holding perfume bottles and candles on a dresser top

A tarnished silver or silver-plate tray polishes back to a soft glow, instantly dressing up an ottoman or dresser top. Use it to corral remotes, perfume, or candles into one styled surface.

Silver plate polishes equally well as solid silver for a fraction of the price, so do not pass on plated pieces.

Shop the Look

14. Woven Wicker Basket

Graduated stack of woven wicker storage baskets beside a sofa with a cozy throw blanket

Old wicker baskets in good shape hide clutter while adding texture no plastic bin ever manages. Stack a few in graduated sizes beside a sofa or under a console table.

Check for loose weaving before buying. A little wobble is fixable, a fully unraveled section is not worth the effort.

Shop the Look

15. Vintage Oil Painting

Vintage unsigned landscape oil painting in an ornate gold frame on a wall

An unsigned landscape or still life in an ornate frame does more for a room than any print from a big box store. The slightly yellowed varnish and visible brush texture are the whole appeal.

The wall finally looked collected instead of decorated, and it happened in one afternoon of digging.

Shop the Look

Go Find Something Good.

Fall thrift store shelves fill up fast with estate donations and seasonal cleanouts, making this the best window of the year to dig. This list covered lighting, glass, metal, and textiles, so no matter which room needs help you have a starting point. Grab a tote bag, set a loose budget, and start with brass and glass since those pieces are the easiest wins for a first trip. If you are ready for even more secondhand finds worth the search, be sure to check out 14 Thrift Store Gems You Should Never Skip for even more pieces to add to your list.

Styled flat lay of thrifted brass candlesticks, a cut glass vase, and leather books arranged together